Creating a Package
How to create or modify a package
Table of Contents
Packages within Agile Ticketing Solutions are a collection of tickets to a series of events or shows. Packages can be built from either General Admission or Reserved Seating events but at this time must be built inside of the ATS App. It is also possible to renew into a package from a previous year allowing returning customers a first shot at their previous held seats.
When building a reserved seating series a package will allow your customer to pick a seat once and have that seat across all shows where it is available. It is therefore best to open a sales window for packages before opening those shows up to general ticket sales. They can also be used to sell event series with unique selection rules, such as a "Pick 5" package where a patron can pick 5 events from a greater list of events/showings.
Get started by Logging In to the ATS App and locating the folder that will house your package. A best practice is for your packages and the shows they will encompass to be inside of the same blue folder. Should this folder not contain the package category use These Instructions to add it on the tree management tab.
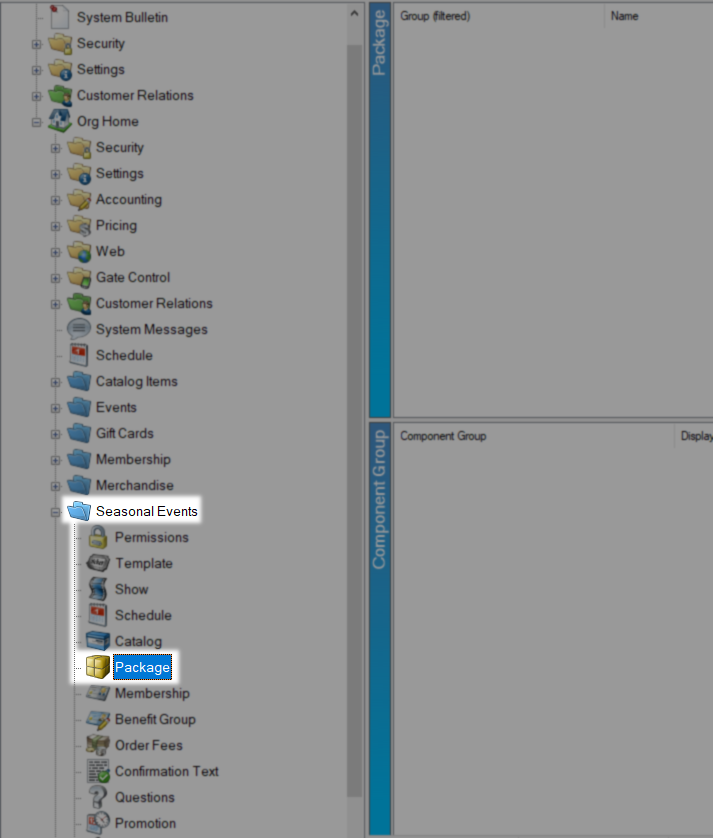
Before proceeding you will need the ticket types and/or catalog items you plan to include in the package to be available and on sale. While you will be asked to set a market value during creation the final cost will be the total of all items in the package. A best practice is to put a price on the tickets individually to aid in reporting but zero-cost tickets and a catalog item to handle the total cost is also a viable method.
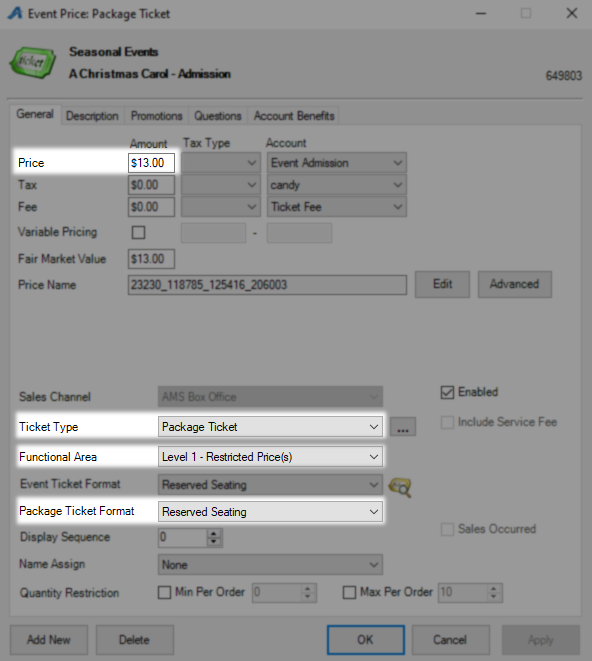
When it comes to building a price specifically for a package here are the fields you need to pay close attention to to avoid future issues.
Price - This will determine the final cost of the package once all items are selected.
Ticket Type - You will search for this during package creation and it is customer-facing.
Function Area - Package prices are often discounted from single event tickets so setting this at a one or higher keeps them hidden outside of your package.
Package Ticket Format - If you want customers to have printable individual tickets for each item in this package pick a format here. You are free to safely recycle your normal ticket formats for this purpose.
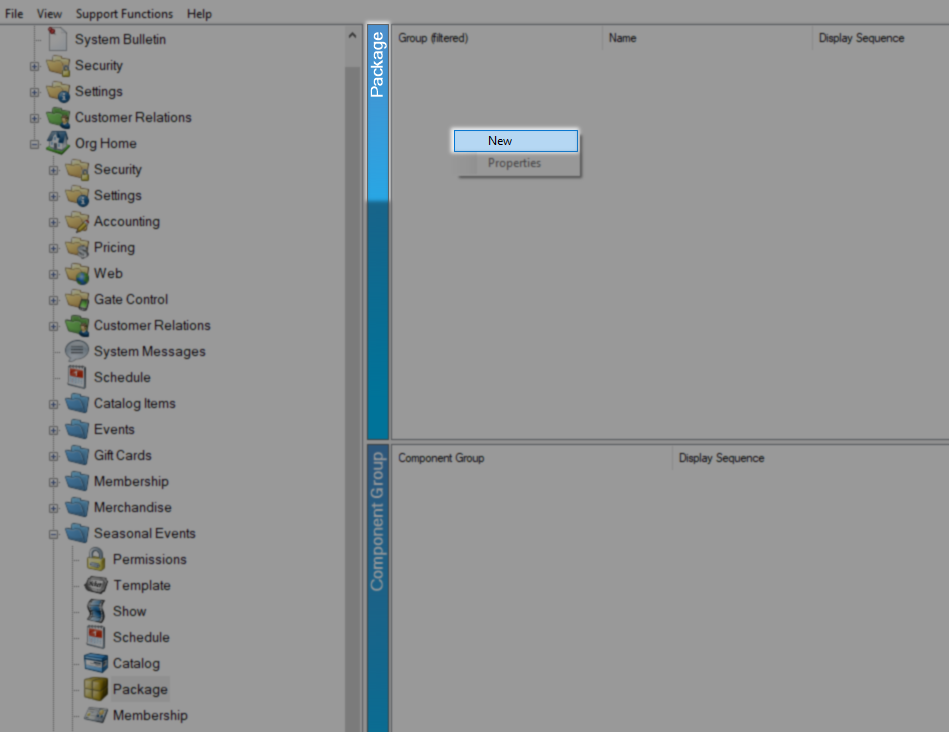
Right-click in the Packages area and select New to start assembling your package.
New Package Creation
On the Package: New page the first item up on the General tab is Group which will be seen on some reports, use the Ellipses to add options to this drop-down. Name is next and is an internal field followed by External Name which can be the same but is customer-facing and will show online and on order confirmations. Project Code when selected will display on some reports.
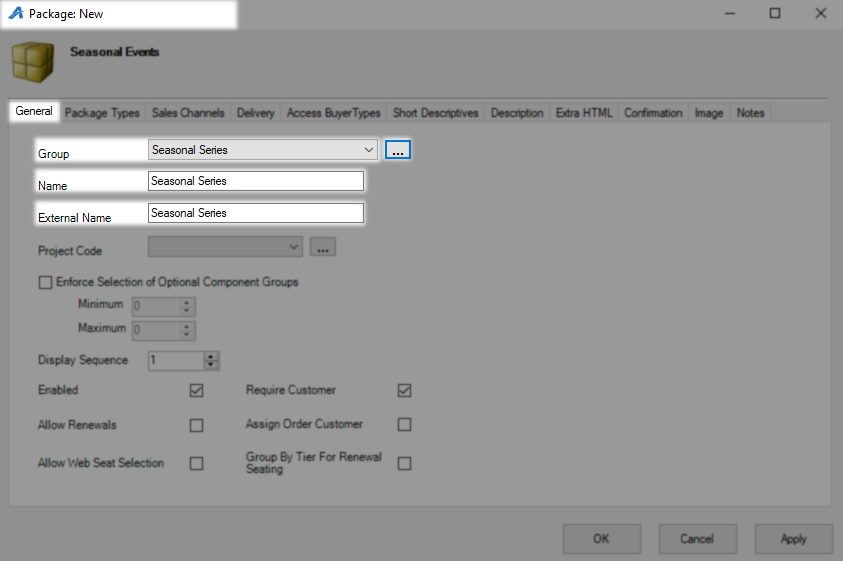
The Enforce Selection of Optional Component Groups checkbox allows you to require a customer to select a given number of Component Groups when they purchase the package instead of selecting every Component Group. This is especially useful in "Pick 5" or "Half Season" packages that are built with a Component Group per event or show, because checking this box can prevent customers from selecting every Component Group available. If you do check the Enforce Selection of Optional Component Groups box, make sure to set the Minimum and Maximum to control the number of events a customer may choose.
Component Group Use Example
You start with four shows and each plays five times. Setting the enforce box at a Min and Max of 4 and then building a Component Group for each of the four shows would have customers pick one showing from each show but not more.

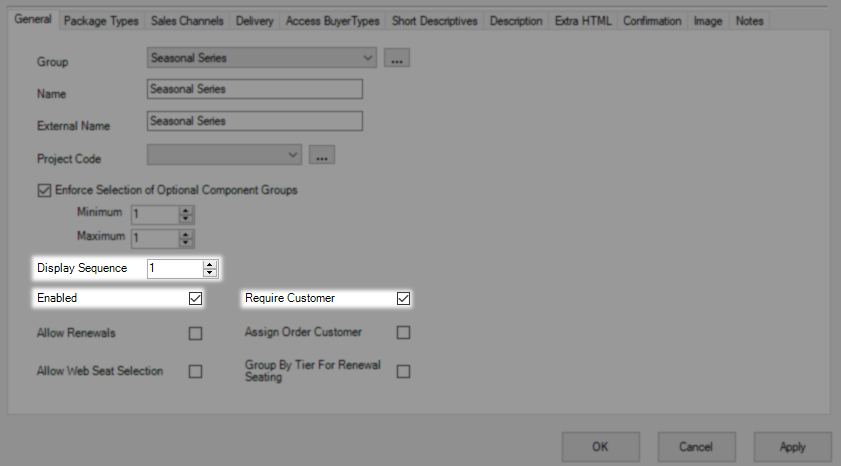
Display Sequence allows you to order this package among a list of other packages if you do not want them to be alphabetical which is the default. Enabled should be left checked or this package will not be available once completed, Require Customer should also be left checked so the package can be tied to a customer record.
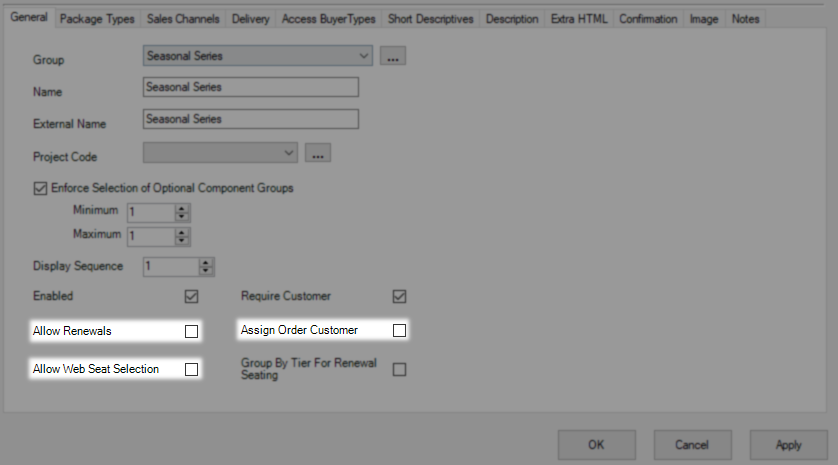
Allow Renewals only needs to be checked if this is a year-after-year event where customers expect to have the same seats every time. Assign Order Customer will make whoever purchases the package the name on that package. Allow Web Seat Selection lets online customers pick seats on a seating map.
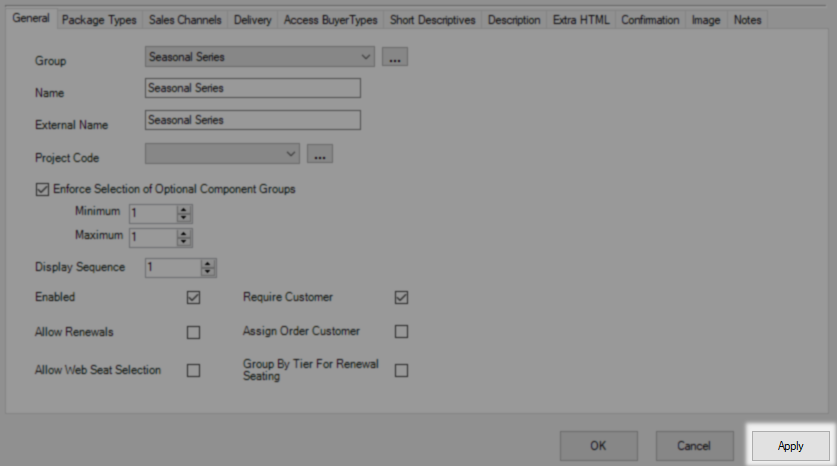
Click Apply to create this package or you will not be able to make some changes as you continue.
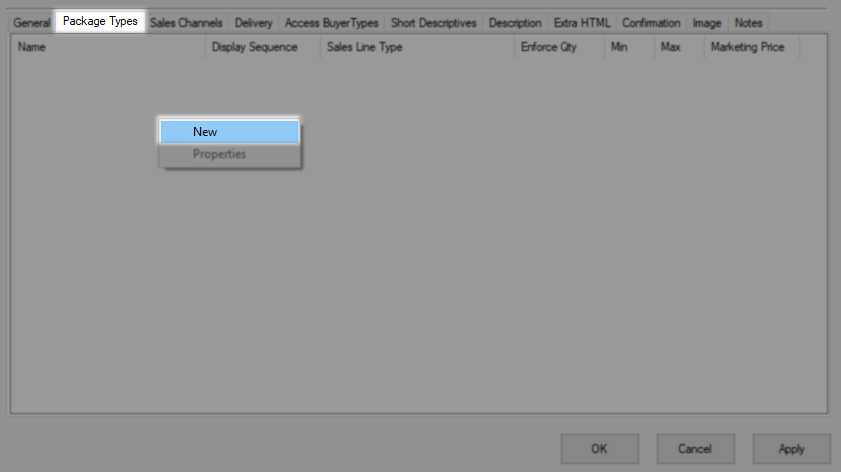
On the Package Type tab, you will build all of the prices that customers will be presented with when selecting this package. If you want to have a first-weekend package, any show package, and the ability to comp both of those when needed then you will need four package types. Right-click in the area and select New to build a new package type.
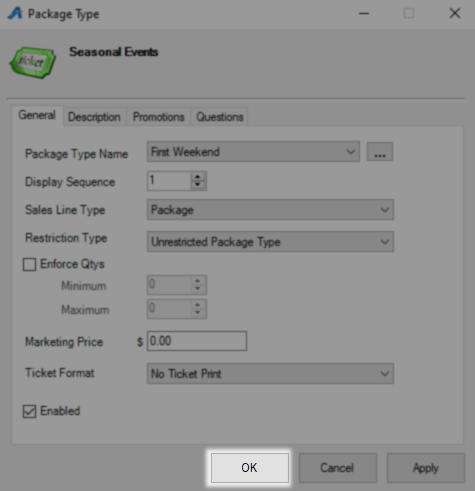
Package Type Name is the package name customers will be selecting when deciding which package to purchase. Display Sequence is how you can organize these package prices with lower numbers being closer to the top of the list.
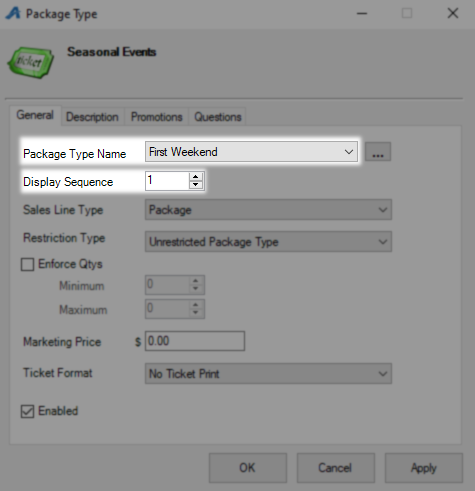
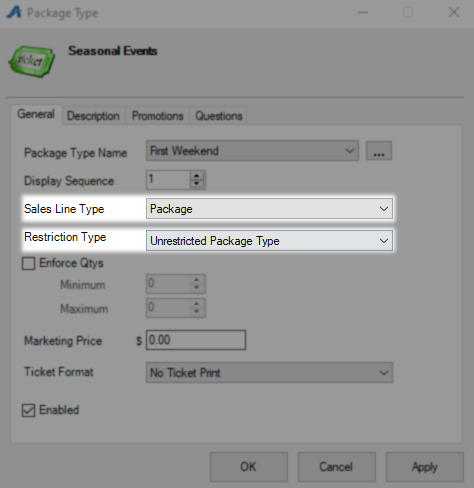
Sales Line Type should be left on Package so these get reported correctly. Restriction Type lets you hide prices that should not be available to everyone, this could be a comp price or one hidden behind a promo code. For a hidden price put the drop-down on restricted package type otherwise, leave it on unrestricted.
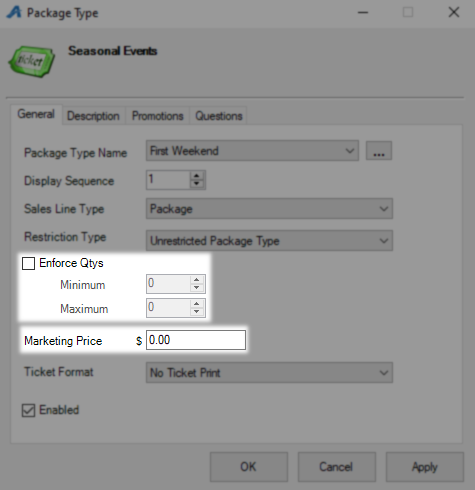
Enforce Qtys is used to force a certain number of packages be purchased just like when using the min and max quantity to sell group ticket prices. Marketing Price is what will be shows to your customers when they are deciding what package to purchase but is purely for display. The system will get it's actually price from the total of the items you put into the package be that individual tickets or catalog items.
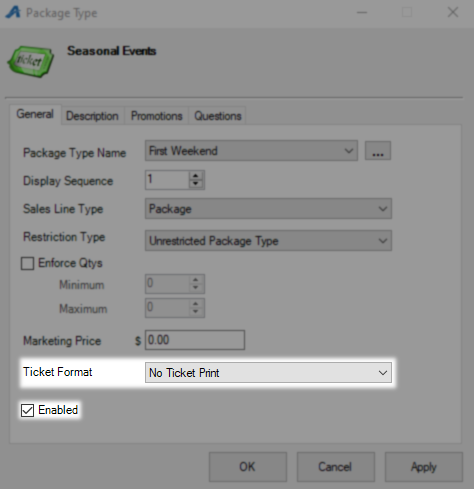
Ticket Format is a unique format that can be selected for the package as a whole. Some organizations use this to create passes or cards that can be printed or emailed to patrons. When the Print On Card option is selected for every Event Component below, this pass/card format will be given a barcode that lets the patron scan into every event in their package. This may be more convenient for the patron than keeping track of several individual ticket formats for each event. Leave Enabled checked to have this package available once completed.
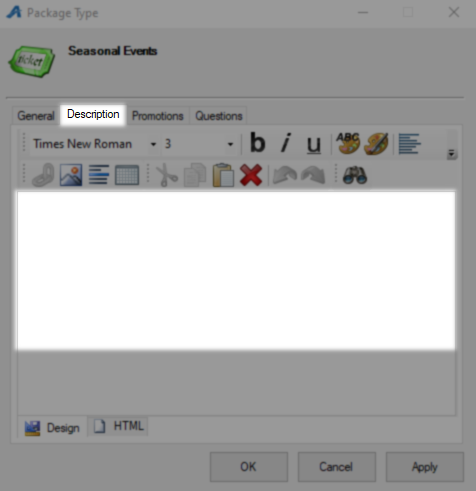
On the Description tab you are given a field you can use to outline anything the customer needs to know about this price. Whatever you put here will load directly below this specific price online.
The Promotions tab is where you can attach a Promo code to unhide a hidden price. Follow These Instructions if you need help creating or attaching a promo code to this price.

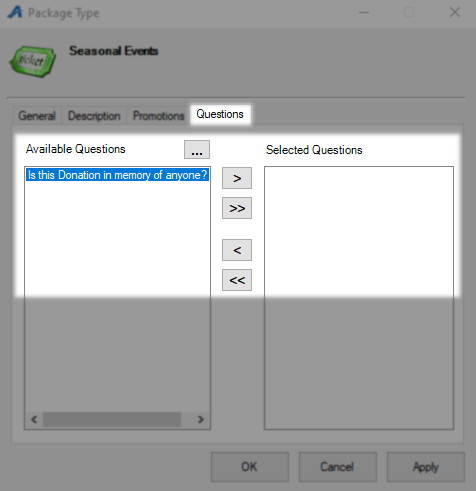
The Questions tab can be used to collect needed information from your customers that you do not get as part of a normal checkout process. Follow These Instructions if you need help creating or attaching questions to this price.
Click OK to save this Package Type and repeat as many times as needed.
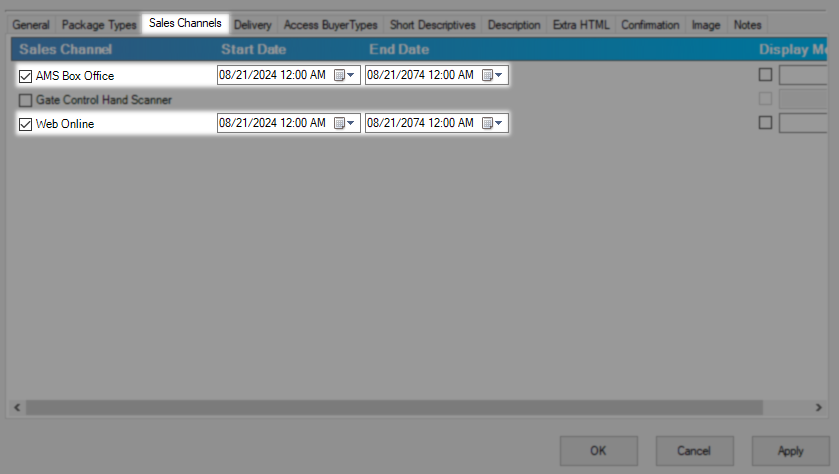
On the Sales Channel tab check the box next to all of the ones you want to have active. The default start date will be the day you are creating this package and the end date will be fifty years in the future unless modified.
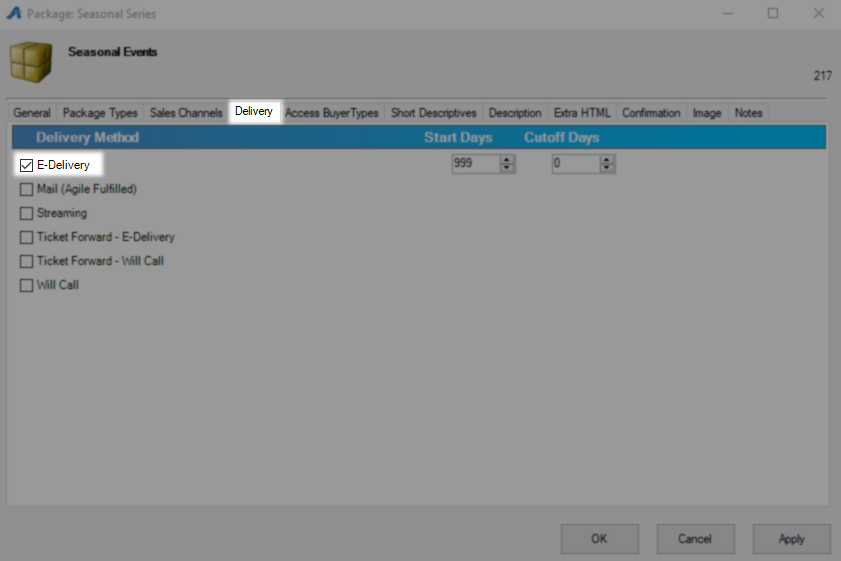
On the Delivery tab under the Delivery Method heading put a checkmark next to any option you would like your customers to have. Start Days and Cutoff Days are asking how many days before show time to perform those actions, leave these as you found them to have that method available right away.
E-Delivery - This option will email order information with tickets attached as a mobile wallet or PDF format.
Mail (Agile Fulfilled) - This option will send physical tickets to the customer from the ATS office.
Mail - This option will have physical tickets sent from your box office.
Streaming - This option should be selected only for streaming events and will send the required links.
Ticket Forward - This option comes in E-Delivery and Will Call which correspond to those methods and allow forwarding from the customer account.
Will Call - This option adds these tickets to a fulfillment queue for printing at your box office for pickup.
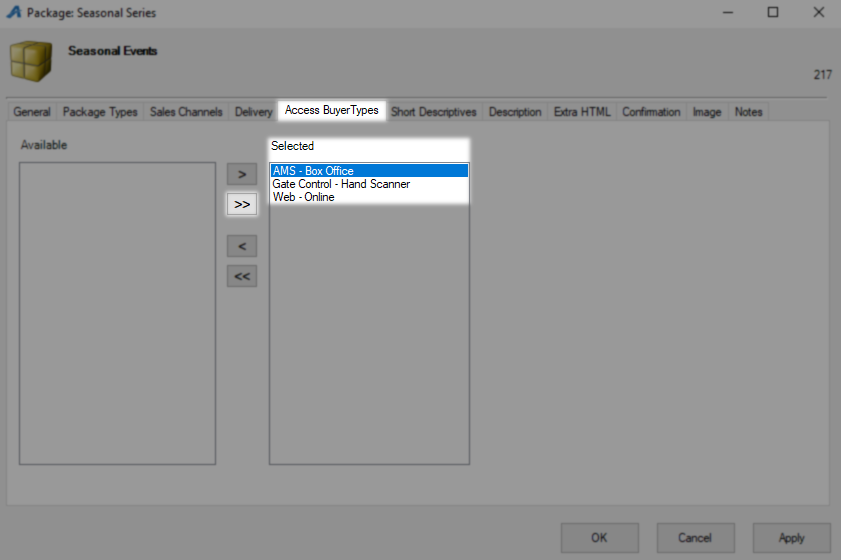
On the Access Buyer Types tab you are activating the sales channels you will later put a date and time to. Moving AMS - Box Office and Web - Online into the selected area will be the common setup here but moving them all over has no down sides.
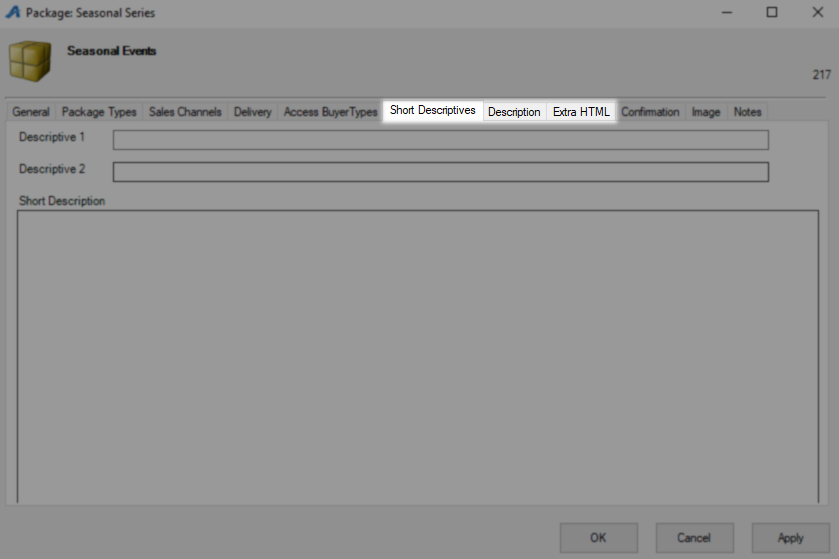
The Short Descriptions tab is where you can load a brief description of this package in the event you will be listing multiple packages on the same page. Description and Extra HTML will both hold long form descriptions of this package with the Extra HTML tab being used in more places online.
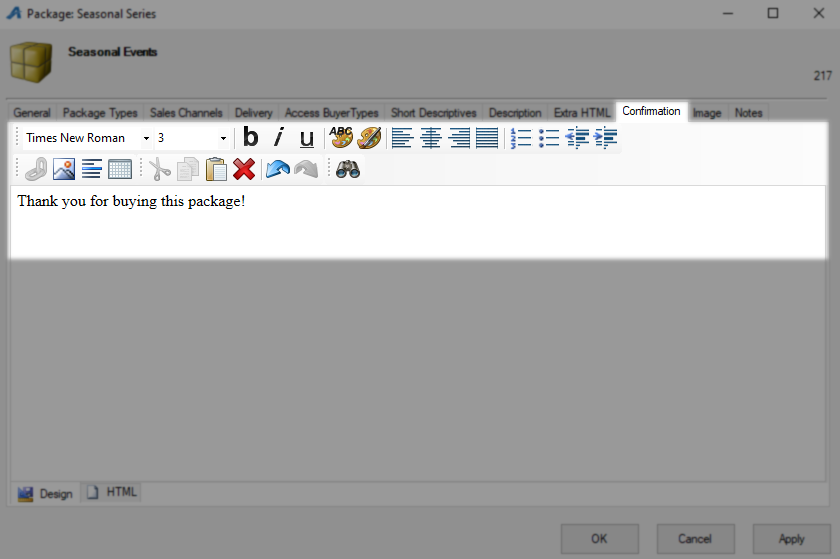
The Confirmation tab is where you can put information that needs to be communicated to the customers who purchase this package. Anything you put here will be placed at the top of the order confirmation email they receive after finalizing purchase.
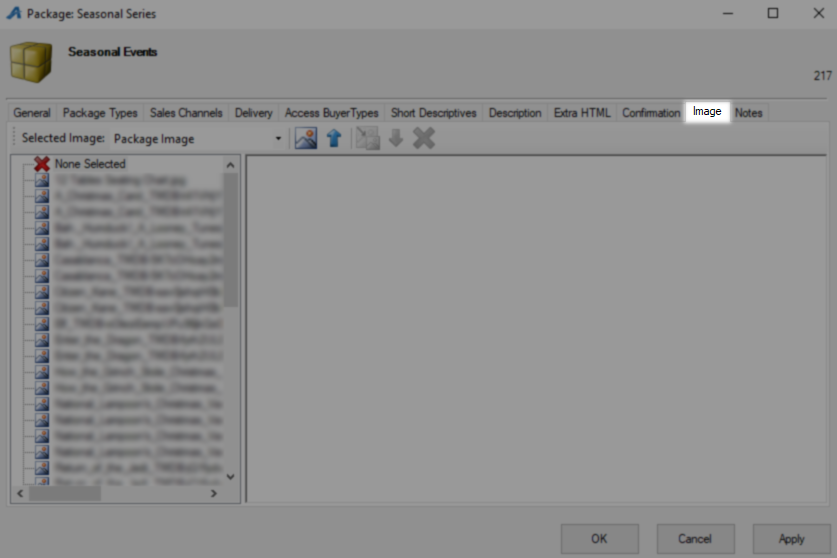
On the Image tab, you can upload a banner image for this package. This will be used as the main advertising image and on the price selection page.
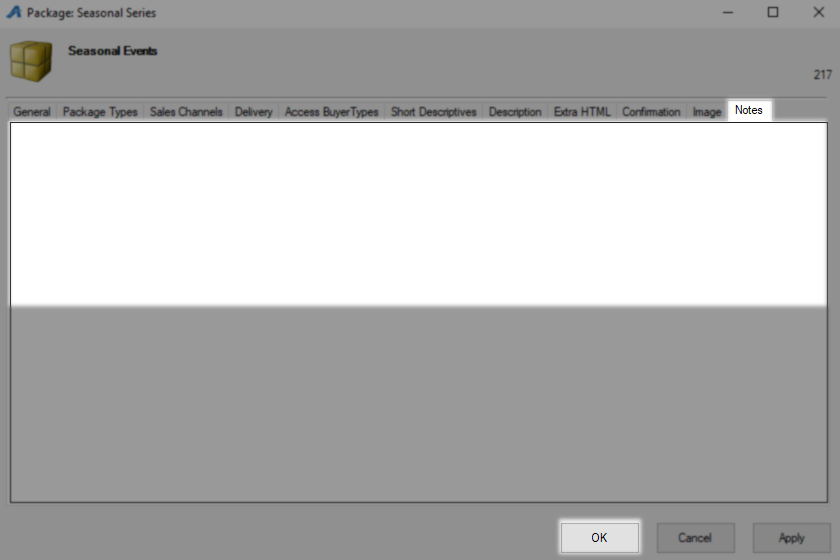
Notes are not customer-facing and can be used to hold anything you need to reminder internally about this package. Click OK here to save all of your work and move on to creating the individual packages with pricing.
The next step is to create the Package Types you added on the tab of the same name in the previous section. Select your package in the package area then right-click in the Component Group area and select New.
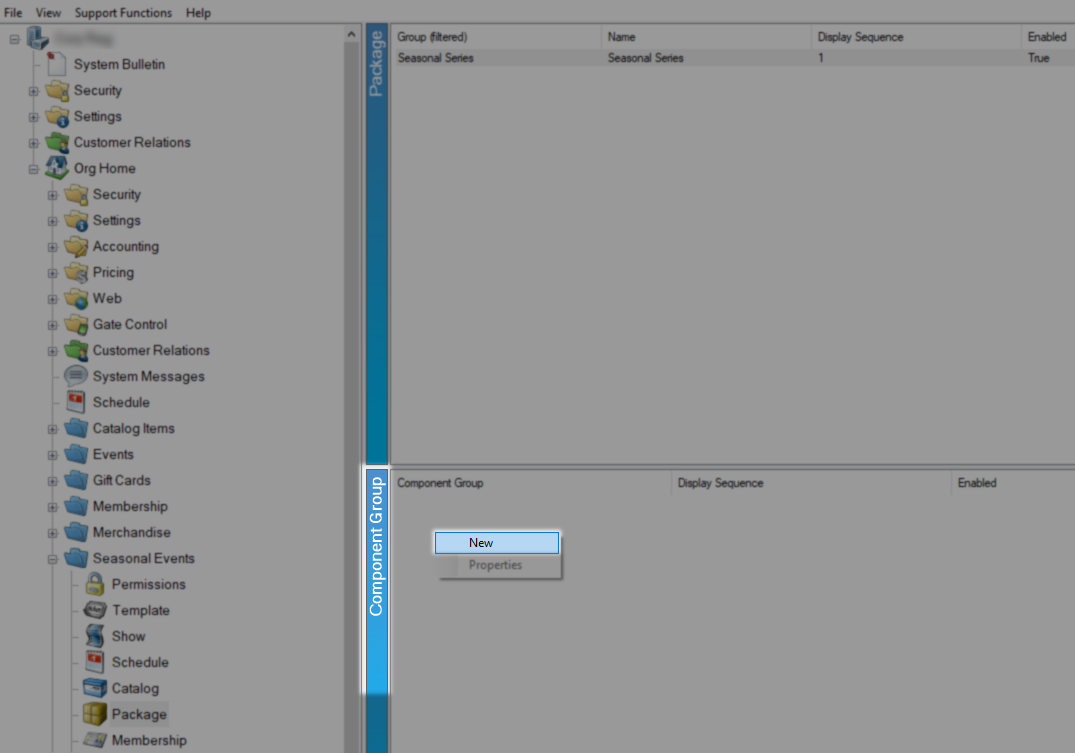
New Component Group Creation
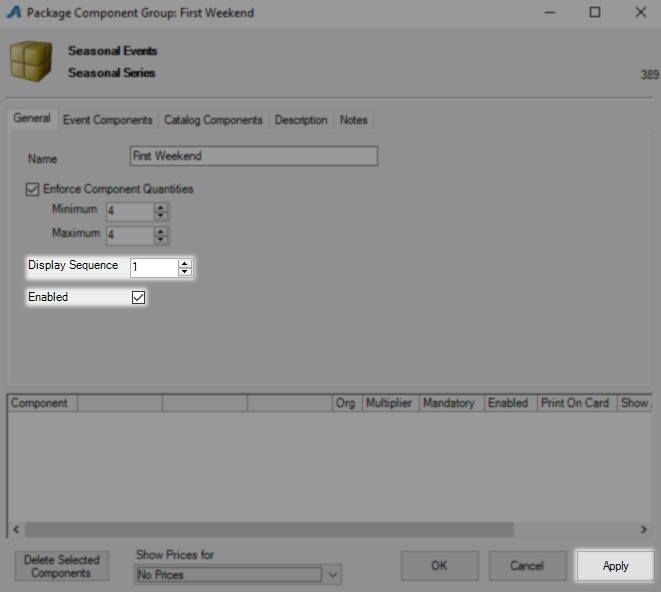
On the Package Component Group: New window the first item on the General Tab is the Name of this Component Group.

The Enforce Component Quantities fields will force customers to select a certain number of items from this component group. These limiters are best used when setting up a package that allows customers to pick a specific number of items from this component group.
Enforce Component Quantities Use Example.
You have a 15-film series playing and are offering customers the chance to purchase 10 tickets at a discount to films in this series. Setting the Minimum and Maximum at 10 will require customers to pick exactly 10 of the 15 films you include in this component Group
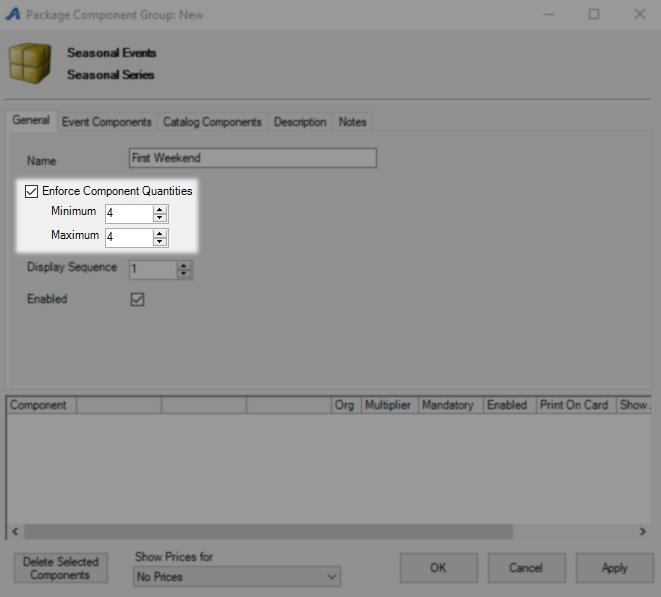
Display Sequence here will let you order your various component groups any way you want with lower numbers being higher on the list. When all items are left at the same display sequence value the system will order them alphabetically. Leave Enabled checked or this package will not be available for sale and click Apply to save this information before moving on to the Event Component tab.
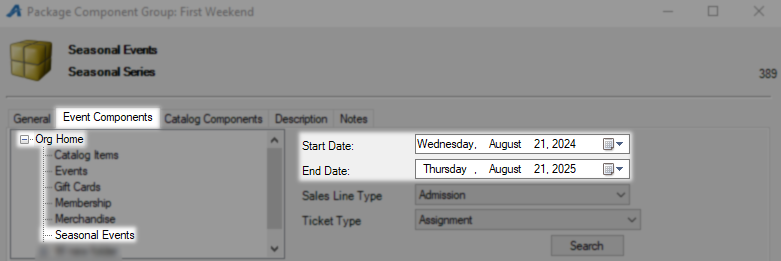
On the Event Component tab click the plus next to your Org name to expand the folders and then select the folder where your shows or events have been built. On the right make sure your show dates fall within the Start Date and the End Date, by default this will be a one-year window from today.
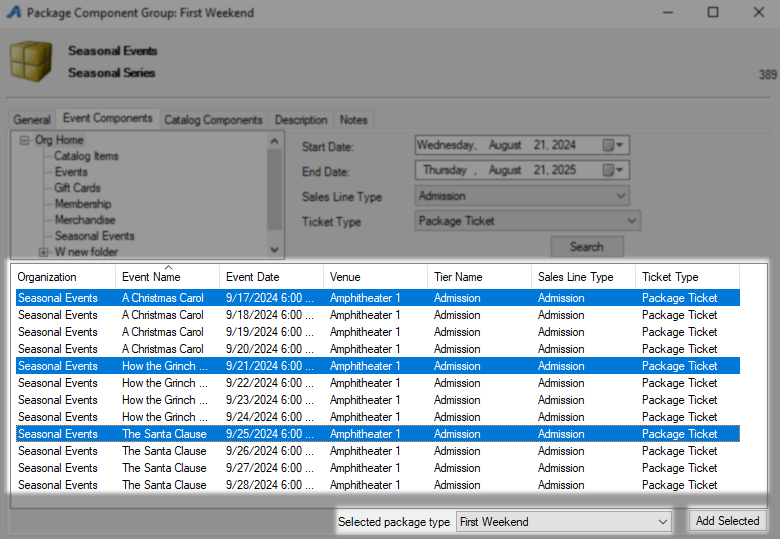
Sales Line Type will likely be Admission but if you use multiple types regularly make sure you select the one used by your shows. The Ticket Type drop-down is where you select the prebuilt ticket type that contains your pricing for these shows, click Search to find these prices.

All of the shows with ticket types that match your search will be displayed below the search area where you can select the ones you want to include in this package. Use the Selected Package Type drop-down to choose the package price type that customers will select to get these options. You can use keyboard shortcuts here to select a group of shows or click them one at a time and use the Add Selected button to include them in the package
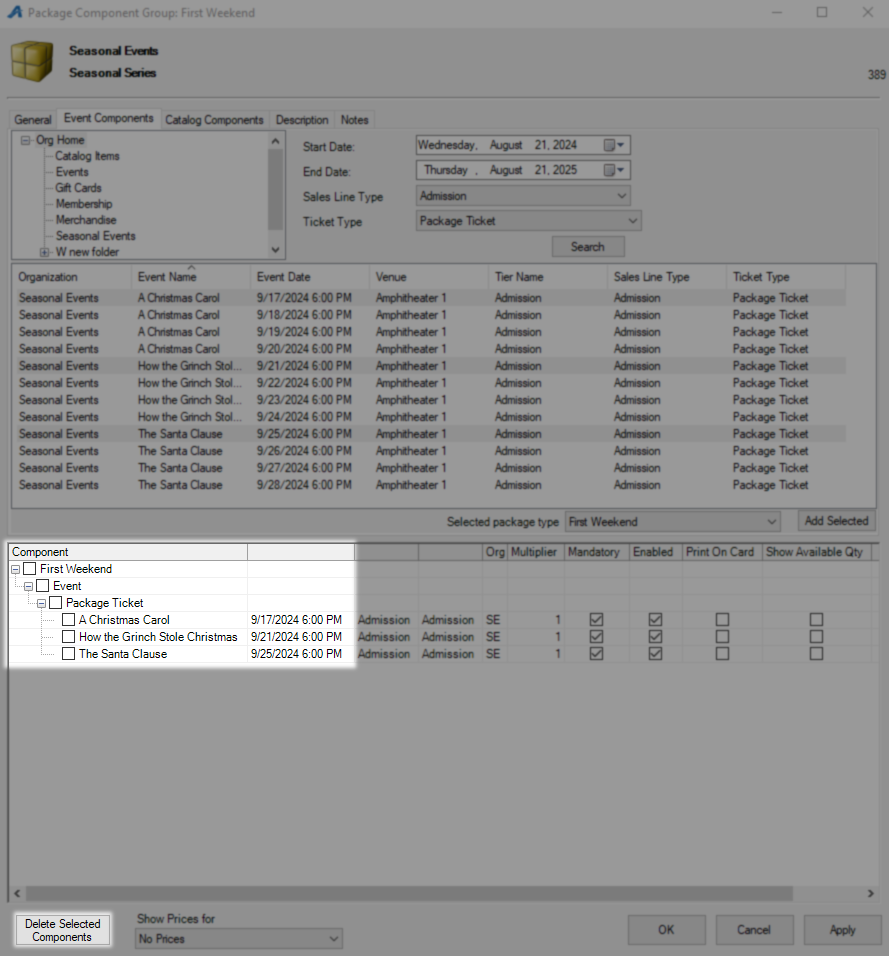
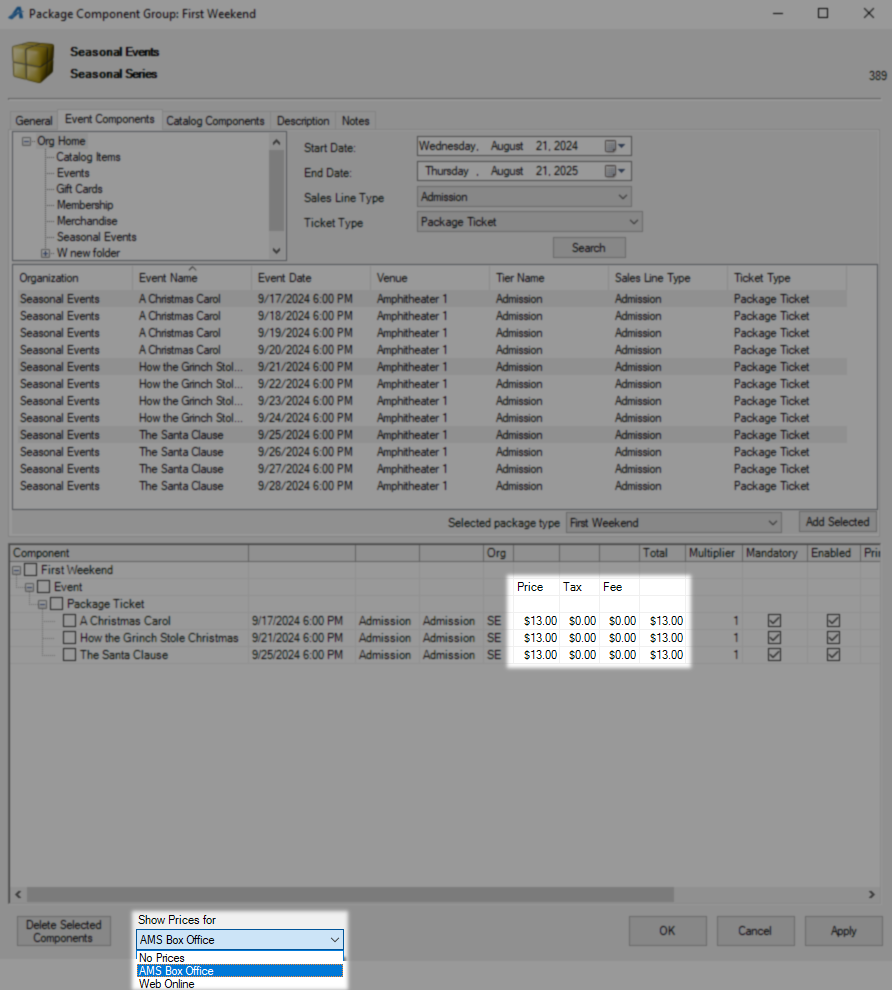
You will now have the start of this package pricing structure starting to appear in the Component area at the bottom of this window. Looking at the left side of this window you will see the package price these items are included in followed by the event type and the ticket being added. Below those items you will see the shows these tickets are being pulled from, you can remove an item from this list by checking its box and using the Delete Selected Component button on the bottom right.
To check that you have selected all of the correct prices for the items in your package use the Show Price For drop-down menu on the bottom left. Once you make a selection you will see the pricing for that sales channel.
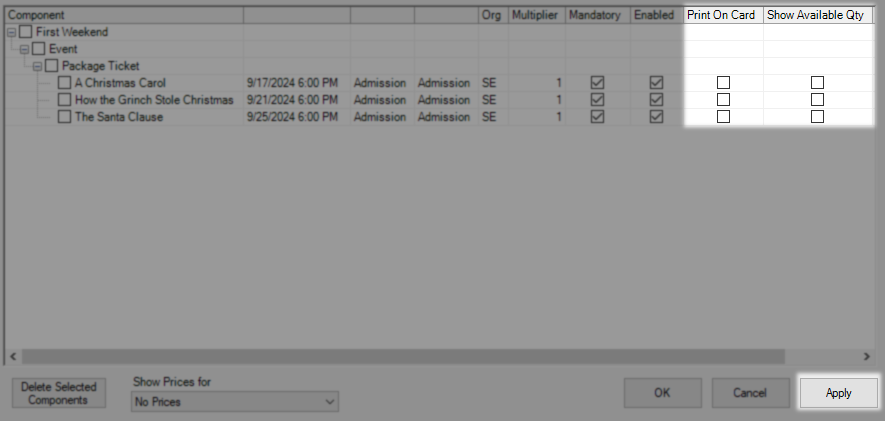
With Show Price For set to No Prices you will have other options next to the shows you have assigned to this package. Use the Multiplier column to assign additional tickets to any specific show, by default this will be one per show but can be changed up to any number you need customers to have.

The next two options are checkboxes, Mandatory when unchecked will not let customers remove this item from the package, this is best used when customers do not get to pick shows or when you are using catalog items for pricing and do not want customers to remove it. Enabled must be checked or customers will not have this option when purchasing, if you need to remove a show from a package after it has sold this is how you remove that single item.

Check Print on Card If you want the barcode on the Package Type's Ticket format to be valid for scanning into this event. Show Available Qty when checked will display the inventory for this specific show when customers purchase a package. Click Apply to save these settings.
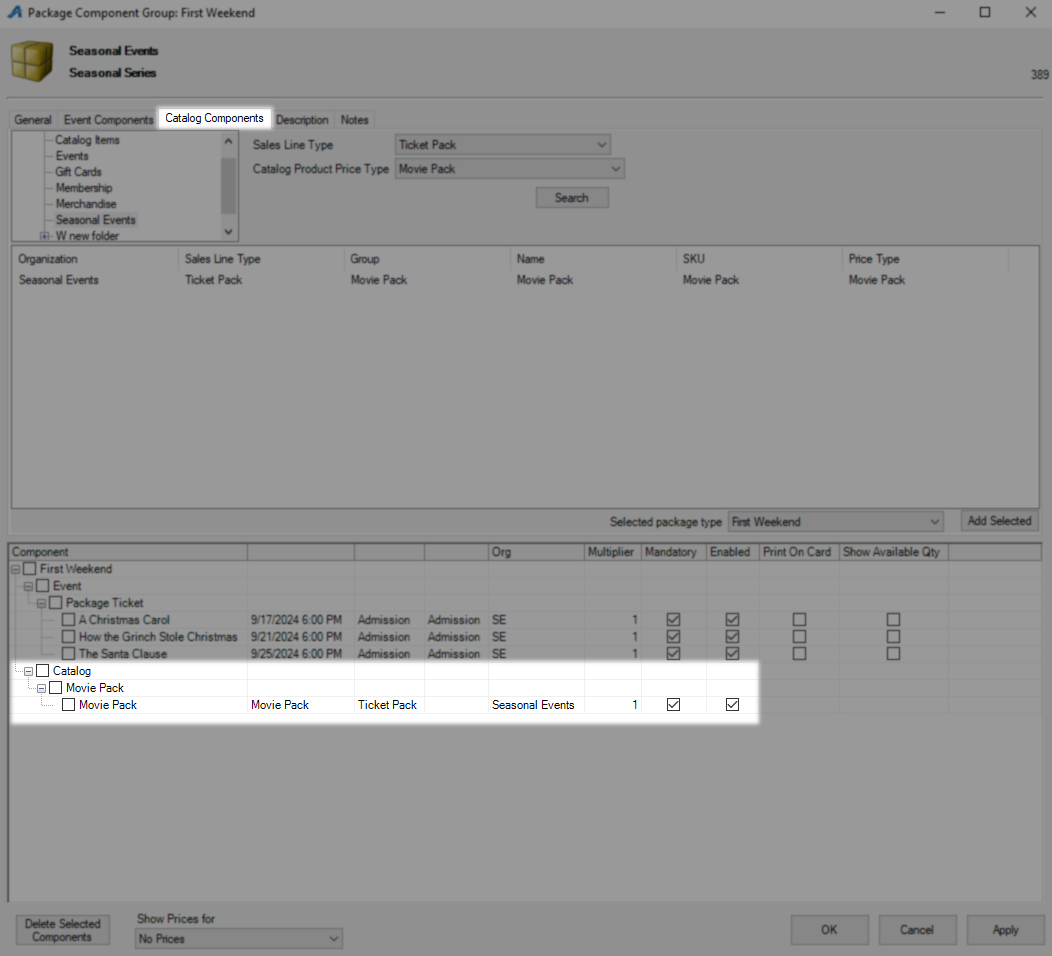
To add a catalog item to this package swap to the Catalog Component tab and follow all of the same steps excluding the date range, ticket print format, and inventory levels.
Click OK to save and close the Component Group.

The final step to getting a package online will be to create an entry point for it which can be done from the AgileTix App or Web Portal using These Instructions.
Advanced: Package Renewals
A package Renewal allows you to offer returning customers the same seats or tickets they had during the previous year or season.
Begin by making sure your new package is built to resemble the previous package. Using the same templates and venues is advised for reserved seating events, but is less important for general admission. Locate this year's Package, then right-click and select Properties.

Be sure Allow Renewals is checked here and click OK if it was not.

Open the Showings or Events that are part of this package and use Shift to select all of them, then right-click and select Season Renewal Hold to place last times seating for all of these shows on a hold.

For the Season Data To Match field use the drop-down to choose the previous package. Using the Inventory Group to Set drop-down, pick the type of hold you want to place all of these seats under. Best practice here is to use a hold type just for renewals but any hold type will suffice. Click Apply to have the system place all corresponding seats on hold and give you a message of success then OK to close this window. Repeat these steps for each showing or event in this package.


You now need an entry point that will allow your customers to access this held inventory, as the system will only sell open-status inventory by default. In the Web folder, expand the group for your web online
Accordion Title
Accordion Body
, then right-click and select New-Package Renewal.

Give this entry point a Name and Display Group, if you check Include in navigation below, these will be customer-facing.

On the Package Renewal tab you need to select the past and present packages, select the folder your packages are built in to load them in the packages field.

Next, pick the past package and click Set in the Renewing Package Info area.

Next, select this year's package and click Add in the Available for Renewal area.

Click Apply and go back to the General tab and click Copy to Clipboard to copy the link for this entry point.

Open Emails and Letters from the green Customer Relations folder then right-click and select New. Using the Query Data Set drop-down to find Package/Season - Renewal.


When the Data Set tab opens, click Set Parameters. Do not check the Renewed, activating this will have the system contact only people who have completed the renewal process. Use the tab for Package to select those from your folder list, then select last year's package and click OK.


Use as many email features as you would like and include the link for the renewal entry point.

Here is what that looks like when the customer receives it and what the renewal page will look like once they click the link.

