Creating a Promotion
How to create a promotion code and attach it to a price.

Table of Contents
Promotions work like a member benefit to unhide a price online or in your box office. Promotion codes are built to work for a set period of time and can be a set or unlimited number of uses in that time period. Once built a promotion code must be attached to all prices it will apply to in order to function.
New Promotion in Web Portal
Begin by Logging In to the Web Portal, click Settings on the menu bar then Promotions under Pricing.

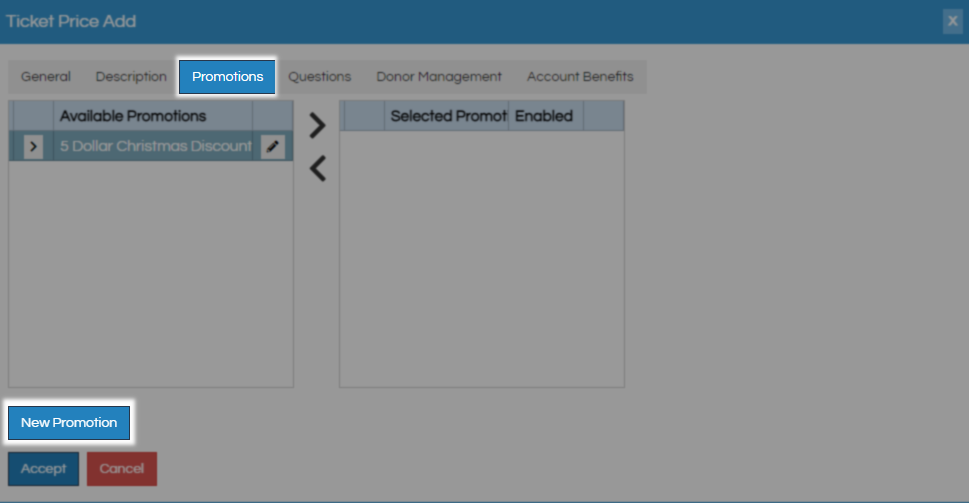
You can also find or build the price this promotion code is going to be attached to then build the Promotion code right on the Promotions tab.
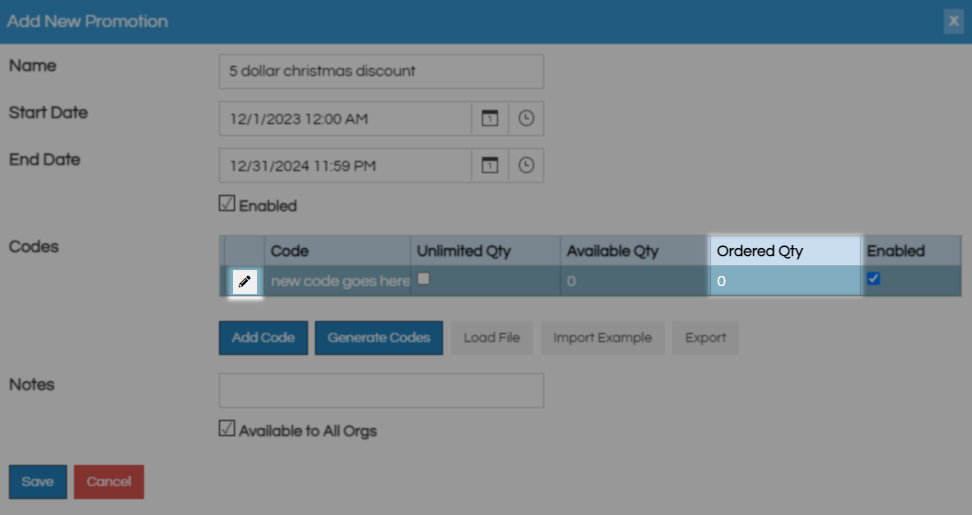
On the Add New Promotion window give this promotion a Name so that you know what it's for, this is a not a customer facing field so be specific. The Start Date and End Date fields are used to define the time period this promotion will be active. Uncheck Enabled only if you no longer need this promotion.
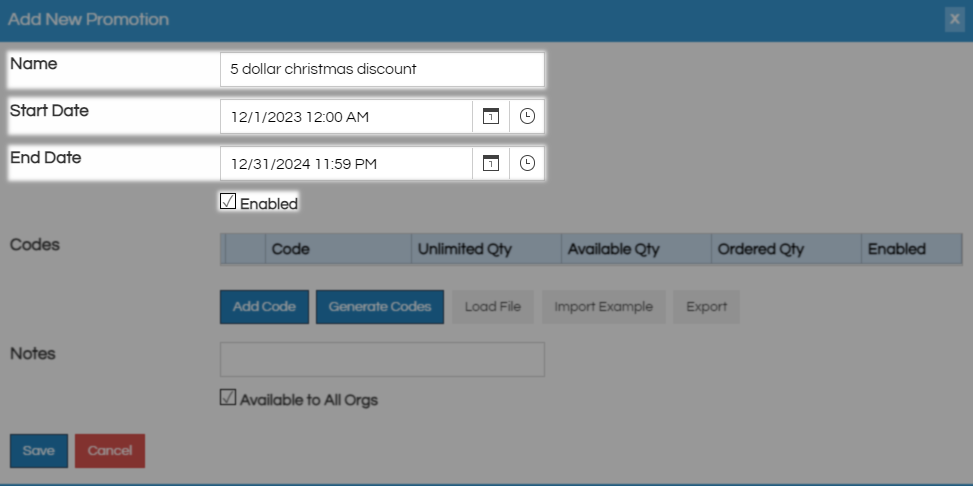
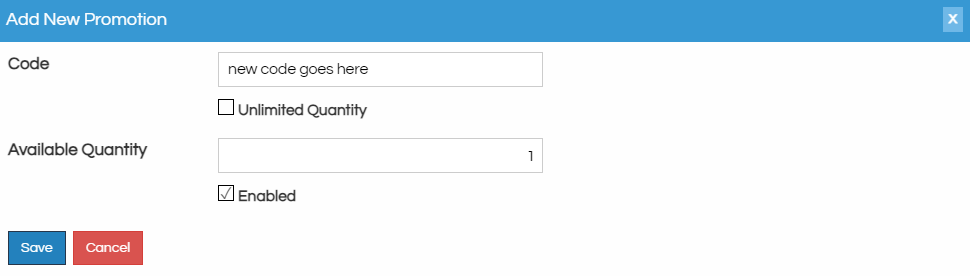
The Add Code button will a new code window, use the Code field to assign what your customer will use to activate this promotion. For single or limited use codes uncheck Unlimited Quantity and enter the number of uses in the Available Quantity field. Uncheck Enabled only if you no longer need this promotion and click Save.
Back on the Add New Promotion window you can click the Edit Pencil to make changes to an existing code and see the number of times a code has been used in the Ordered Qty field.
To automatically generate any number of codes click on the Generate Codes button. The first option on the Generate Codes Window is Number of Codes which is how many promotion codes you want to create. In Code Format you have some power over the scheme these codes will be created with, if you leave this blank it will be treated as if you had put “%”.
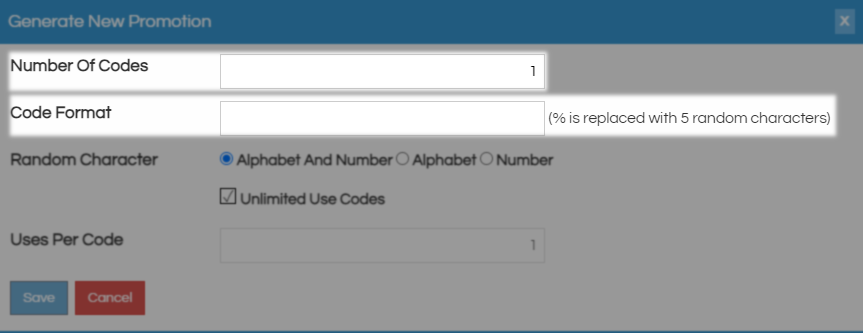
Next are the settings that decide what random elements the system will use when generating these codes. Alphabet and Number will use letters and numbers in your code while Alphabet will use only letters and Number will use only numbers. Uncheck Unlimited Use Codes and assign an amount of uses with the Uses Per Code field if these are limited use codes. Click Save to generate these promotion codes.

To remove a code from this list click the edit pencil and use the red delete button. Load File will let you import an excel doc full of codes you want to create and Import Example will give you the needed format for that process. Export will create an Excel doc with all of your current codes. Click Save to close.
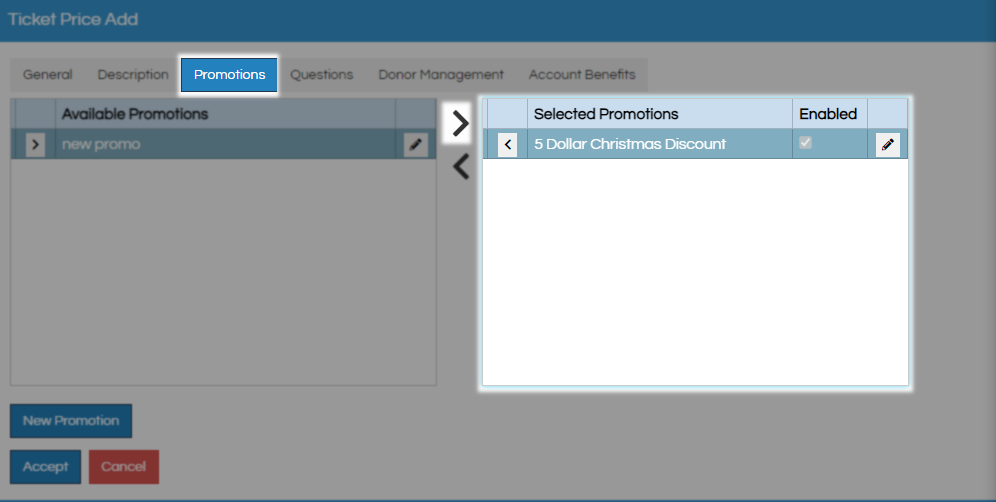
Once you have created your codes you need to attach them on the Promotions tab at the Event Price level by moving it from available to selected using the arrow button.
New Promotion in ATS App
Begin by Logging In to Agile Ticketing Solutions (ATS) administration and locate where this promotion is going to live. Best practice is to built your Promotion codes in the same Blue Folder as the price it will be applied to but you can build it in your manila Settings folder if you need it to apply to all folders. If your blue folder does not contain the promotions option use These Instructions to add it.
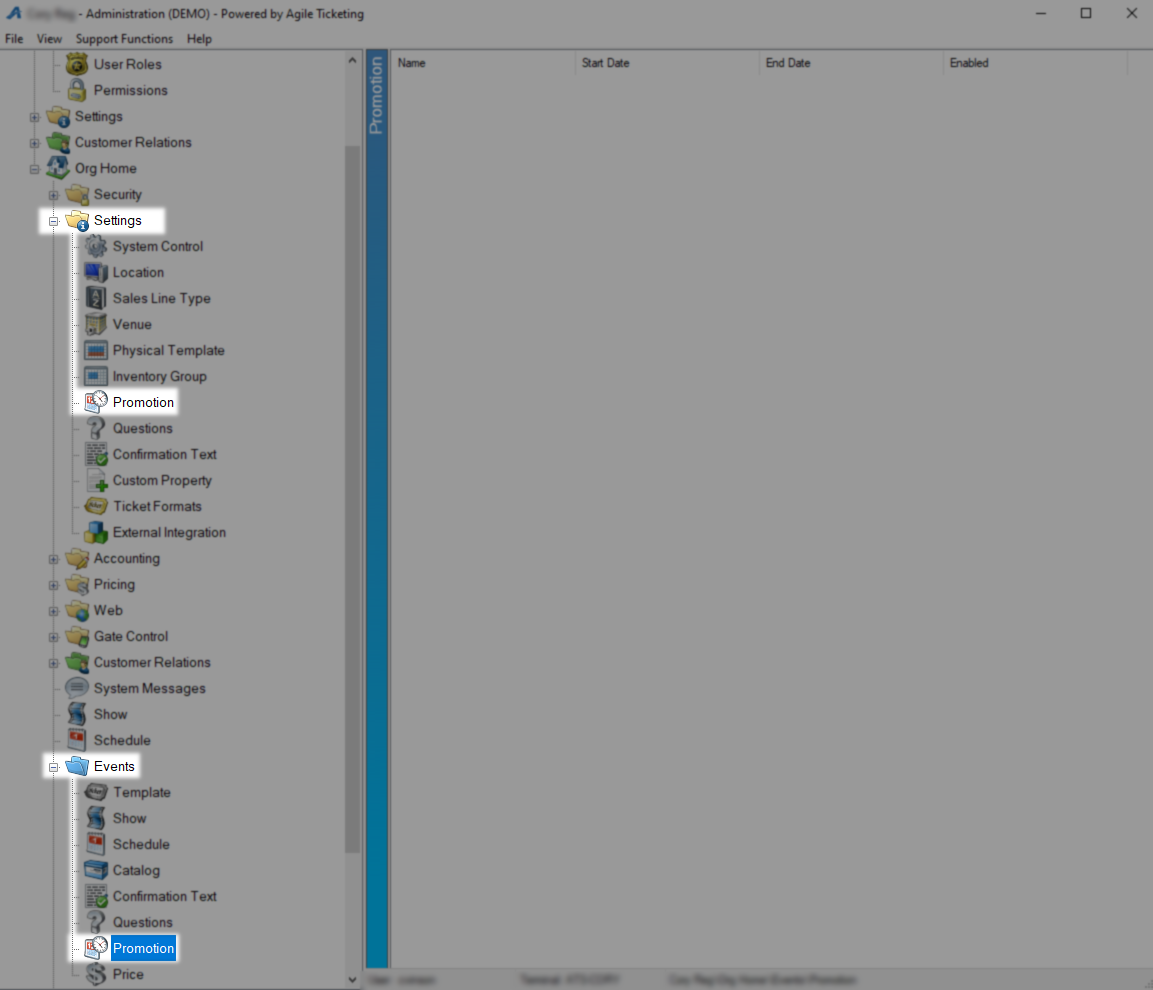
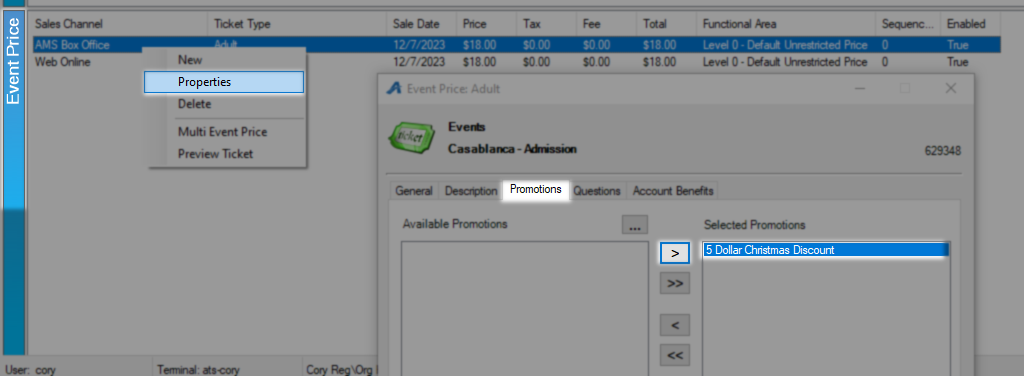
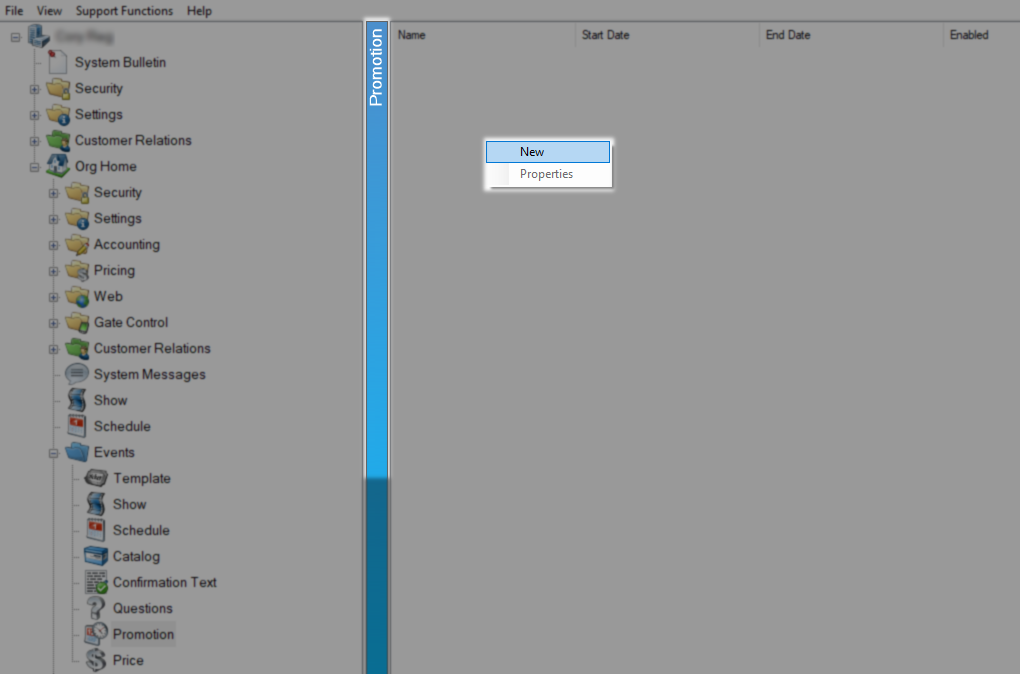
Right click in the Promotion area and select New.
First on the General tab give this promotion a Name so that you know what it's for, this is a not a customer facing field so be specific. The Start Date and End Date fields are used to define the time period this promotion will be active. Uncheck Enabled only if you no longer need this promotion.

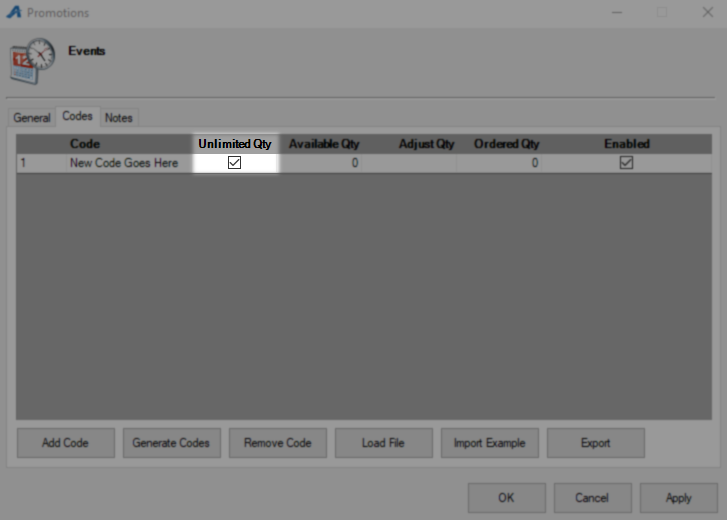
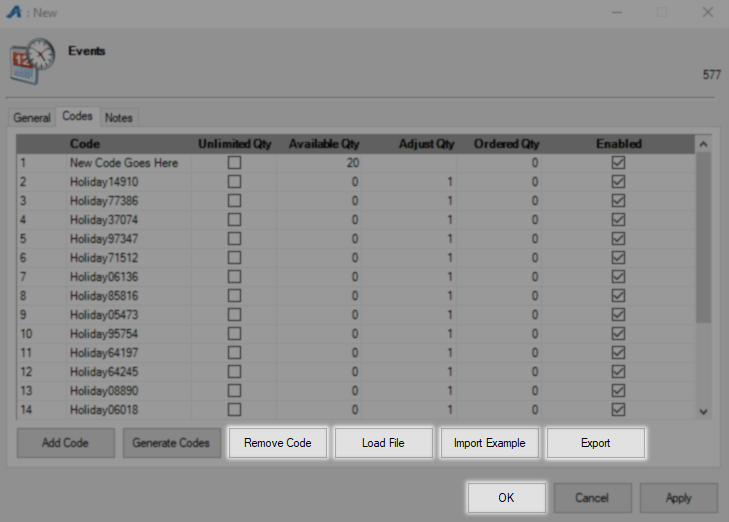
On the Codes tab here are your choices for how to create a code.
The Add Code button will create an empty promotion line which you can use to set a specific code. After the new fields appears click the empty space under Code to assign what your customer will use to activate this promotion.

Under Unlimited Qty you will find a check box, if checked this code will be usable an unlimited number of times until the end date is reached or the code is disabled. Leave this box blank to build a limited use code.
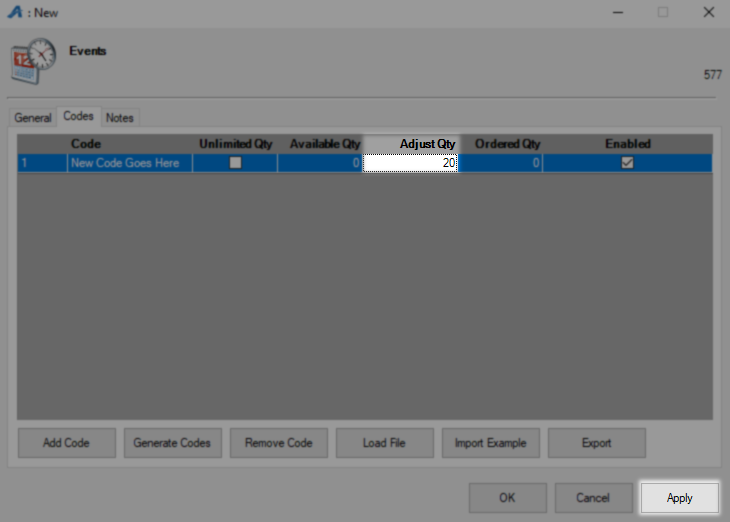
For limited quantity codes make sure the previous box is unchecked and then in the Adjust Qty field enter how many times this code should be usable and click Apply.
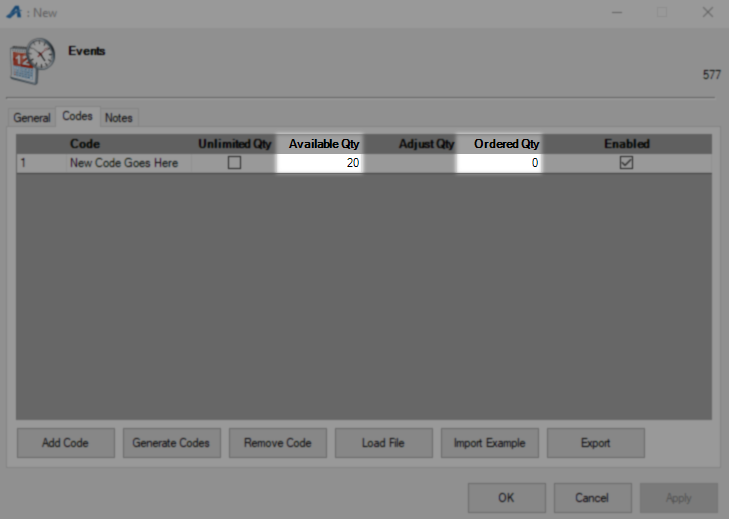
The number of uses this code has left is now shown in Available Qty and Ordered Qty is how many times this code has been used so far. You can subtract inventory from a code by putting a negative number in the Adjust Qty field.
To quickly generate any number of codes use the Generate Codes button.

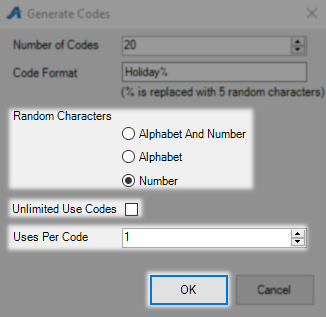
First option on the Generate Codes Window is Number of Codes which is how many promotion codes you want to create. In Code Format you have some power over the scheme these codes will be created with, if you leave this blank it will be treated as if you had put “%”.

Next are the settings that decide what random elements the system will use when generating these codes. Alphabet and Number will use letters and numbers in your code while Alphabet will use only letters and Number will use only numbers. Uncheck Unlimited Use Codes and assign an amount of uses with the Uses Per Code field if these are limited use codes. Click OK to generate these promotion codes.
On the Codes tab you will find all of the codes that were just generated, use the Remove Code button or uncheck the Enabled box for any code you do not wish to use. Load File will let you import an excel doc full of codes you want to create and Import Example will give you the needed format for that process. Export will create an excel doc with all of your current codes. Click OK to save and close.
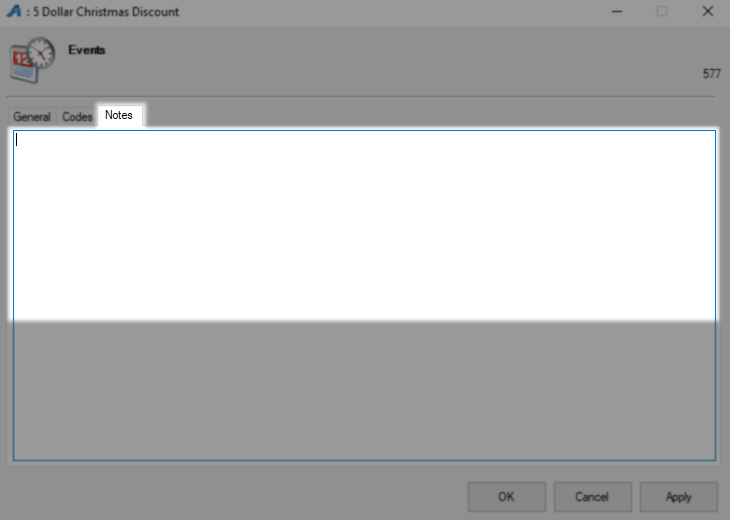
The notes tab is where you can put anything about this promotion someone may need to know in the future.
Once you have created your codes you need to attach them on the Promotions tab at the Event Price level by moving it from available to selected using the arrow button.