Group Pay Setup and Use.
Group pay allows your clients to split the check and receive tickets after pay off.
Group pay allows your customers, once a threshold amount is reached on the order, to put a down payment that will hold their tickets. Once the down payment is made the customer will receive an email with instructions on how to forward that purchase link to their group and collect the rest of the order total. When the order has been paid off the tickets will be released to the customer and all with no additional work on the part of the organization.
Group Pay Setup
Begin by Logging In to Agile Ticketing Solutions (ATS) administration and locate your organization house. Right-click your house and choose properties so you can confirm the group pay options you need will be available.
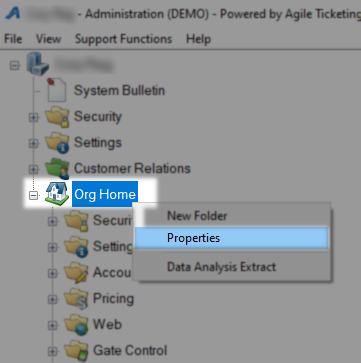
On the Tree Management tab confirm that Payment Policies is checked and click OK.
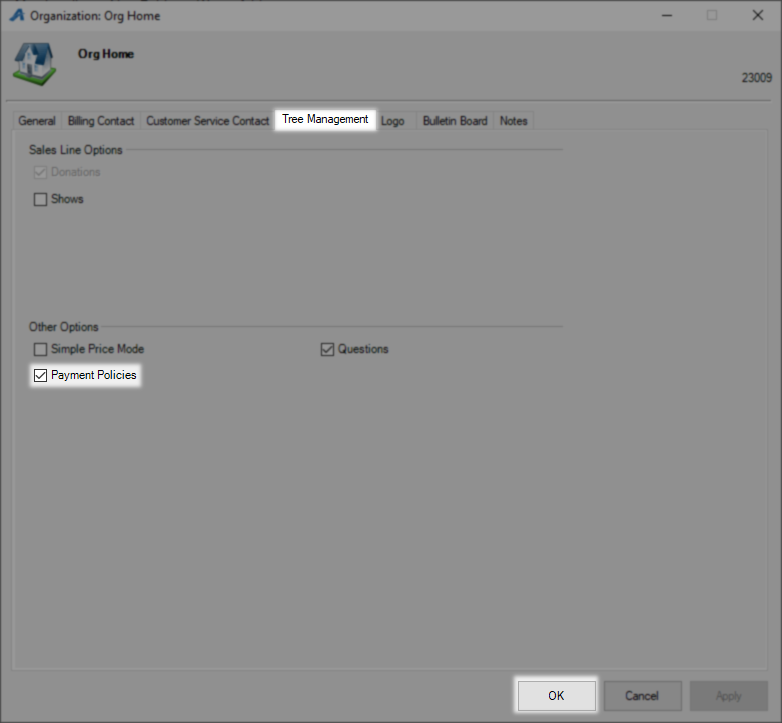
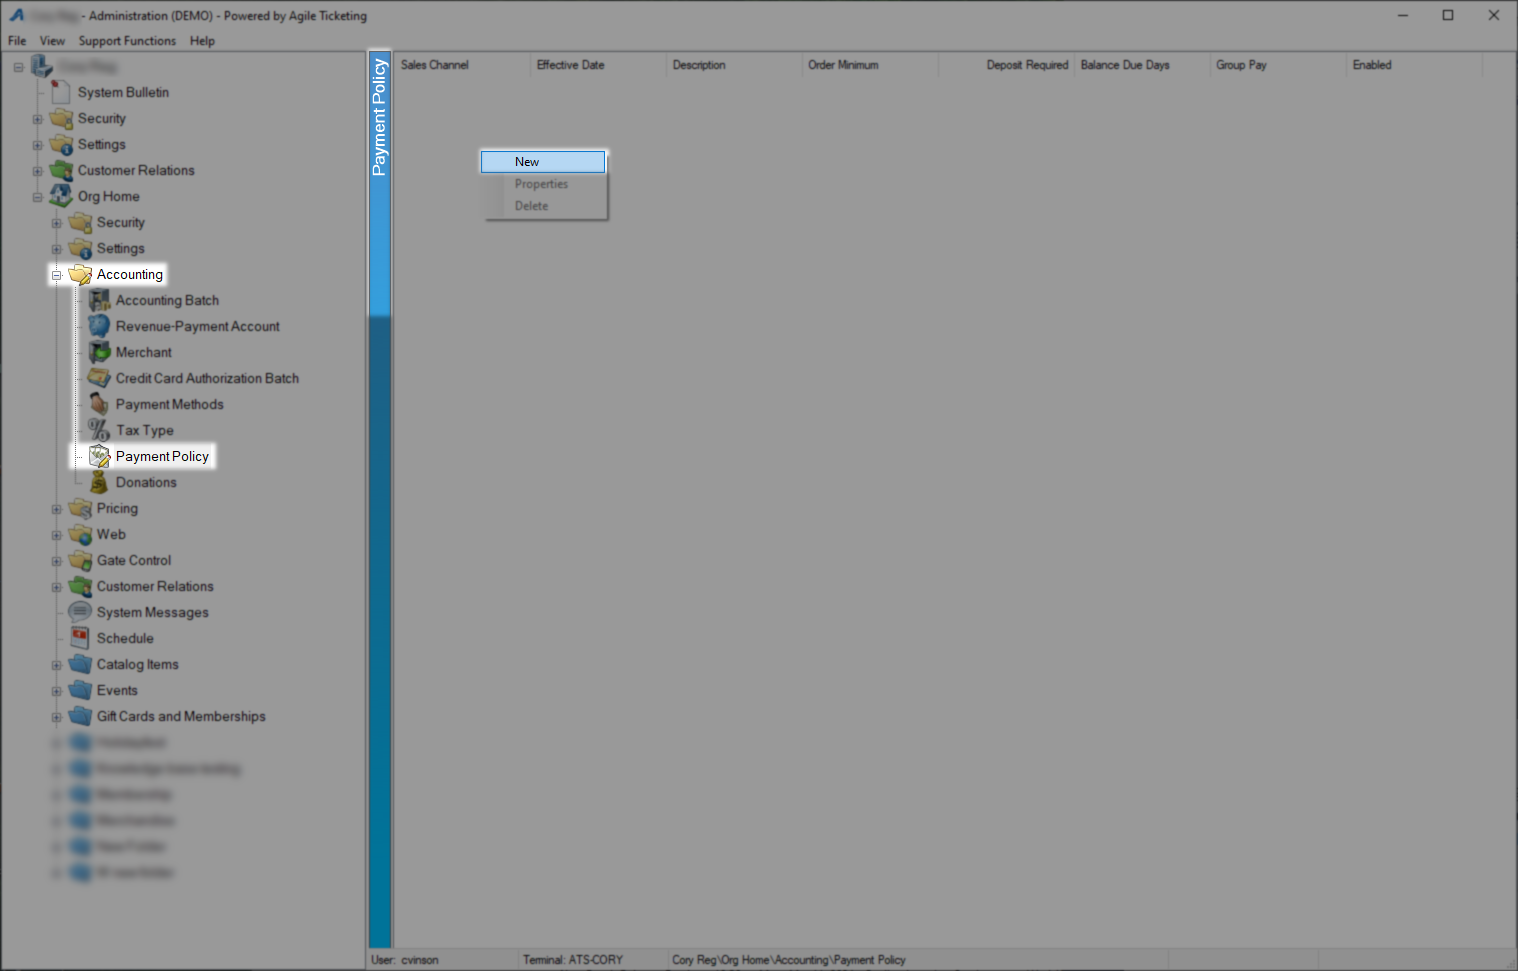
Still under the organization house open the Manila Accounting folder then find and click Payment Policies. With that open you can now right-click in the Payment Policies area and select New.
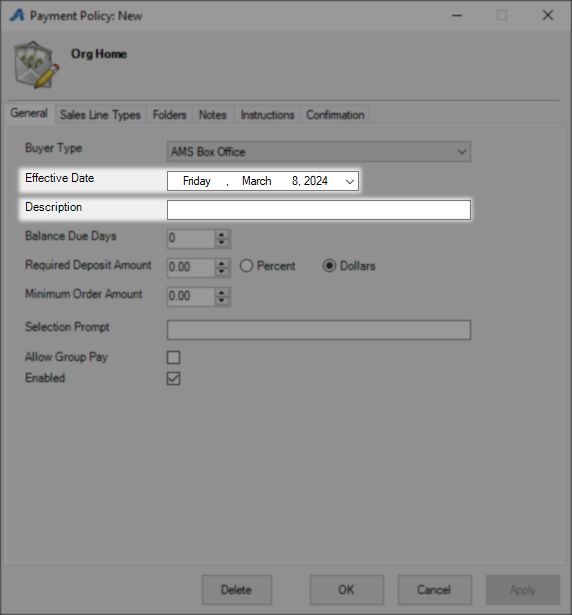
On the General tab of the Payment Policy: New window the Buyer Type is the first field to set and represents where this policy will function. You will need to build this policy for each buyer type you want it to apply to and will probably want to do AMS Box Office and Web Online.
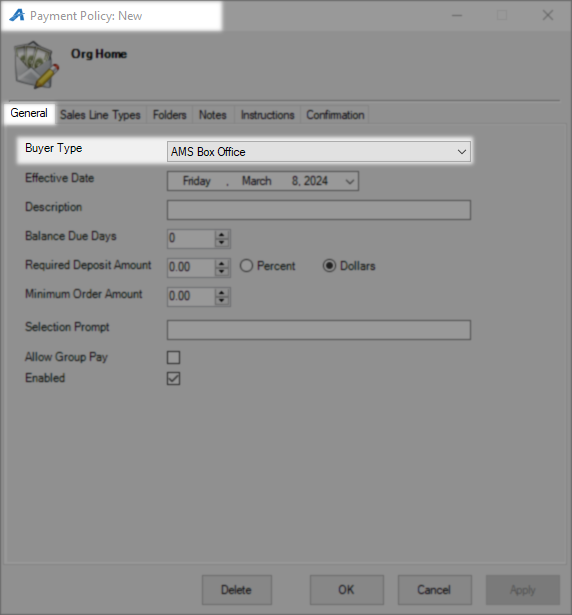
The Effective Date is the date this policy will go active and will default to the day you build the policy. Description holds a reminder of what this policy is for.
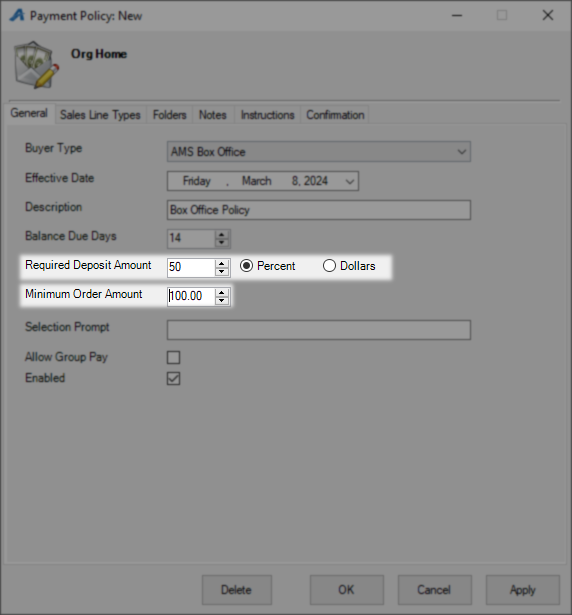
Balance Due Days is how many days from the purchase date this customer will have to collect the remaining funds. You will be able to see a list of group pay orders in fulfillment and if they are past this metric before deciding if you want to cancel that order.

The Required Deposit Amount is either the percent of the total purchase or the whole dollar value you want the purchasing customer to place down as a deposit. Minimum Order Amount is the minimum amount an order must total up to before the group pay options will become available.
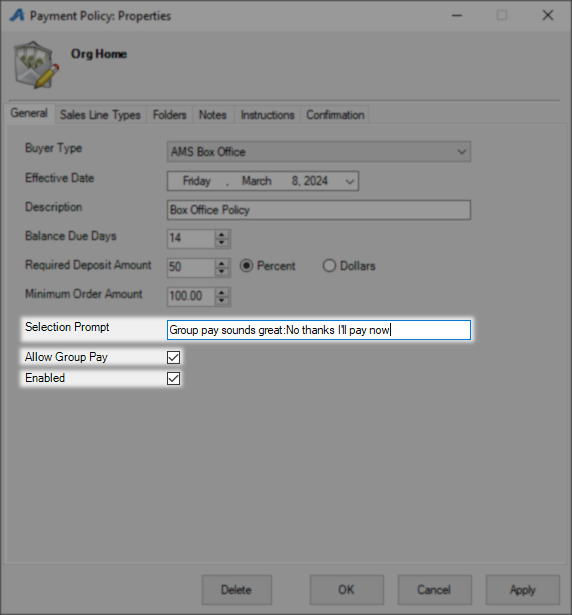
Selection Prompt allows you to change the accept and deny buttons for group pay which by default are yes and no. You can set those buttons to any other options you like by separating your options with parentheses as seen in the example. When changing these buttons your first option must be the affirmative option. Check Allow Group Pay and Enabled or this group pay policy will not be active.
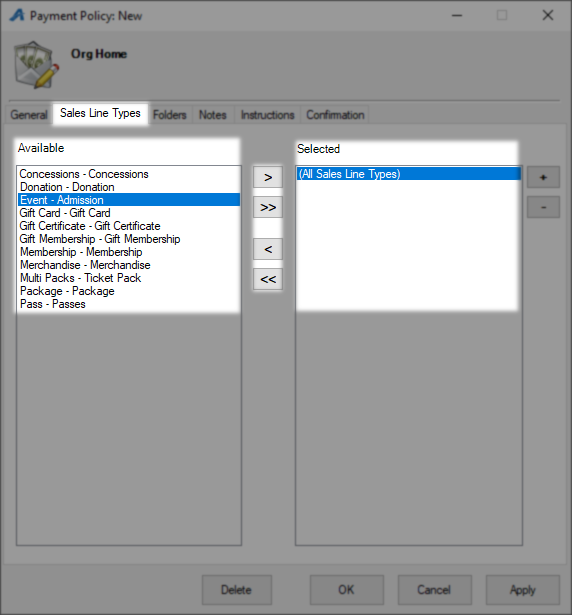
On the Sales Line Type tab, anything you move into the Selected column will be eligible for group pay. To restrict this policy to specific types of items move (All Sales Line Types) into the Available column using the arrows and then move the items you want to effect over to the right into Selected.
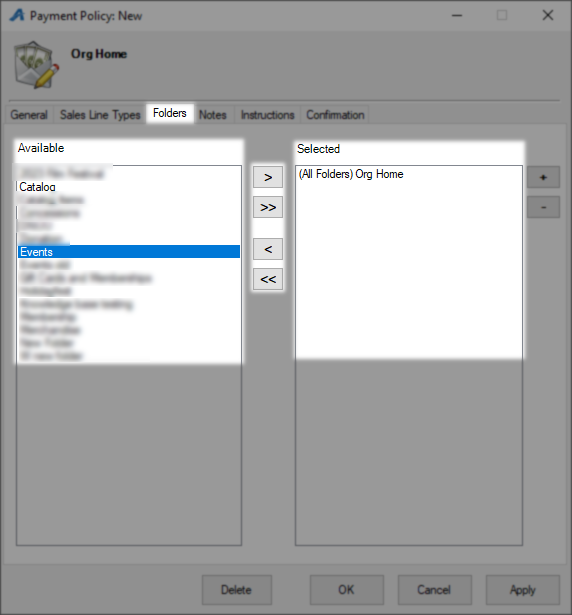
On the Folders tab, you have the option to further restrict where this group policy will apply or can leave (All Folders) Org Name in Selected to have it apply to all folders.
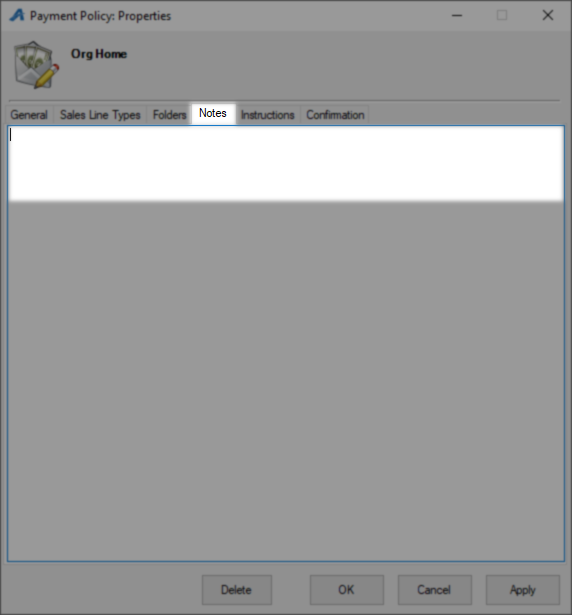
The Notes tab is a place to leave information someone may need in the future for this policy.
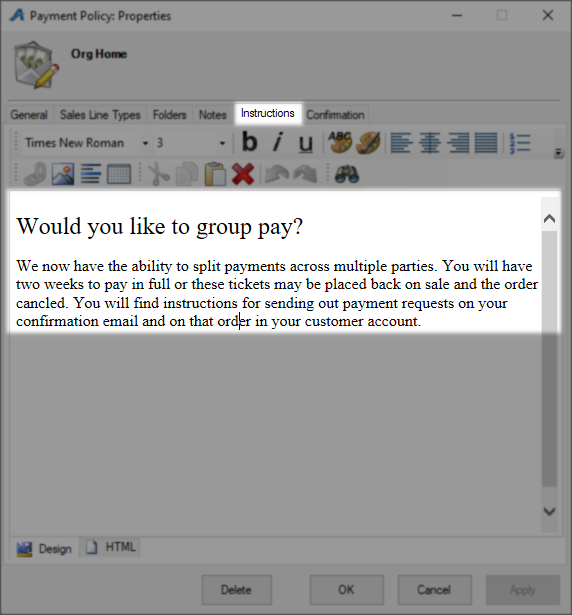
The Instructions tab is where you can phrase how you want to propose using group pay to your customers. If you have changed your yes and no answers with the selection prompt make sure your phrasing here works with those answers.
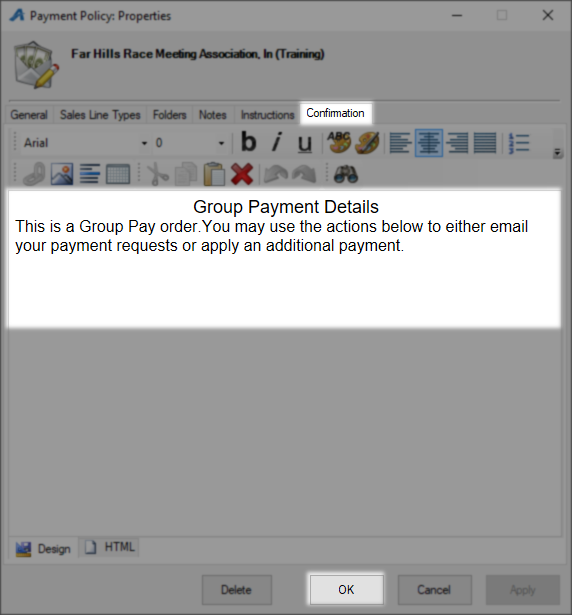
The Confirmation tab is where you can set up language to frame the options of making a payment or sending a link to someone else that will appear on this order confirmation window. The default is to simply present the two options as buttons. Click OK to save and close this payment policy and repeat for any other sales channels.
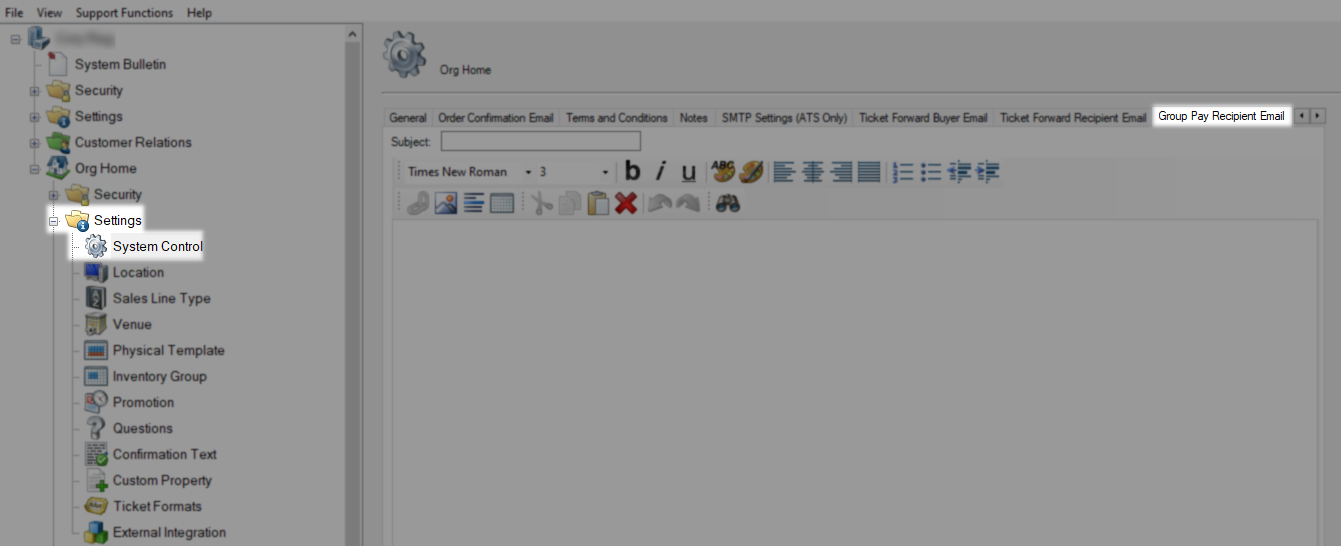
The Final step to clear communication is to set up a recipient email which you set up on the Group Pay Recipient Email tab. To find that tab open the Manilla Settings folder under your Organization House and click System Control.
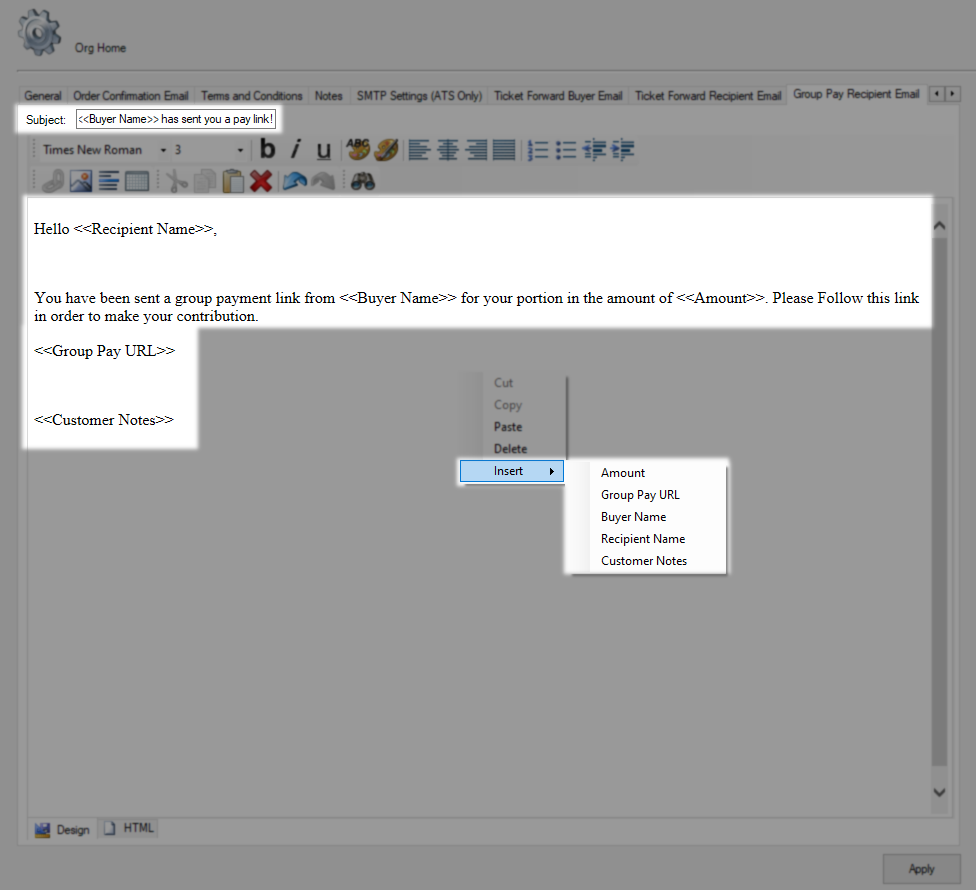
This email can pull elements from the order that generates it, you have access to these five elements by right-clicking in the email body and selecting Insert and one of the five choices. In the image below you will find an example that uses all five fields. To use one of these elements in the subject line you must type in the format shown as the insert tool only works in the email body.
Interacting with Group Pay orders
Now that your Group pay is set up and customers are using it you will need to interact with those orders. Follow the instructions below for the various Group Pay tasks you may need to perform.
Log into the web portal and open your Reports. In the Accounting section open Deferred Balance Orders. In the Sales Date Range field pick either a time frame such as yesterday or Specify Dates for a specific range such as your on sale to today. This report will show you the order number, customer name, and how much is left before the order is paid off.

Log into the ATS App Sales side and click Support Function along the top bar then select Balance Due Orders from the drop-down.

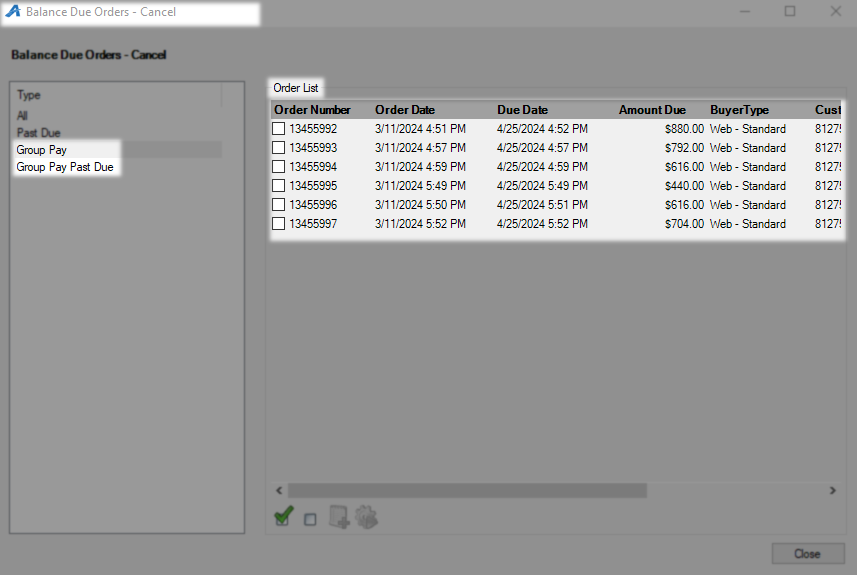
On the Balance Due Orders window select either Group Pay to see all active orders or Group Pay Past Due to see only orders that are past due. If you have any orders which meet these criteria they will be shown in the Order List to the right with an order number, order and due date, amount due, and customer contact info.
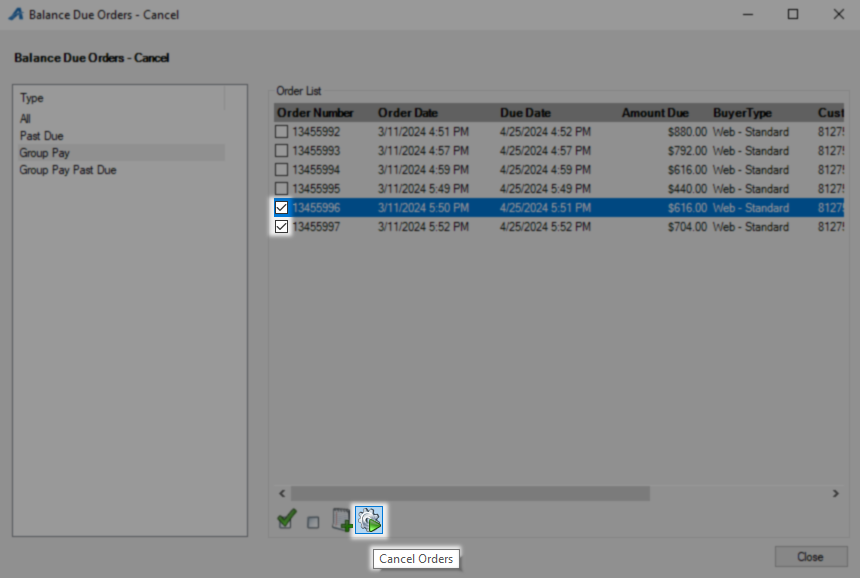
To cancel one or more of these orders put a check next to it and use the Cancel Orders button along the bottom row. This will cancel the full order and attempt to method of payment, you will be alerted to the success or failure of this attempt. This attempt failed due to being in the training environment but if this happens to you simply open the order and process a refund the usual way.


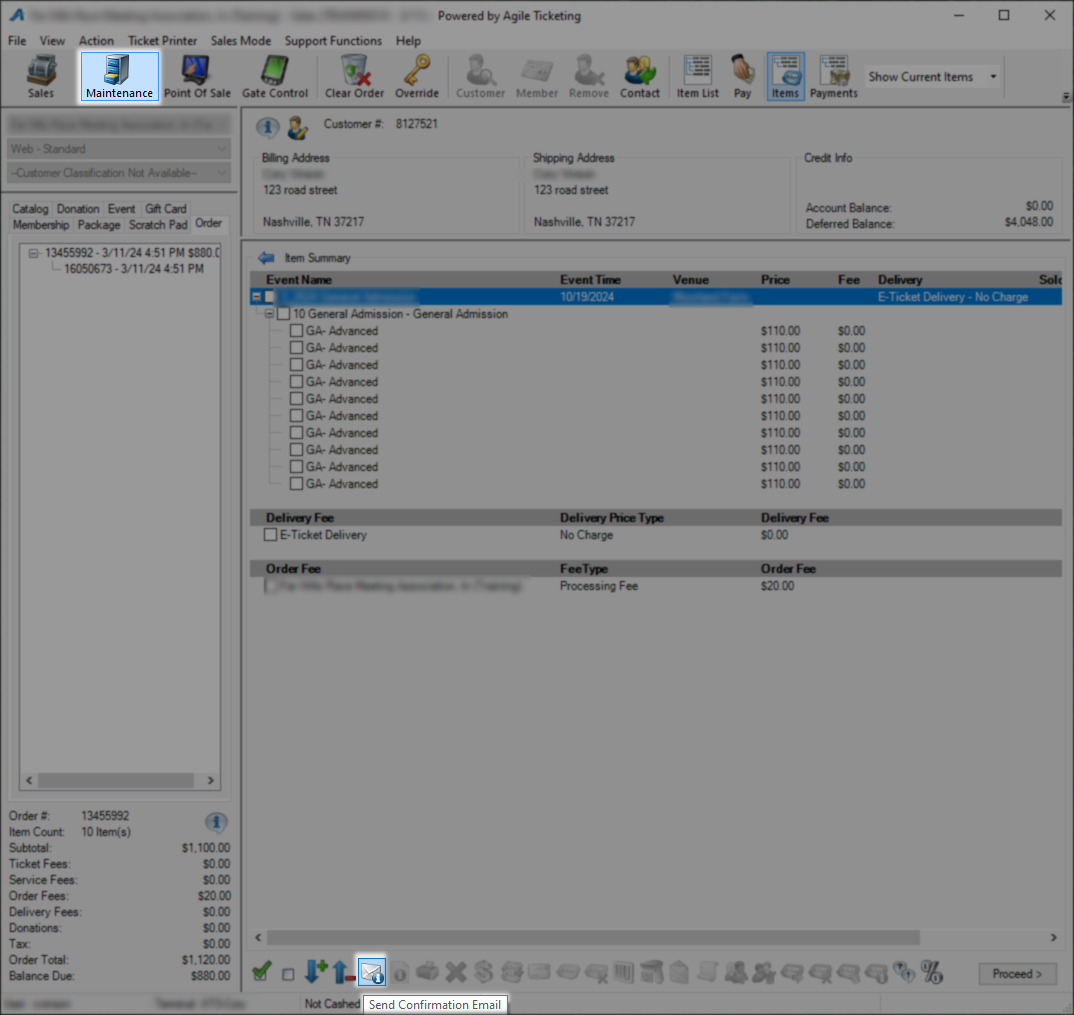
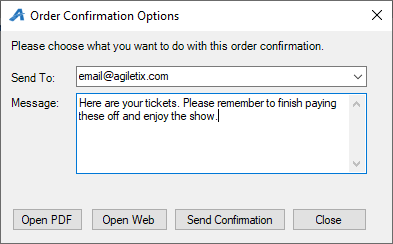
If you have identified a Balance Due order that has not been paid off but you would like this customer to have their tickets anyway you may manually send a confirmation to them. Begin by signing in to the ATS App Sales and search for the order using Maintenance. Once the order opens use the Send Confirmation Email button along the bottom row, confirm the email address, and add any messaging you want before using the Send Confirmation button.
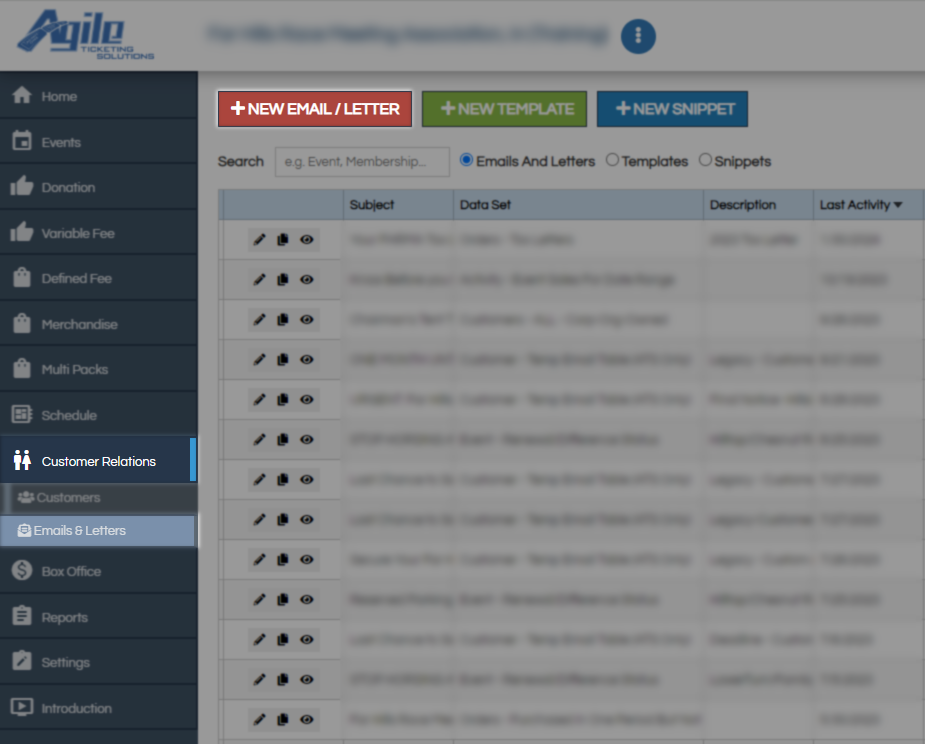
You may contact customers with balance-due orders all at once using our CRM found either in the ATS App or on the Web Portal. This example will use the web portal so begin by logging in there to follow along. Once you have signed in click Customer Relations on the side bar then Emails and Letters. To create a new email for the purpose use the red New Email/Letter button at the top on the next screen.
For Data Set scroll down and select Orders - Balance Due Orders and then click continue.

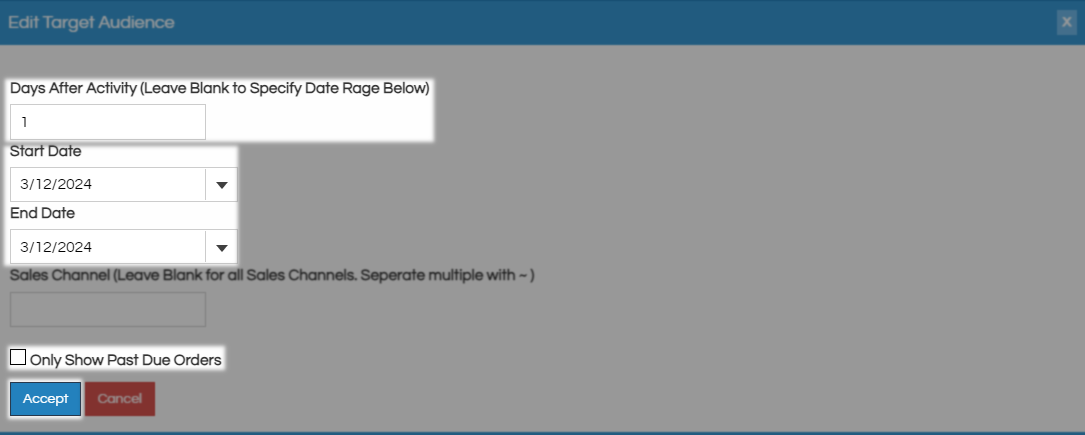
On the Edit Target Audience window, you can either choose to see all balance due orders older than a certain number of days using the Days After Activity field or inside of a date range using the Start and End Date fields. Using either method if you only want orders that are past due use the Only Show Past Due Orders check box then click Accept.
Now on the Email Setup window, you can make changes with Edit Target Audience or Preview who will get this email using the buttons above the subject line. From here simply craft the email you want these customers to receive using any or all of the variable fields available on this data set. Click Save Changes to save this as a draft and Send if you are ready for customers to get this email.
