Creating Assignment Policy
Setting up assignment policy and buy one get one deals
A Ticket Assignment Policy (formerly called the Comp Policy) allows organizations to create a certain set of rules that will allow you to assign additional tickets to a single ticket purchase. You can use this feature to build a BOGO promotion or, if you are selling tables, it will allow you to bundle all of the seats at that table to be purchased under a single price. You can also use a ticket assignment policy to make sure a reserved parking space or box will come with certain number of general admission tickets. Before proceeding make sure that you have both the assigning and assigned ticket prices built and ready to go.
New Assignment Policy ATS App
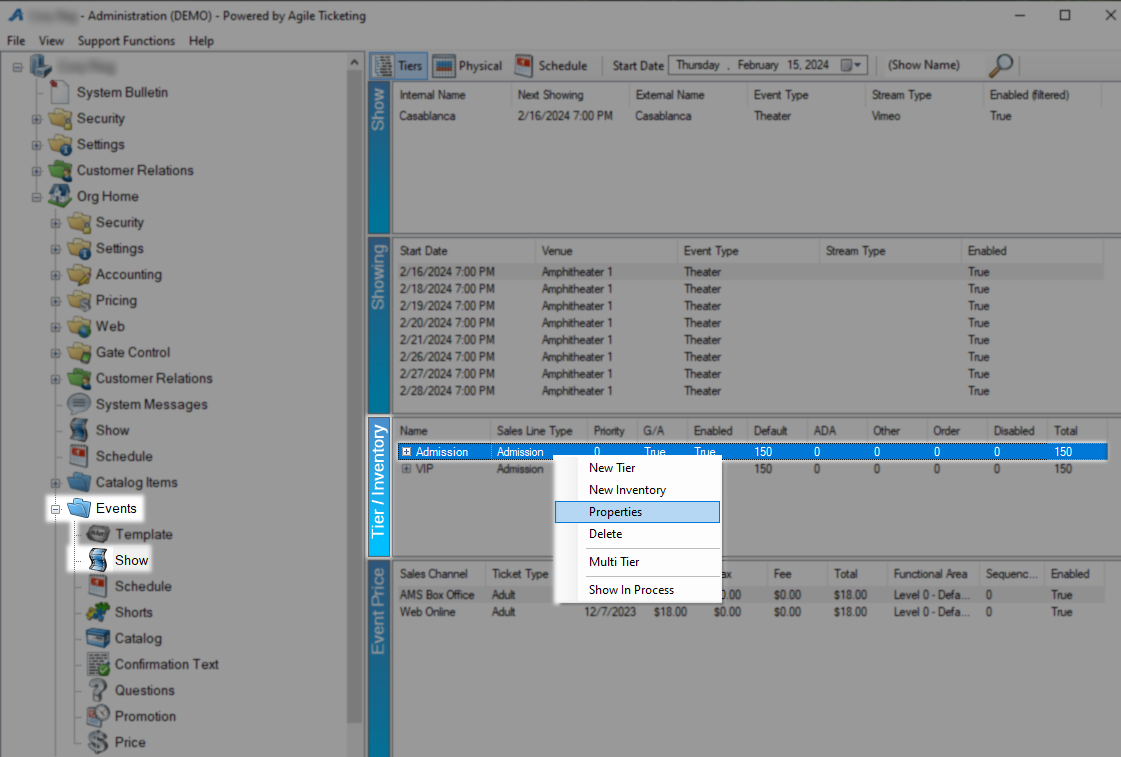
Begin by Logging In to Agile Ticketing Solutions (ATS) administration and find the Blue Folder containing the show or event customers will purchase to trigger this policy. Open up your Show or Event and select a specific date and time to load the the Tier/Inventory. Right click the tier that contains the ticket customer will purchase and select Properties.
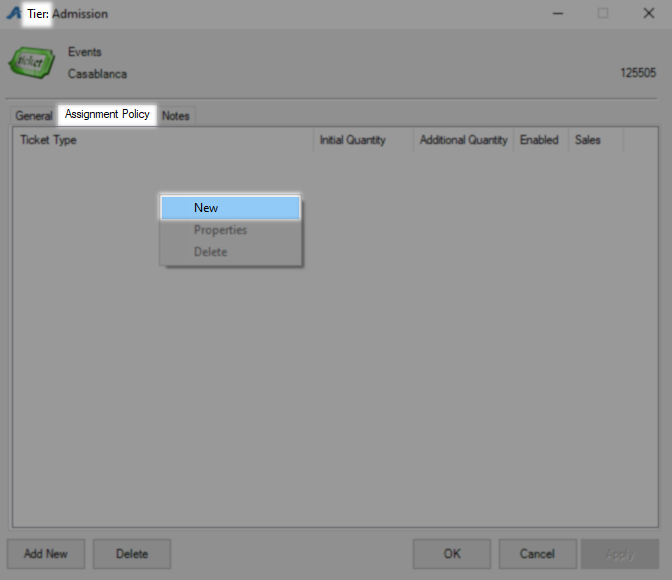
On the Tier window swap to the Assignment Policy tab and right click in the empty white field and select New to begin creation.
On the Assignment Policy: New window you will be on the General tab to start. Ticket Type is the first field to fill in and this is the ticket that will trigger the policy to fire. You can select “Any Ticket Type” to have this policy apply to all tickets under this Tier.
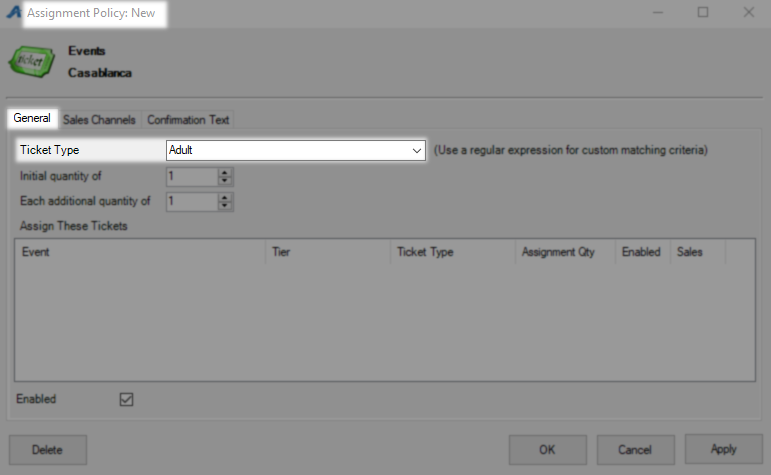
Initial Quantity of is the number of tickets a customer must purchase before this policy is triggered. Each Additional Quantity of is the amount after the original purchase after which the policy will trigger again. In this example the policy will trigger once after three tickets are purchased and again for every additional three tickets purchased. Right click in the Assign These Tickets field and select New to set the tickets customer will be assigned.

On the next screen in the Assignment Qty window pick how many tickets will be given when the policy is triggered. Putting a one here means that you are giving away one ticket for every three you sell when combined with the previous settings.
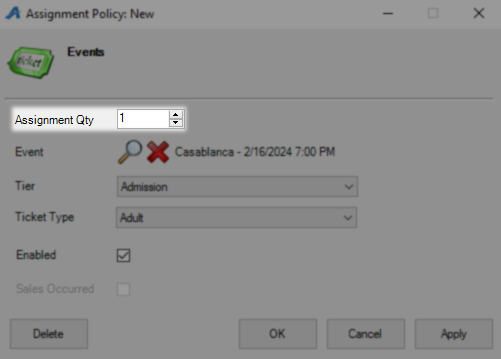
At Event use the Magnifying Glass to launch the Event/Showing window where you can target where the assigned tickets will come from.
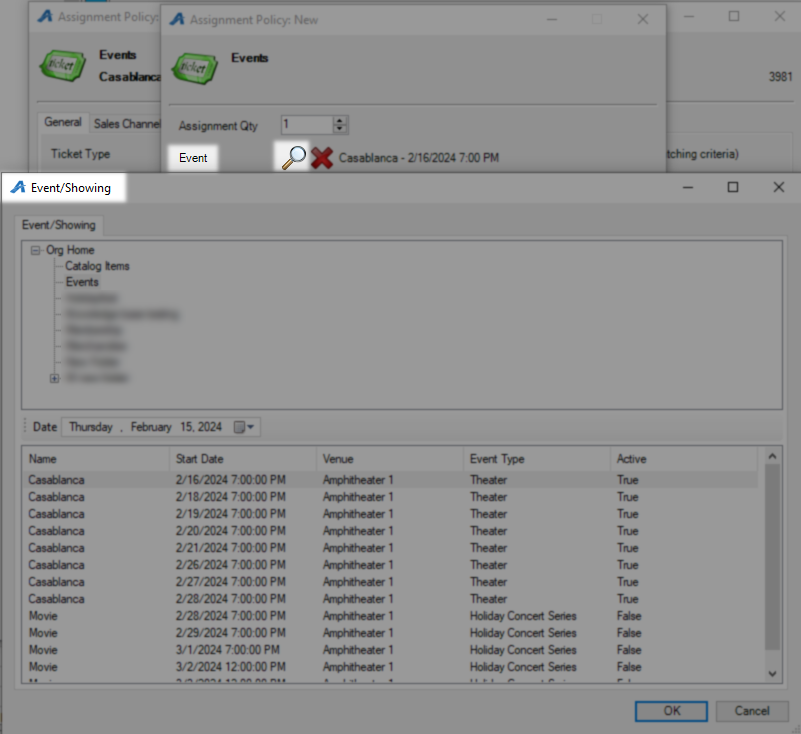
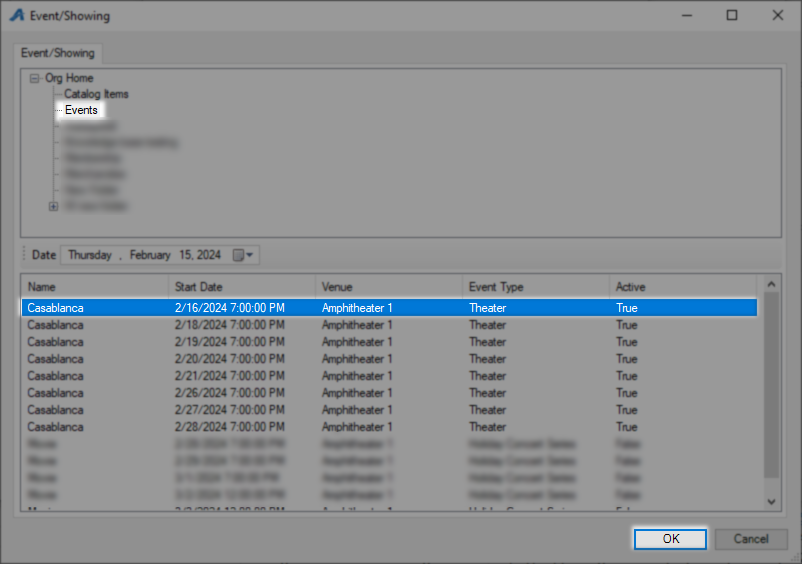
Select the folder of the event you are assigning and then select the specific showing or event the ticket will come from. Click OK to make this selection and go back a screen.
Tier needs to be the tier where your ticket to be assigned can be found and finally in Ticket Type you can select that specific ticket. Leave Enabled checked and click OK to save these settings.
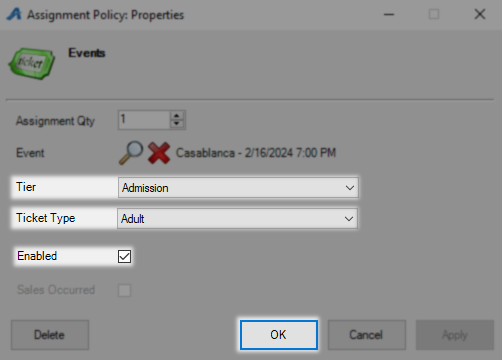
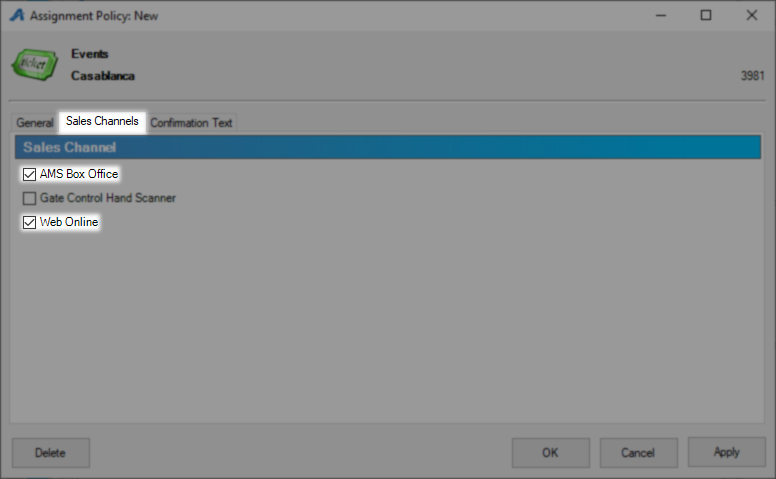
Back on the Assignment Policy New window you should see your completed assignment policy. Next on the Sales Channel Tab you must select the sales channels where this assignment policy should apply. It is best practice to turn this on for Web Online and AMS Box Office if you turn it on for either.
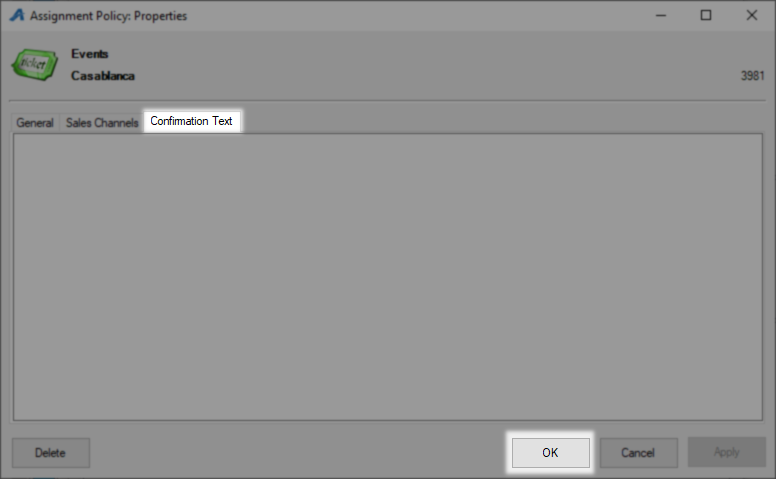
The Confirmation Text tab gives you a place to put a message that will be included on any online or e-delivery order where this assignment policy has been triggered. Click OK when you are done to save and close this assignment policy and OK one more time to close and save your Tier.
New Assignment Policy Web Portal
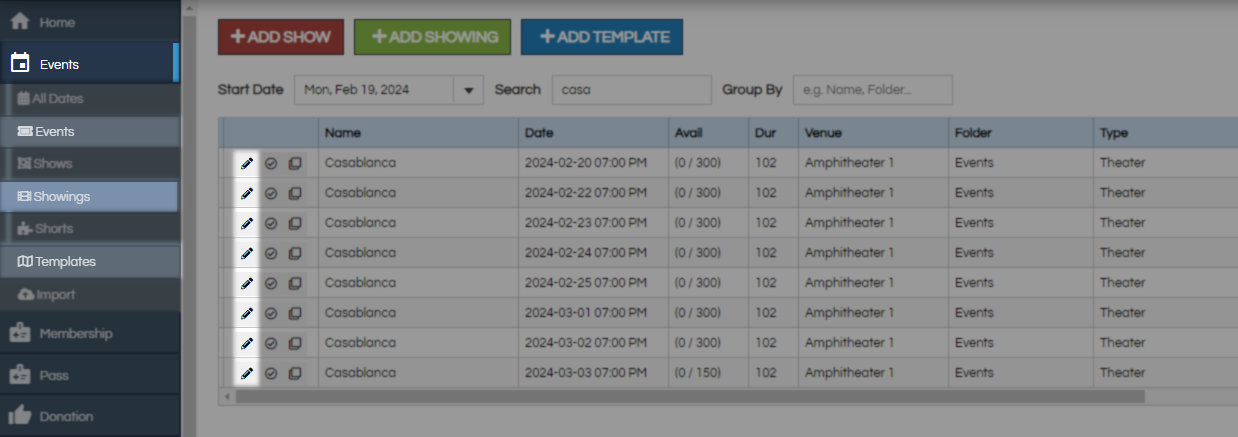
Begin by Logging In to the Web Portal and click Events on the left menu, from here you can select Templates, Events, or Showings. On your next screen click the Edit Pencil next to specific showing, events, or template where this assignment policy will live so we can get to the Tier/Inventory.
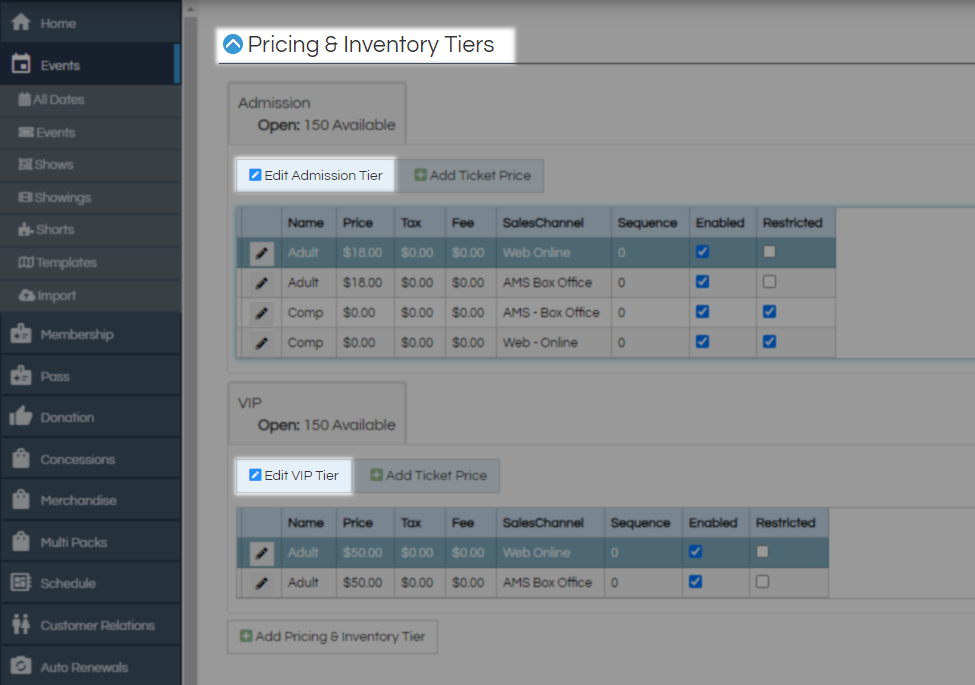
At the Pricing and Inventory Tiers level click Edit tiername Tier on the tier where your ticket for sale is built.
On the Pricing and Inventory Tier Edit window select the Assignment Policy tab and click Add New Assignment Policy button to begin creation.

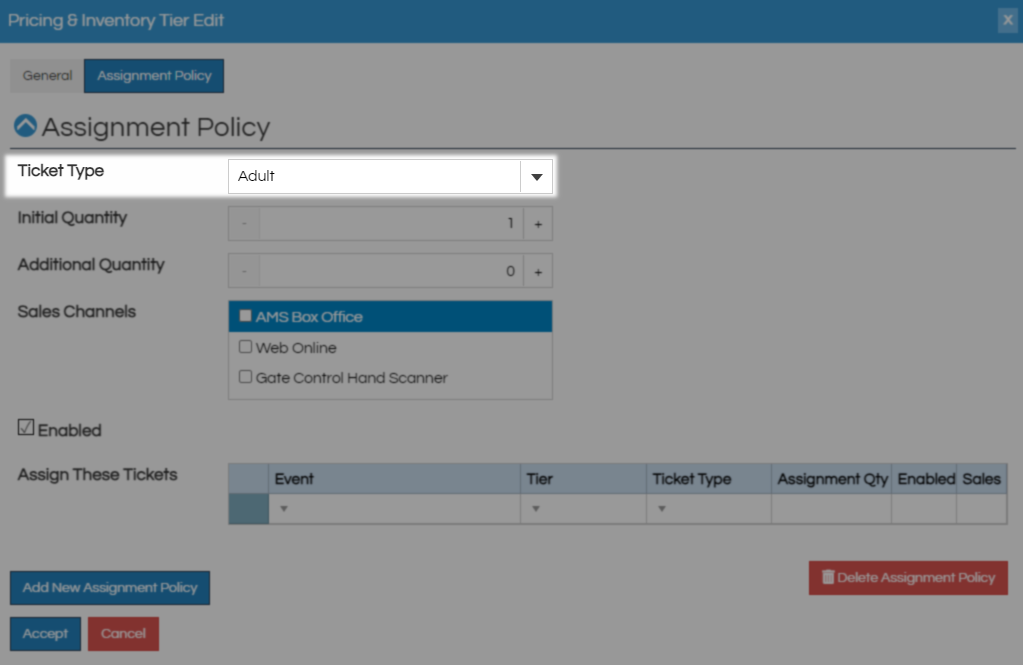
Ticket Type is the first field to fill in and this is the ticket that will trigger the policy to fire. You can select “Any Ticket Type” to have this policy apply to all tickets under this Tier.
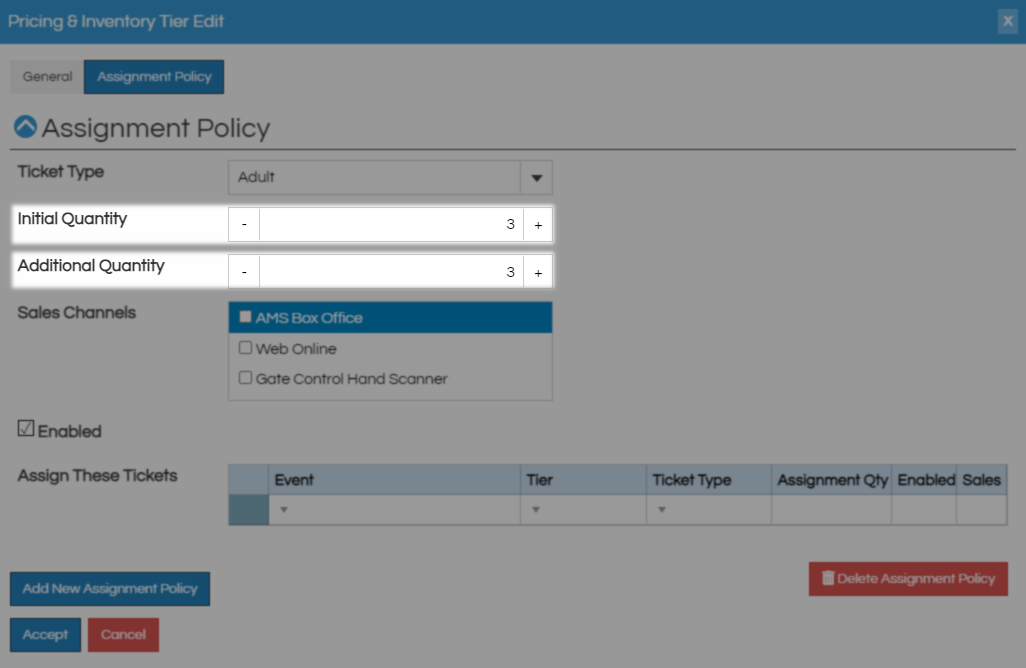
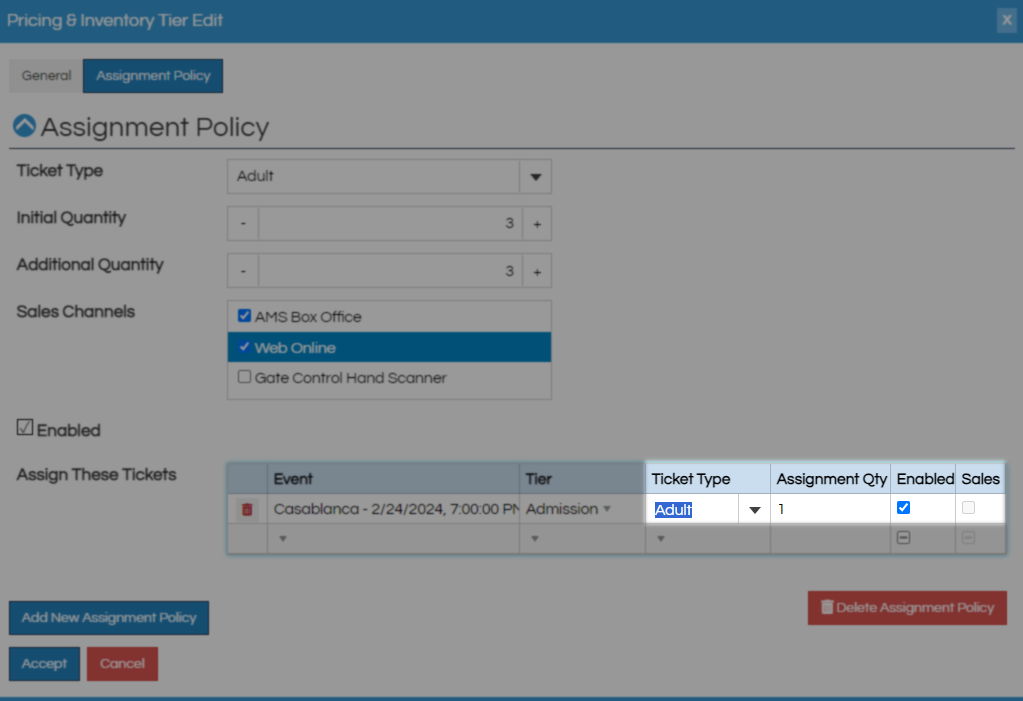
Initial Quantity is the number of tickets a customer must purchase before this policy is triggered. Additional Quantity is the amount after the original purchase after which the policy will trigger again. In this example the policy will trigger once after three tickets are purchased and again for every additional three tickets purchased.
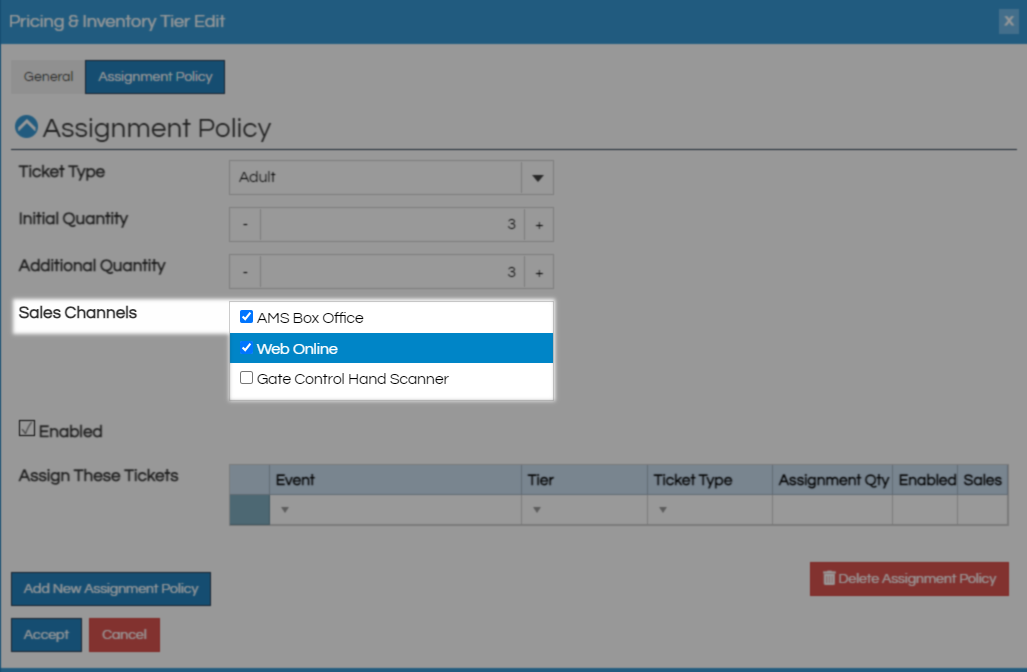
Next is Sales Channel and you should pick all of the sales channels where this policy will trigger. It is best practice to turn this on for Web Online and AMS Box Office if you turn it on for either so that your web and box office are offering a unified experience.
In the Assign These Tickets section click on the Down Chevron at the Tier to start picking the ticket customer will have assigned to them. The Event section will auto populate with the showing you are working on and the Tier drop down will list out the available options for this showing tier.
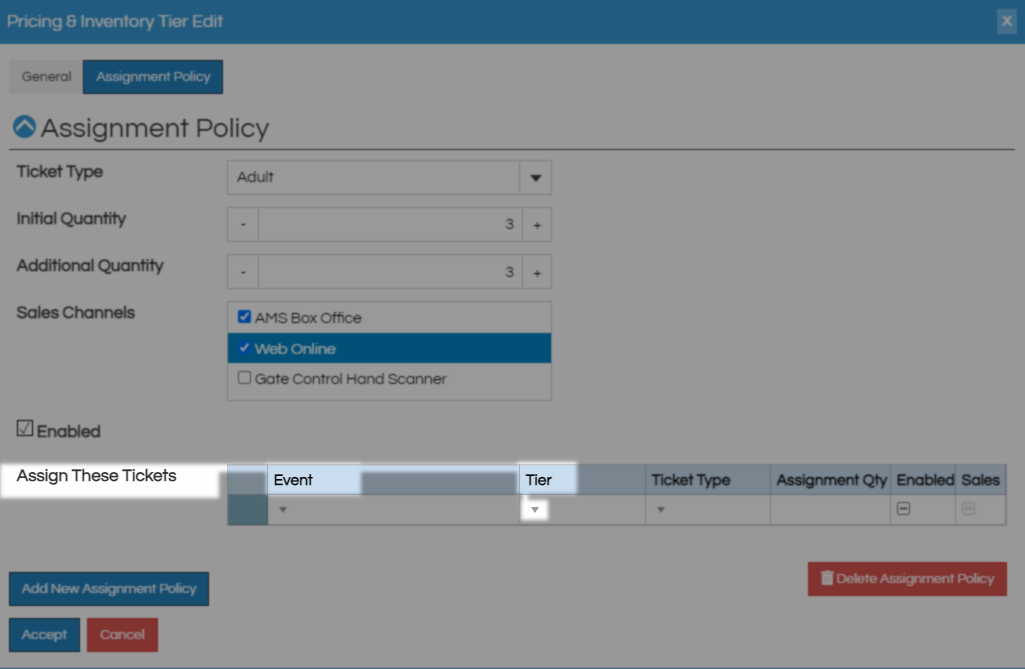
Now that a Tier has been selected and the Event has populated you must pick the ticket customers will have assigned to them in the Ticket Type column using the drop down chevron and decide how many tickets of this type customer will be getting in the Assignment Qty field. Make sure Enabled is checked for this to be active and if you see a (-) in the Sales box this policy has already been used to assign tickets.
From here if you need this showing to have another assignment policy click the Add New Assignment Policy button otherwise click Accept to save and move back to your showing, event, or template page.
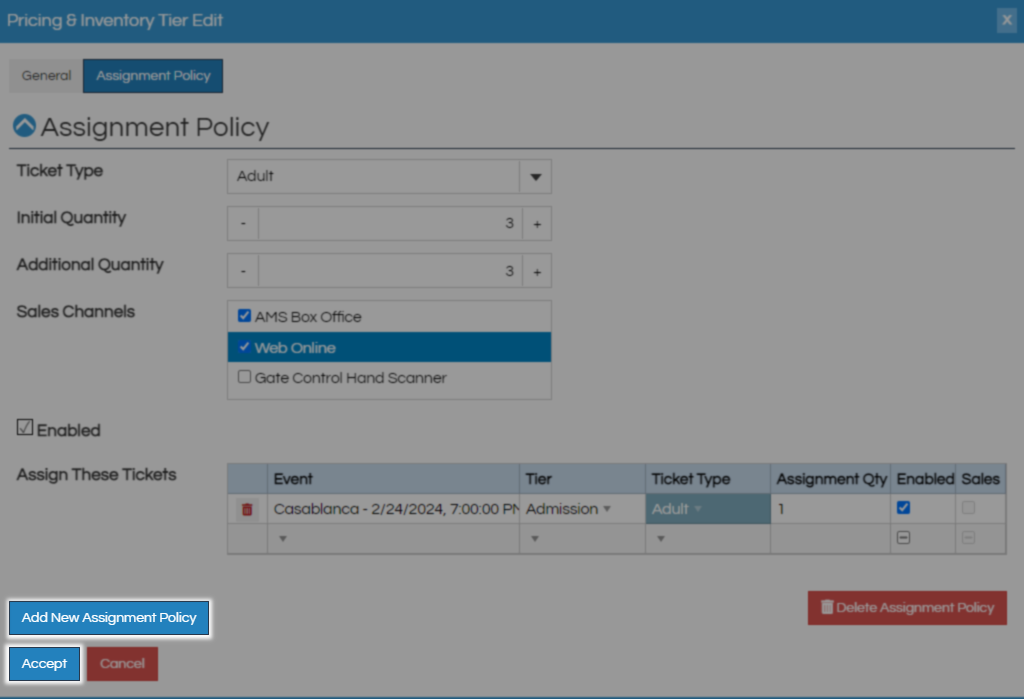
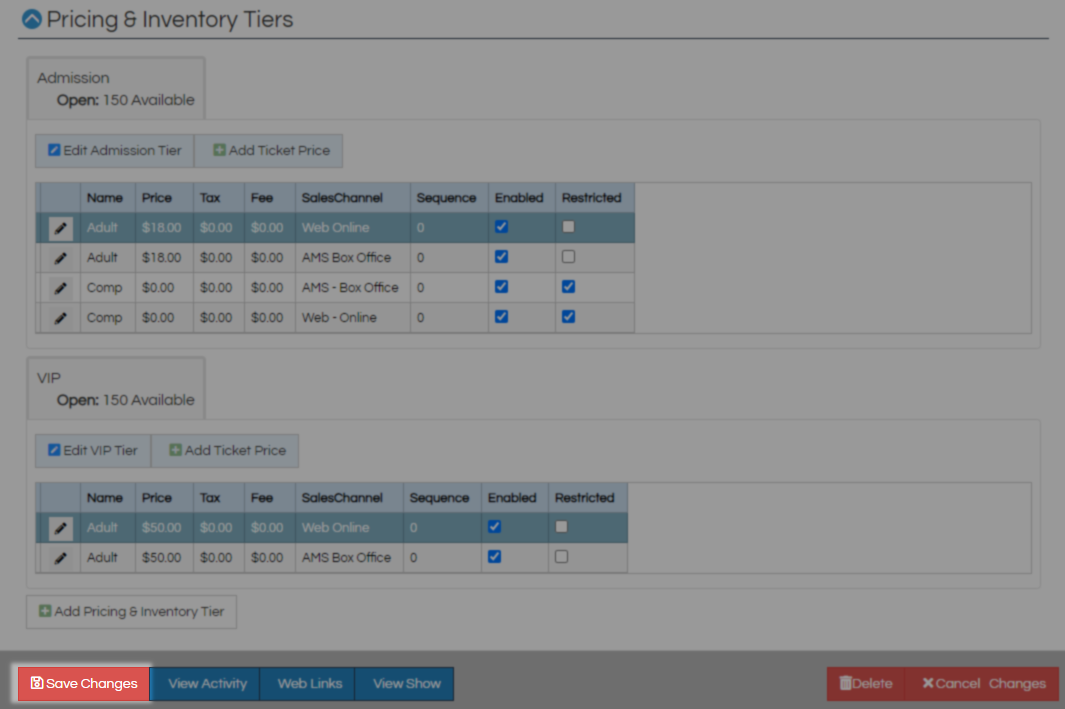
Click Save Changes to make your changes live.
