Making a Sale in Point of Sale
How to sell any item in point of sale mode.

Table of Contents
Point of Sale or POS is the touch-optimized sales platform built into the AgileTix software.
Begin by Logging In to the AgileTix App on the Sales side and launching the POS.


Next, you will need to cash in following These Instructions or you will be automatically cashed in with no cash drawer by the system after a pop-up confirmation.
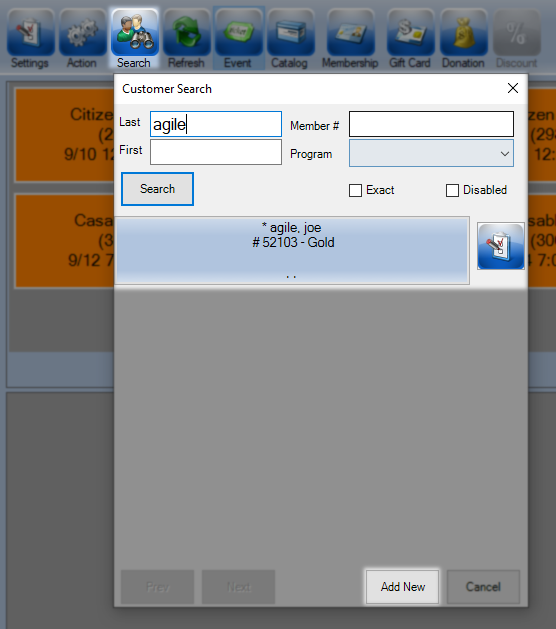
As the box office you have the option to do a sale with no customer attached. It is best practice to add a customer whenever possible. You may attach a customer to an order all the way up to the time of purchase by searching for them or adding a new customer record.
Below select the item you would like to sell for instructions and best practice on that process.
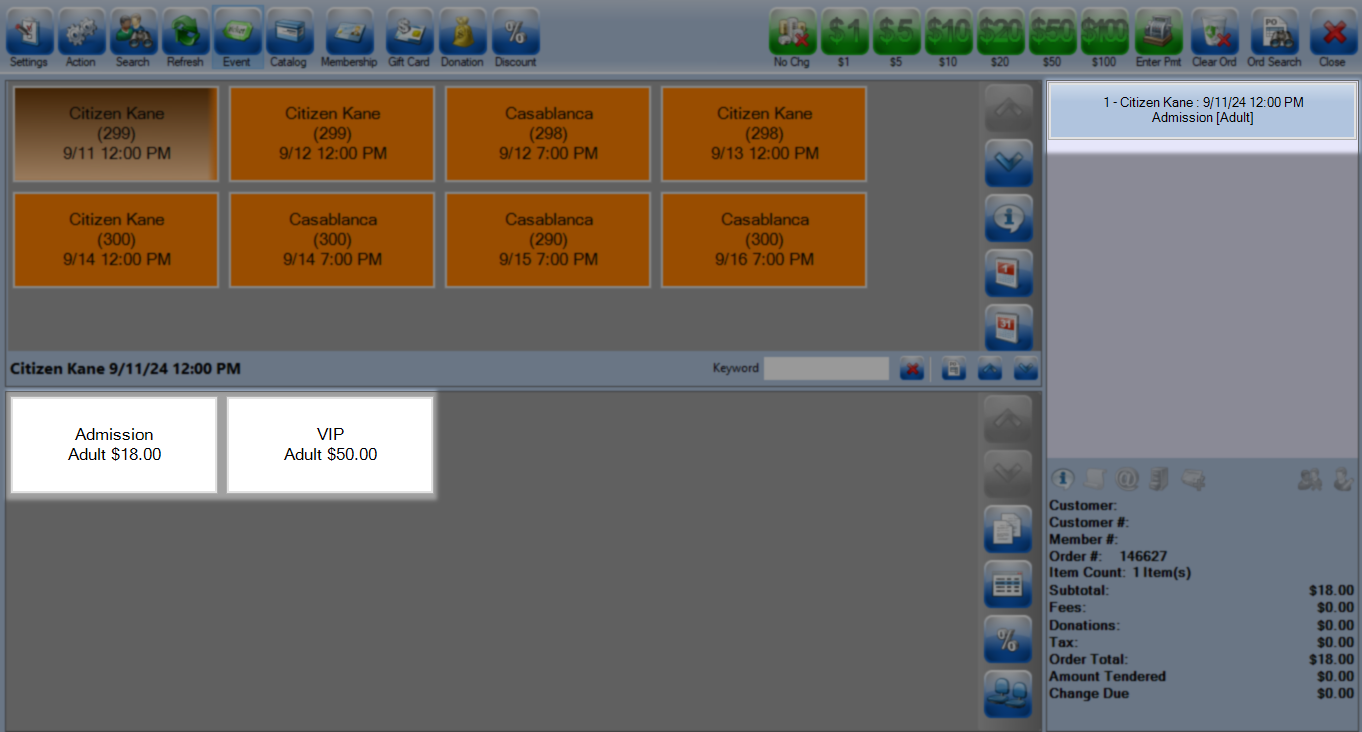
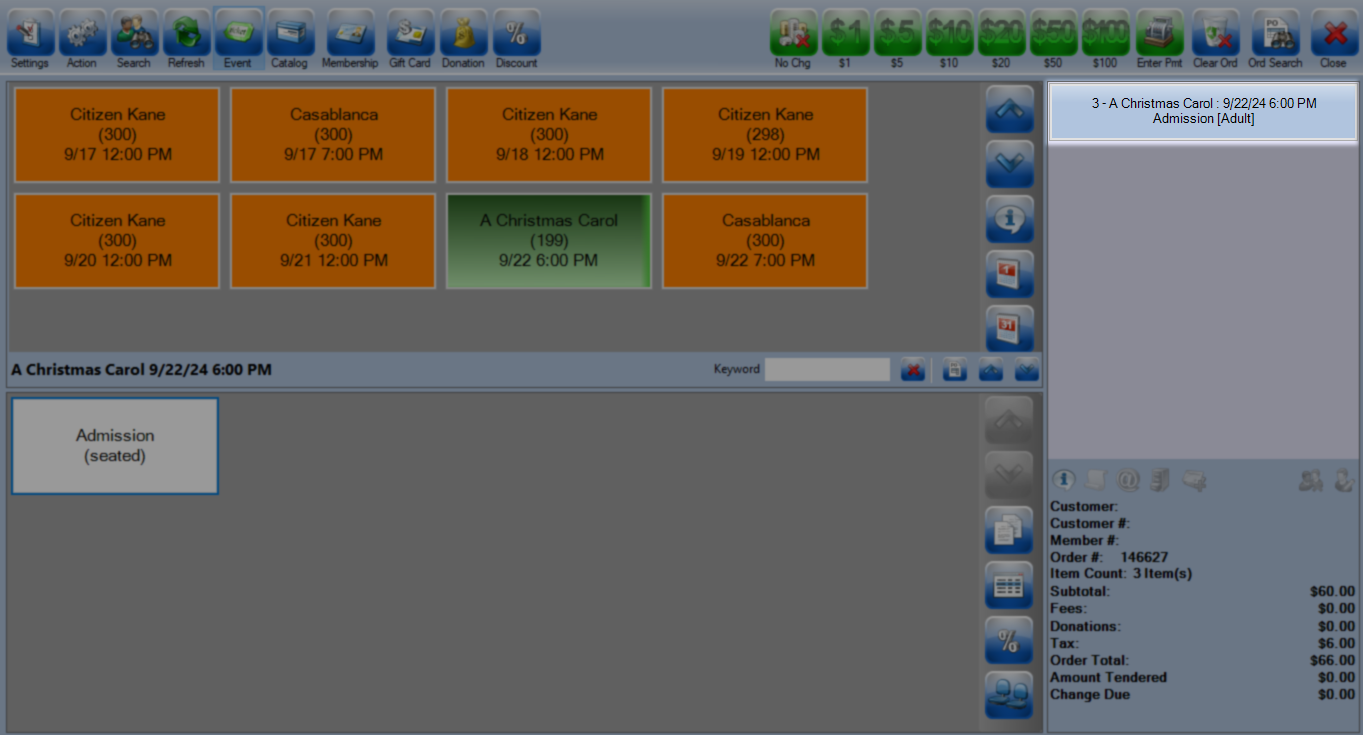
Click Event along the top bar and in the item selection area choose the event you want to sell.

Next, pick the type of show you want to sell.
Selling a general admission show requires only that you pick the ticket tier and type then it will be added to the cart area.
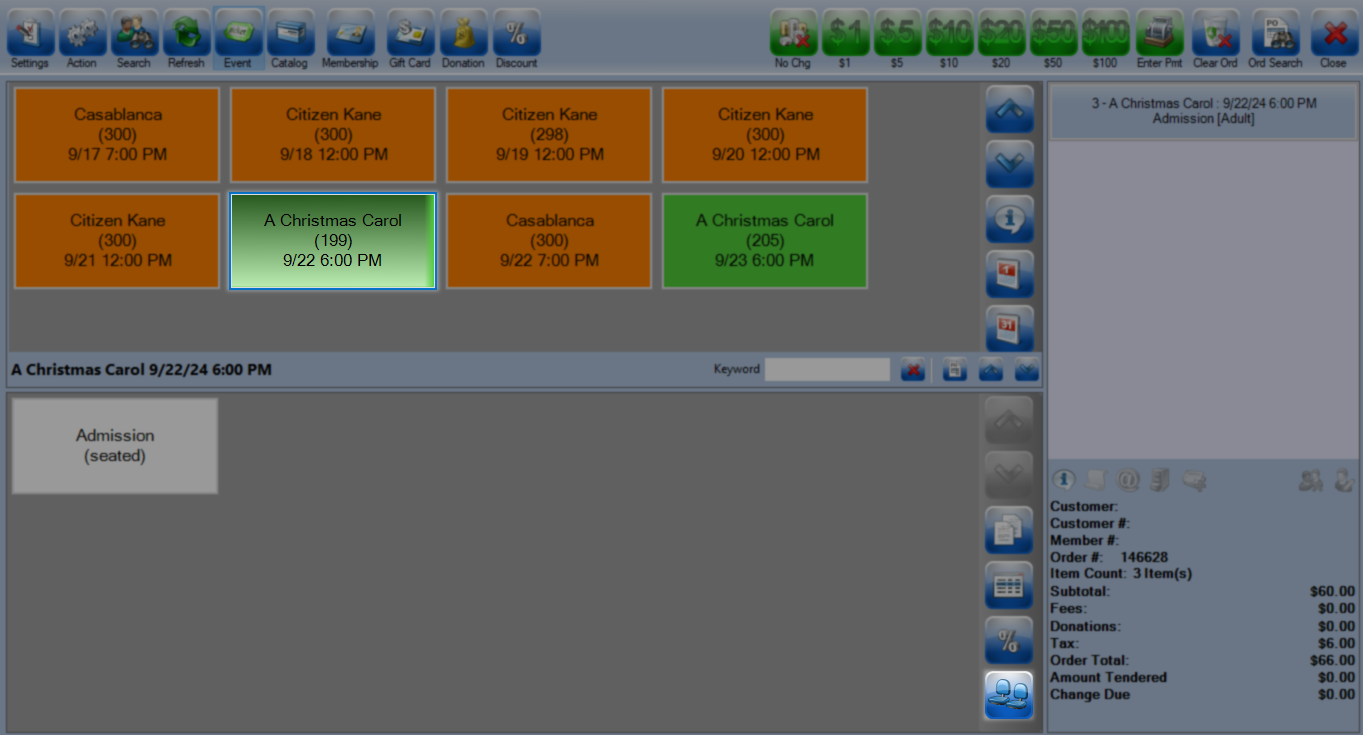
When selling reserved seating events you can let the system assign the seats based on subsection and seat number or assign the seats manually.
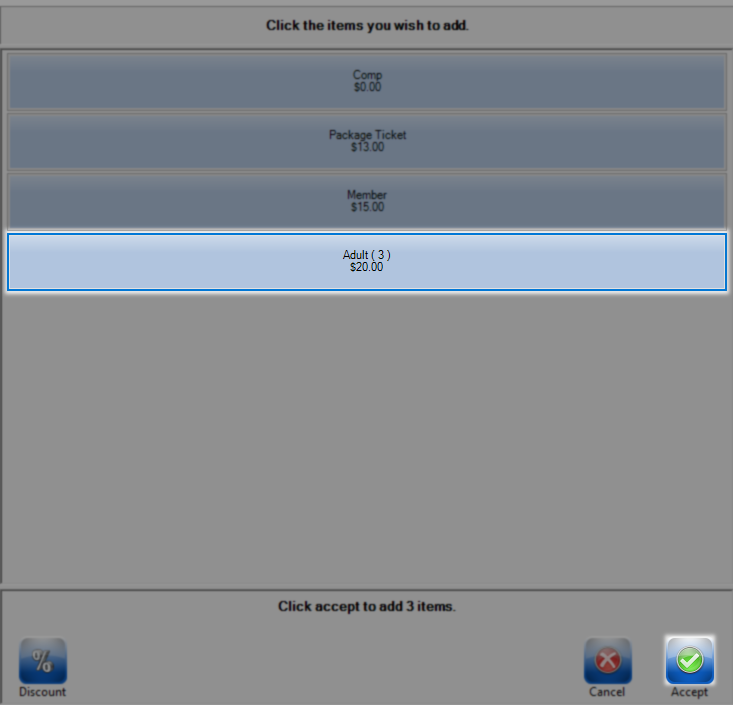
In the item pricing area select the tier you want to sell from to load the item pricing window. Once that loads select your tickets by clicking them like normal and use accept to move those items to the cart and assign a number to them.
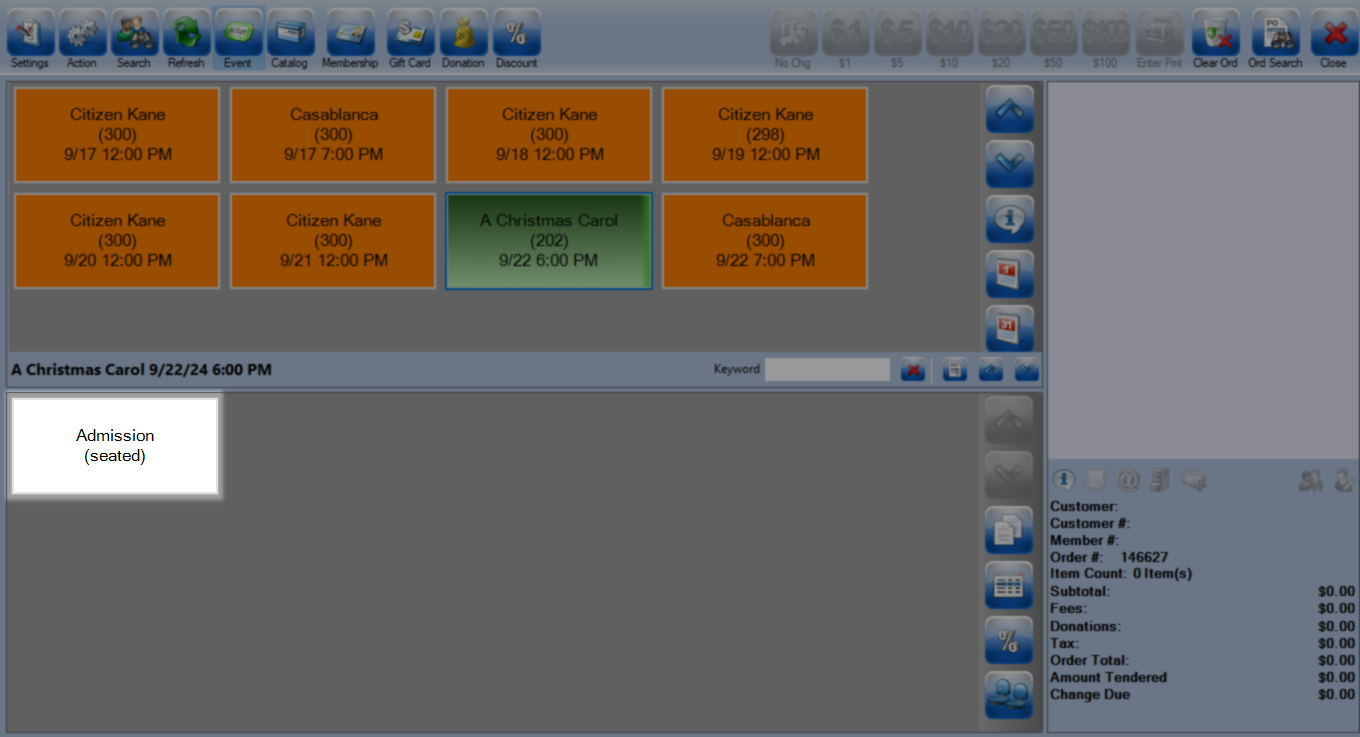
After selecting the show you are selling from click the two blue seats button in the margin of the item pricing area to launch the seating map.
Can't find the blue seating button?
If you can not locate the blue seating button it is likely hidden on the extended menu which you will have to expand. To find those click the white arrow button at the button.
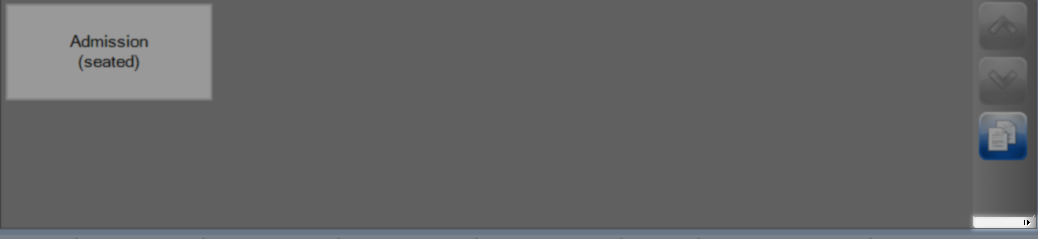

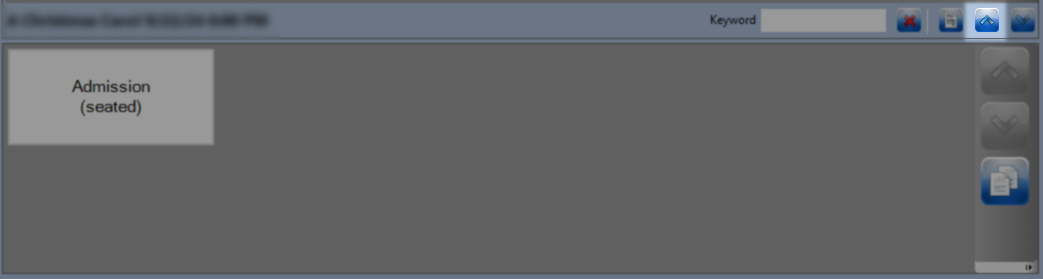
To bypass this step use the blue up arrow to allocate more space to pricing which will load the entire menu.

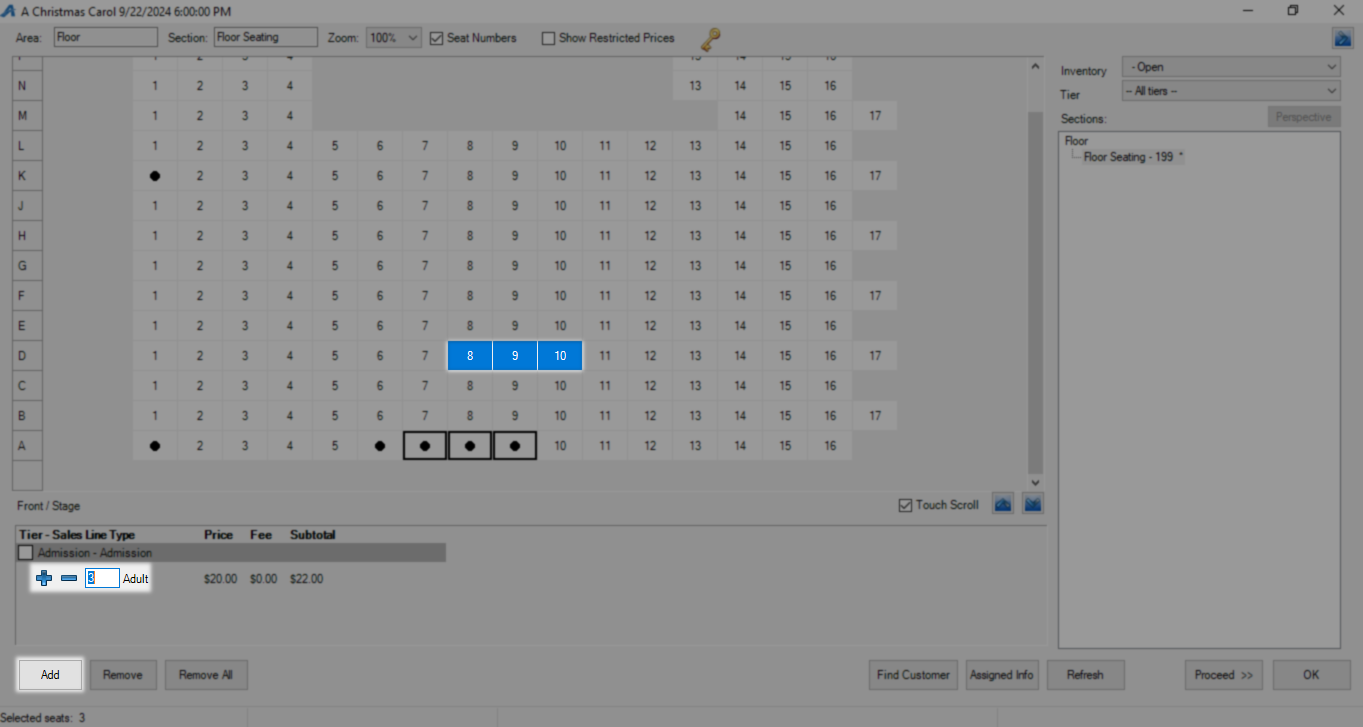
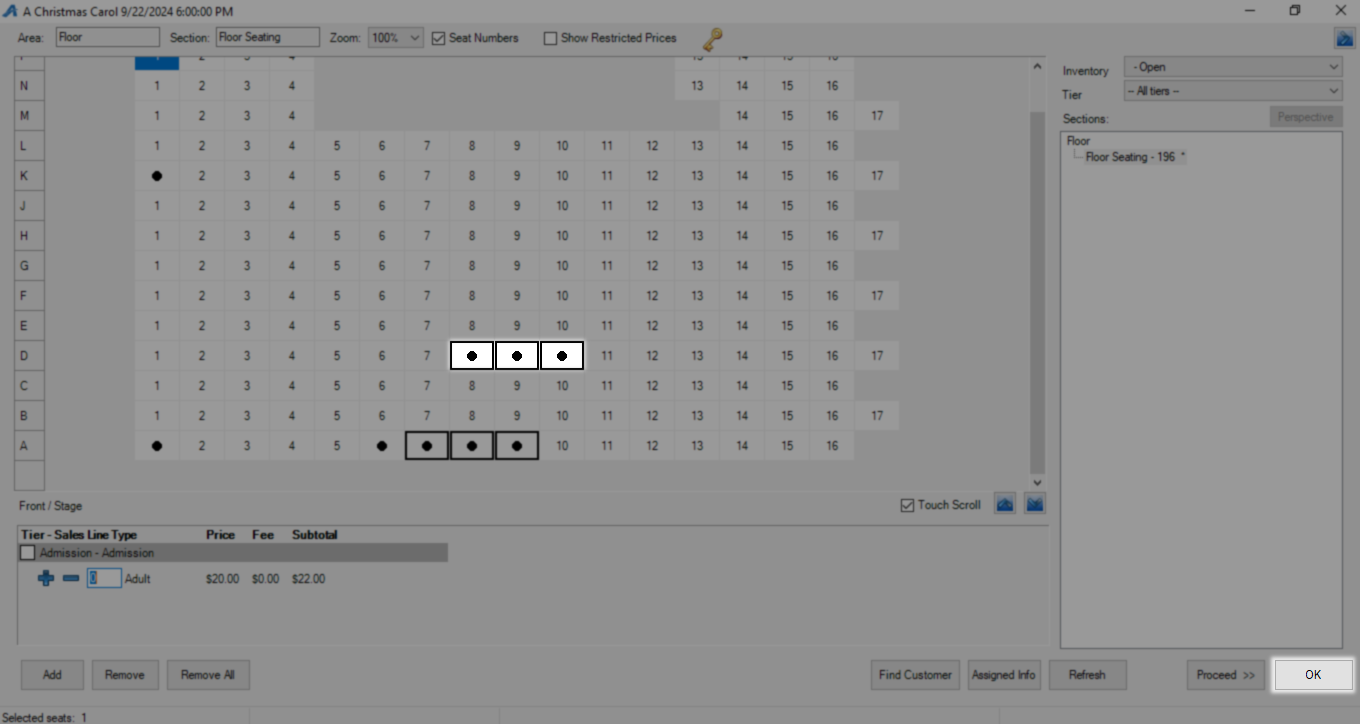
Once the map opens choose one or more seats and then assign those seats a price using the options in the lower left. If you are selling two types of ticket such as child and adult do one group and then the other using the add button to place them in the cart. When you add them to the cart you will see those seats turn into black dots as they are now taken until the order is finalized or canceled. Click OK to return to the POS screen.
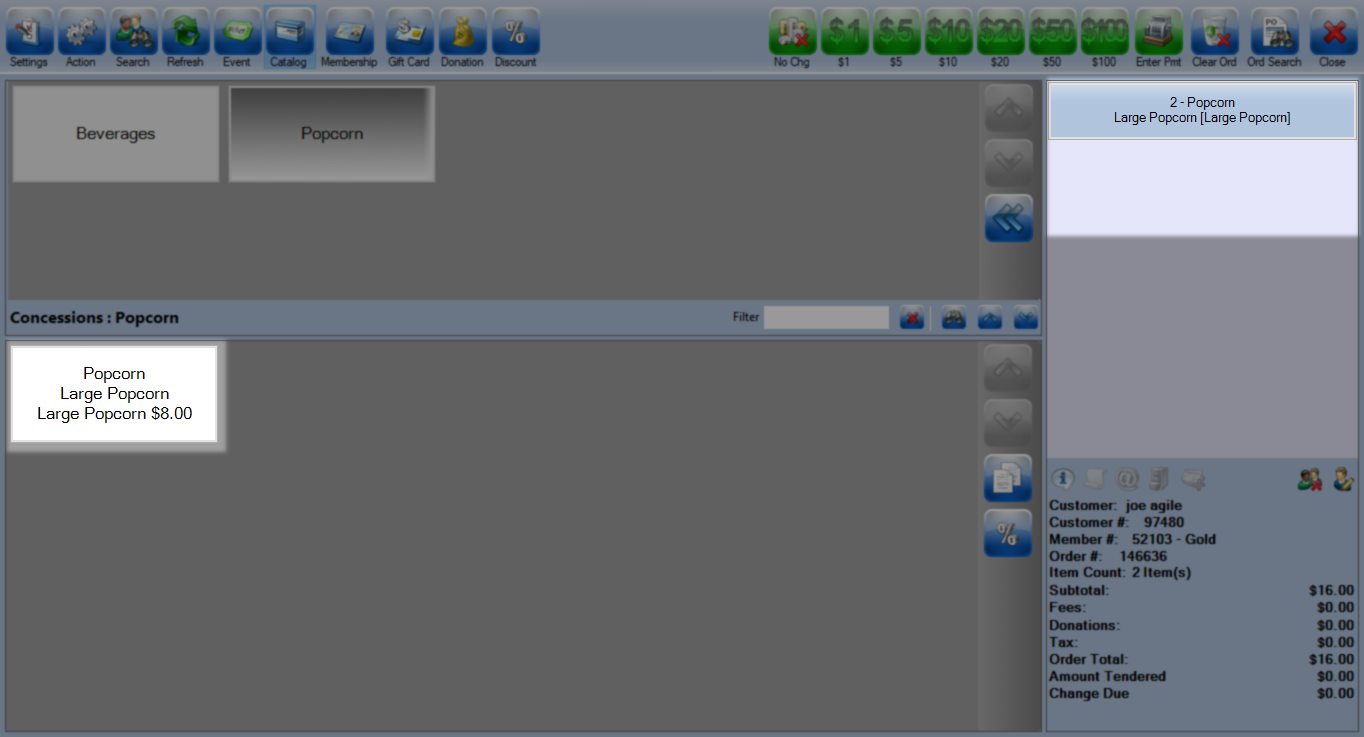
Click Catalog along the top bar and in the item selection area choose the type of item you want to sell.

Clicking a price in the item pricing area will add that item to the cart.
Is this a new membership or a membership renewal?
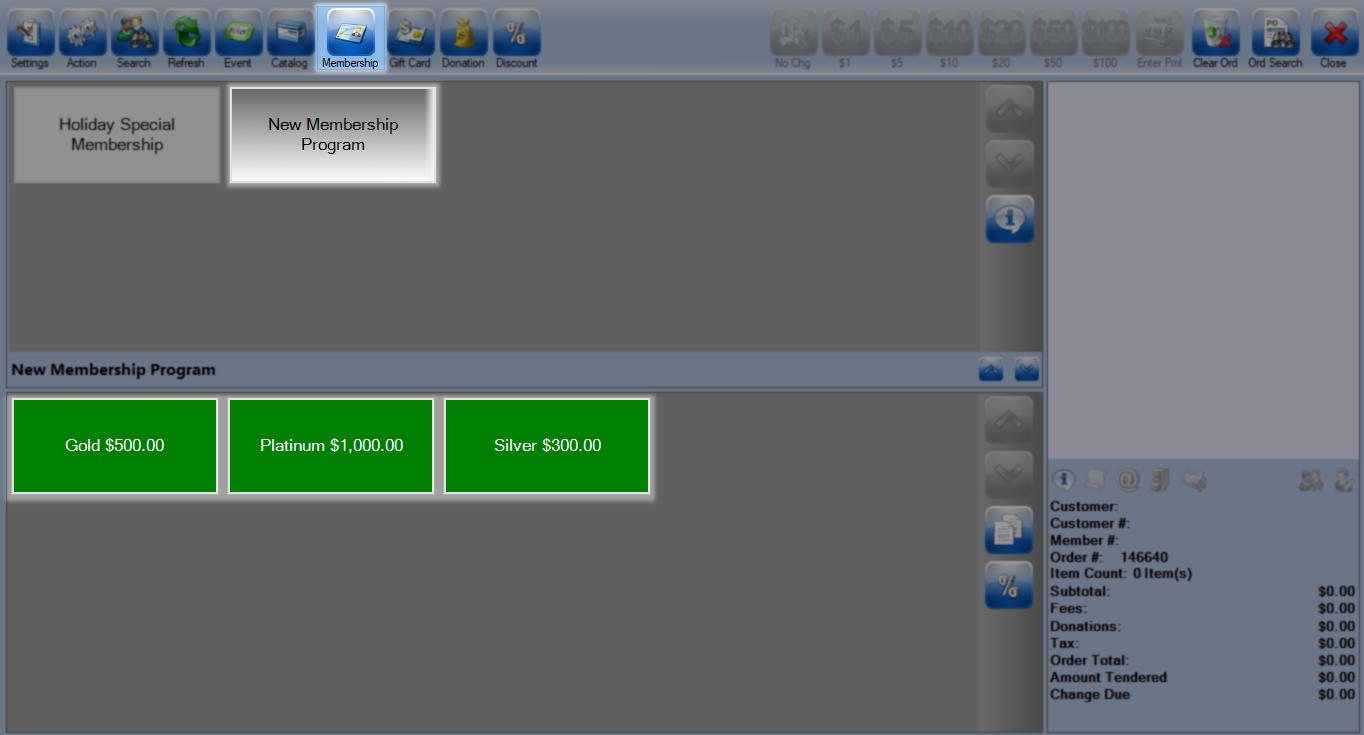
Memberships require a customer to attach to so if you skipped that step above you will have to complete it later. Click Membership along the top bar then in the item selection area choose the membership program and then finally the level/price.
The top customers on the list that loads will be the primary member, use the blue arrows to reorganize them and click OK to accept.
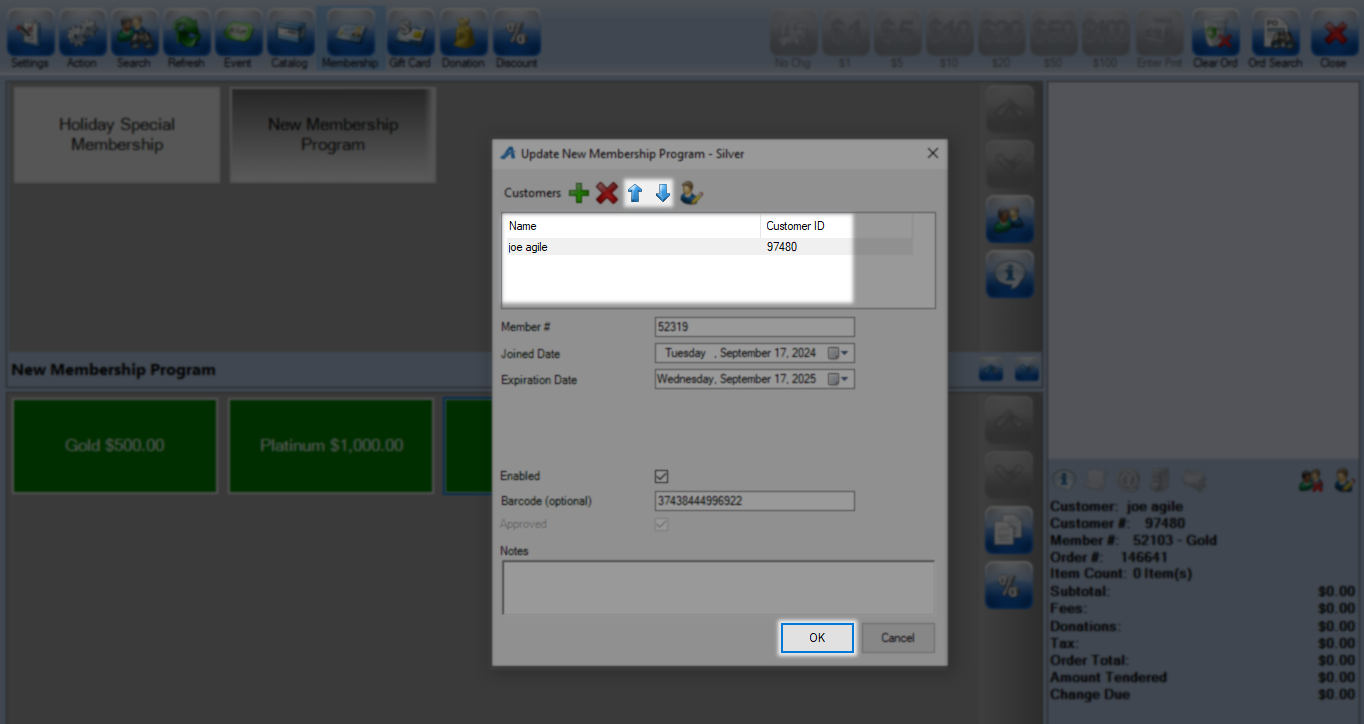
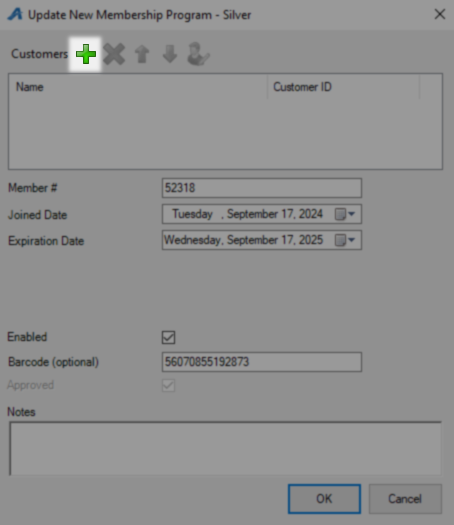
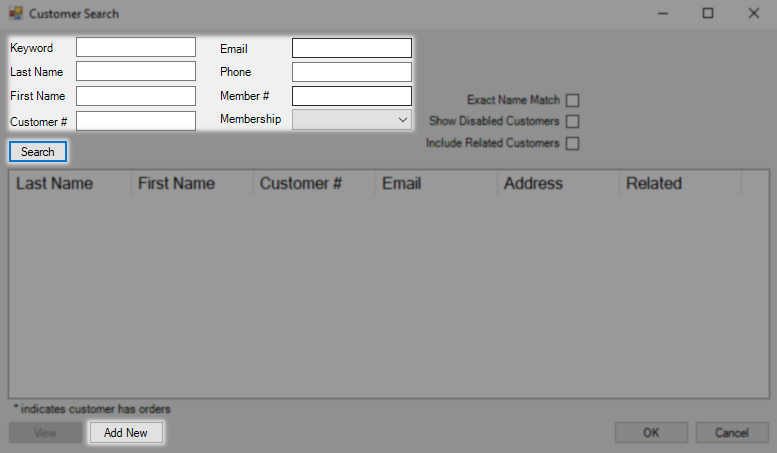
If you have not already added a customer to the order or need to add more members then you will need to include them now. Click the green plus button to search for or add a new customer.
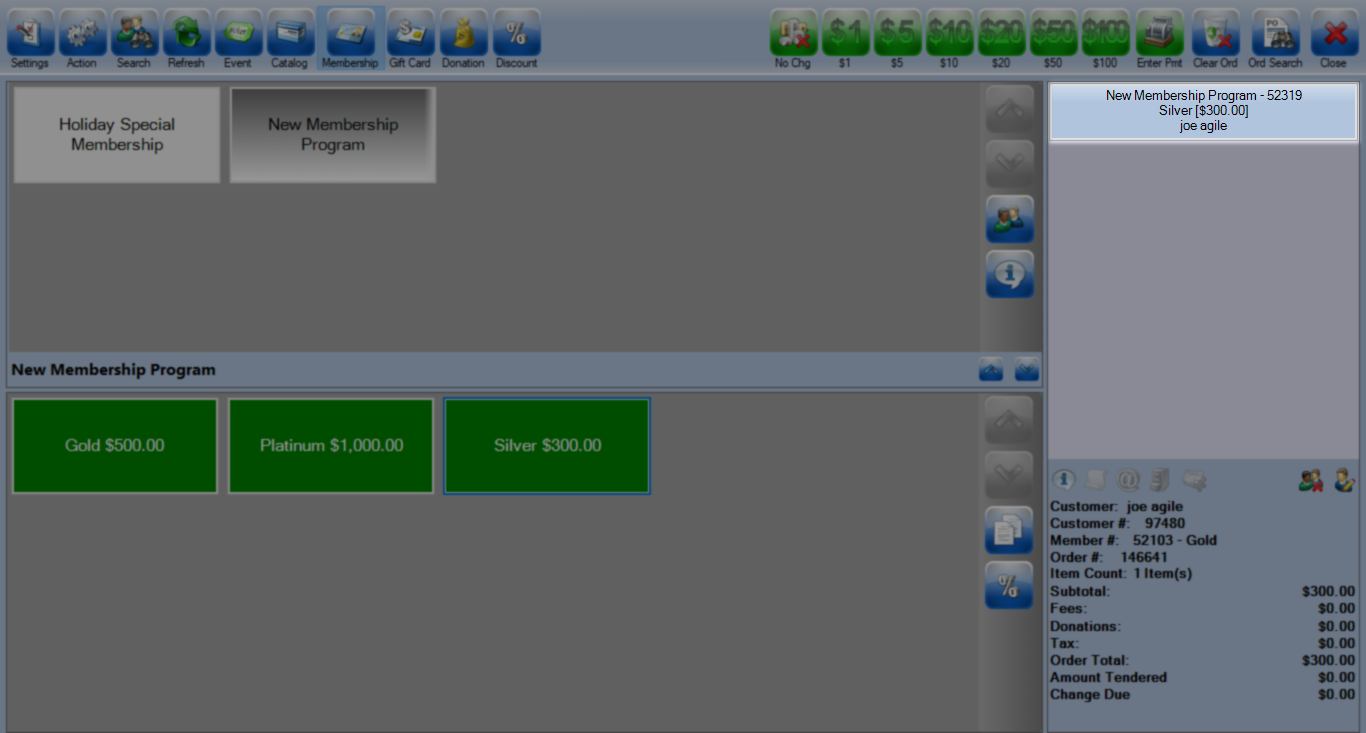
Once you click OK the membership and customer record will be seen in the cart.
Membership Renewals require a customer. The process will start automatically when you select a customer with an Expired Membership. These can be identified by their red color and the word expired in brackets.

You will be prompted to renew any expired memberships and given a choice of levels and prices depending on how your system is built. Select one to continue.

On the Update window confirm the customer and dates are as expected and click OK to add this item to the cart.


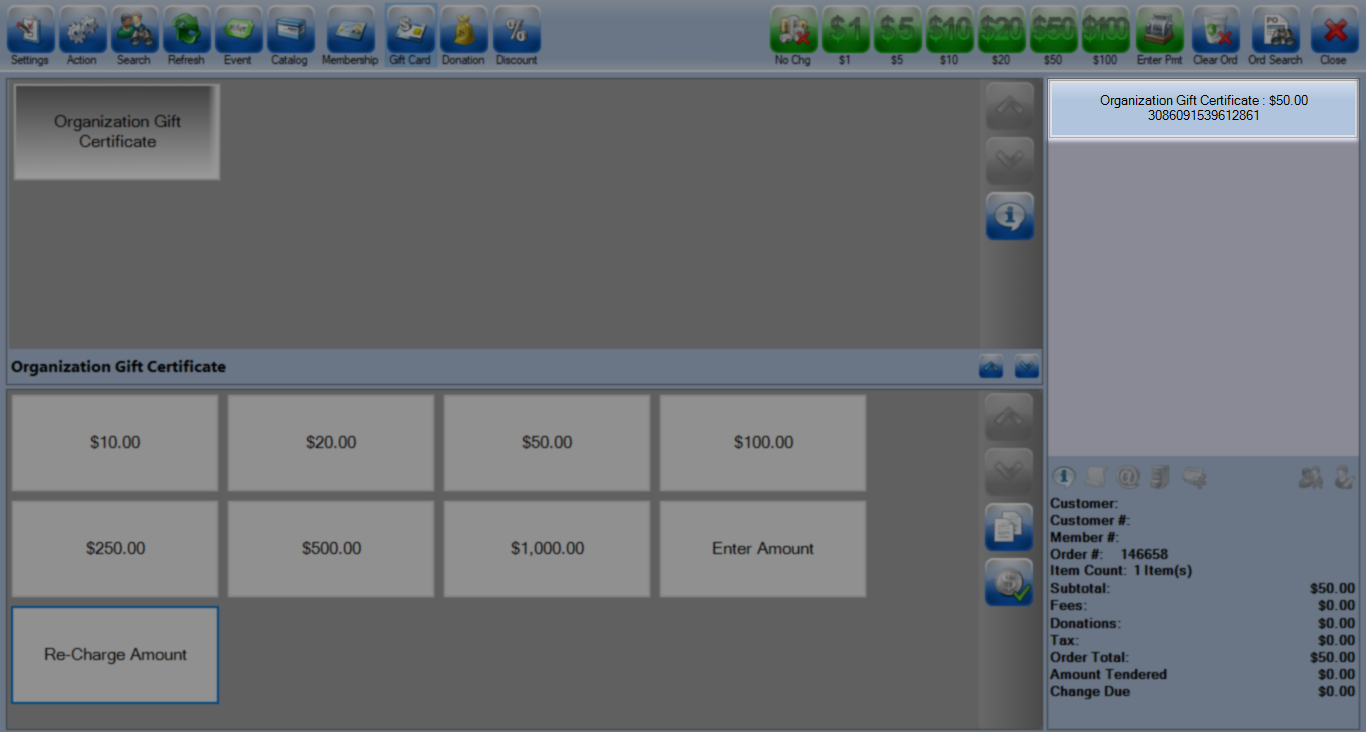
Click Gift Card along the top bar and in the item selection area choose the gift card or certificate you want to sell.
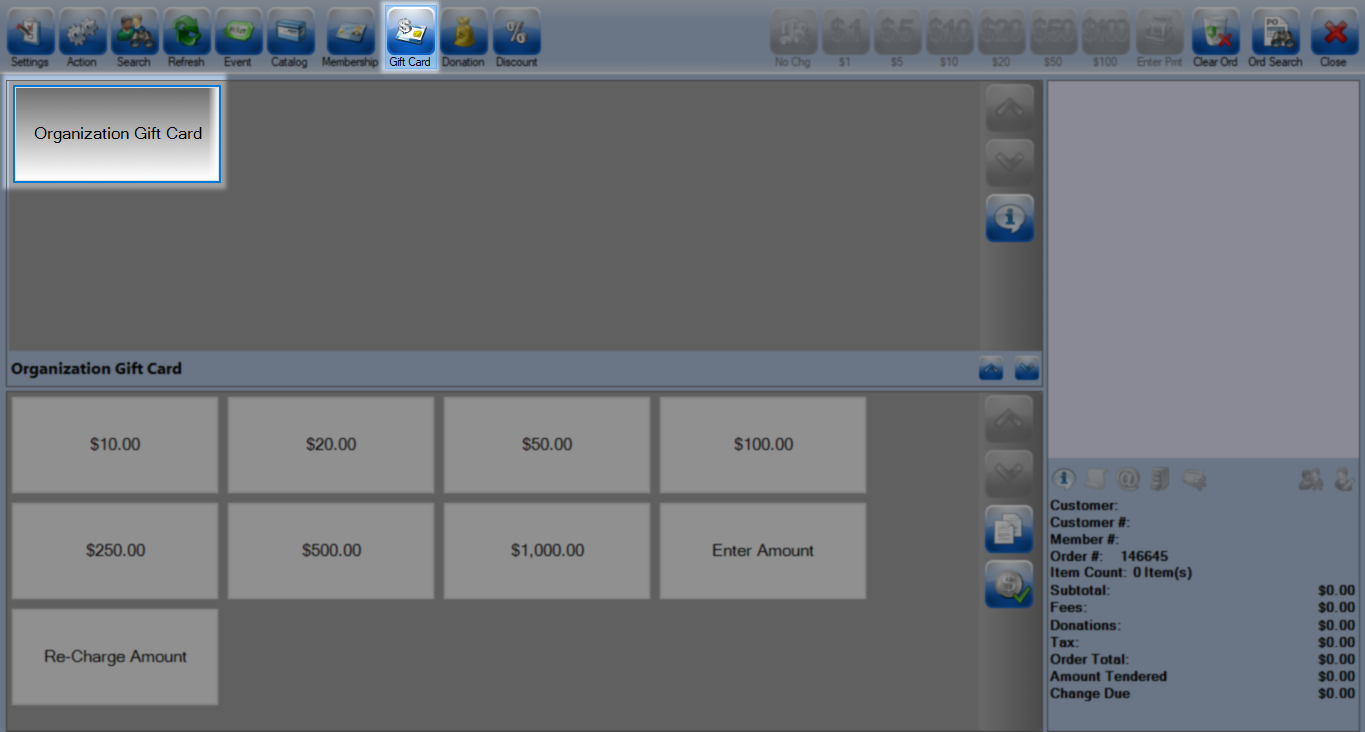
In the item pricing area select or click enter amount to load the desired amount and follow the directions for that transaction type.
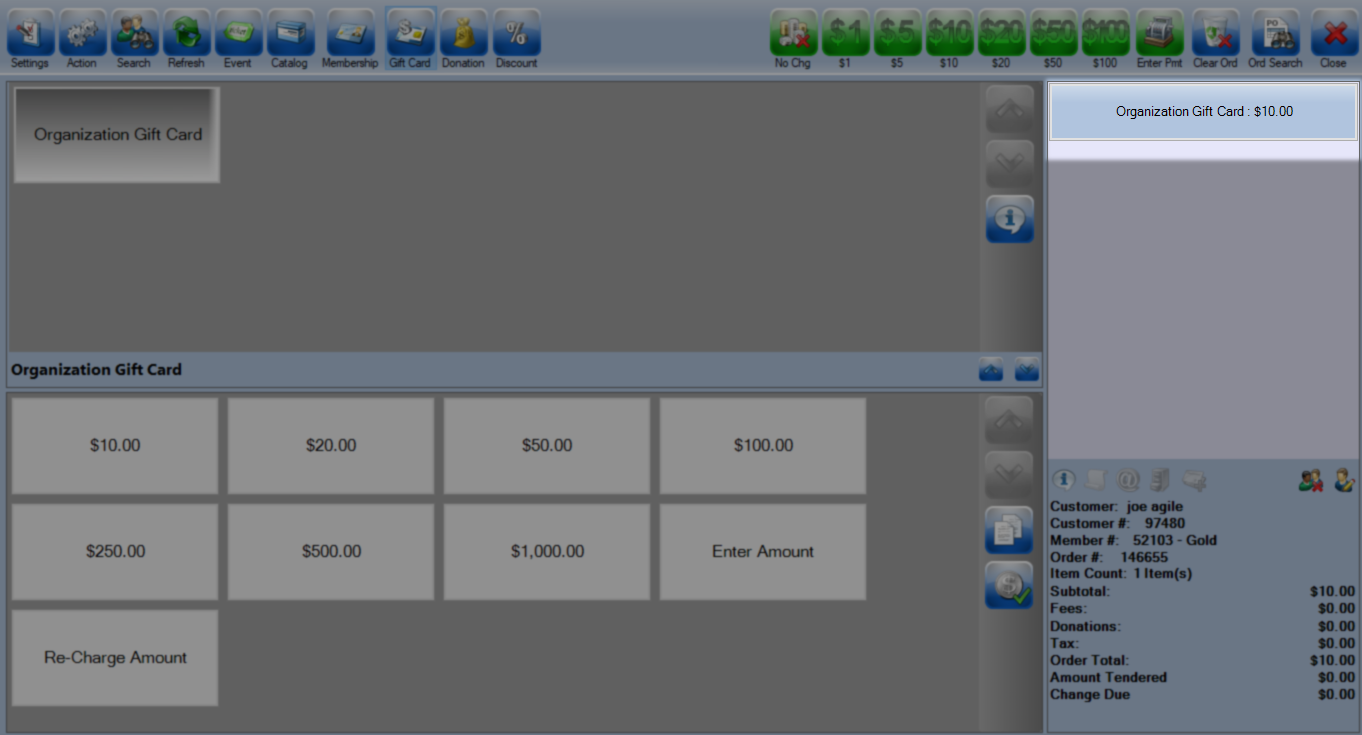
Once you click the amount your customer wants to load a gift card lookup window will appear, swipe and click Assign to put this in the cart.

The gift card will now appear in the cart.
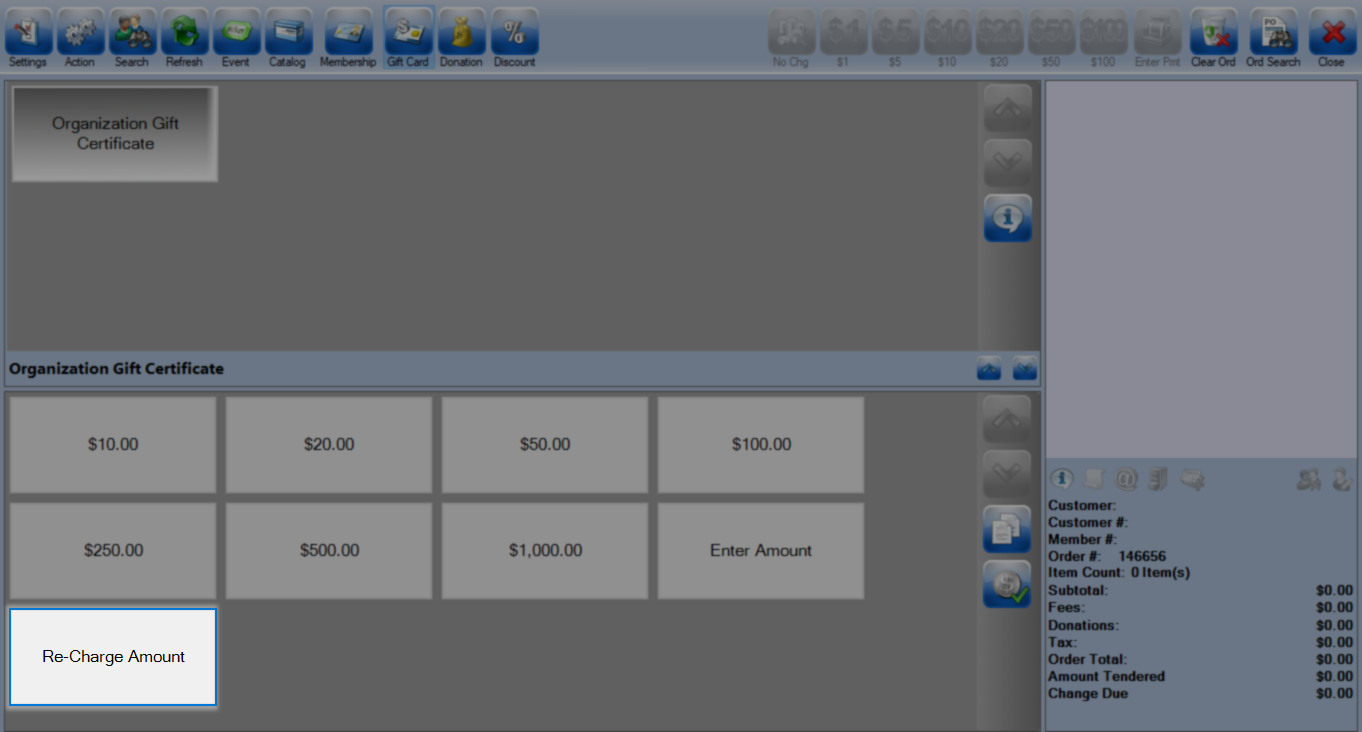
Once you click the amount your customer wants to load as a gift certificate it will be added to the cart.

Click Re-Charge Amount to load money onto an existing card or certificate.
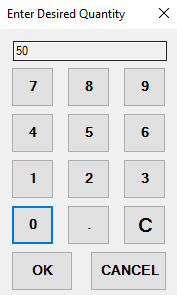
Enter the amount you want to add.
Swipe the card or manually enter the information and click Search. Once the card is found click OK to accept.
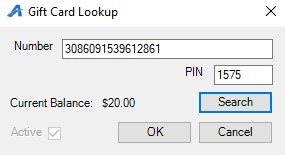
The card or certificate and amount to be loaded will appear in the cart.
Click Donation along the top bar and in the item selection area choose the campaign this donation is going into.
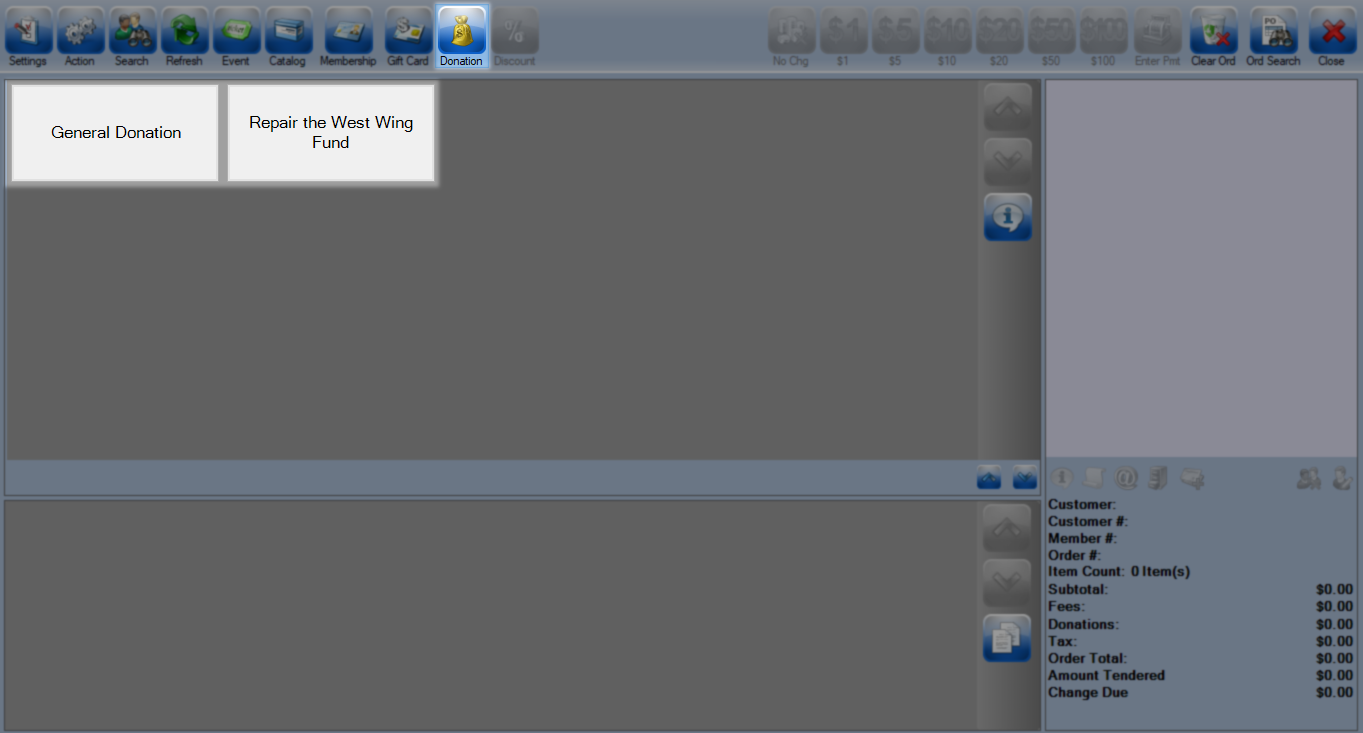
In the price selection area choose either a preset amount to donate or use the Enter Amount button to give any other amount. If you have not added a customer to this order you will be prompted to do so now as it is best practice to always tie donations to a customer, this step may be skipped with the cancel button.
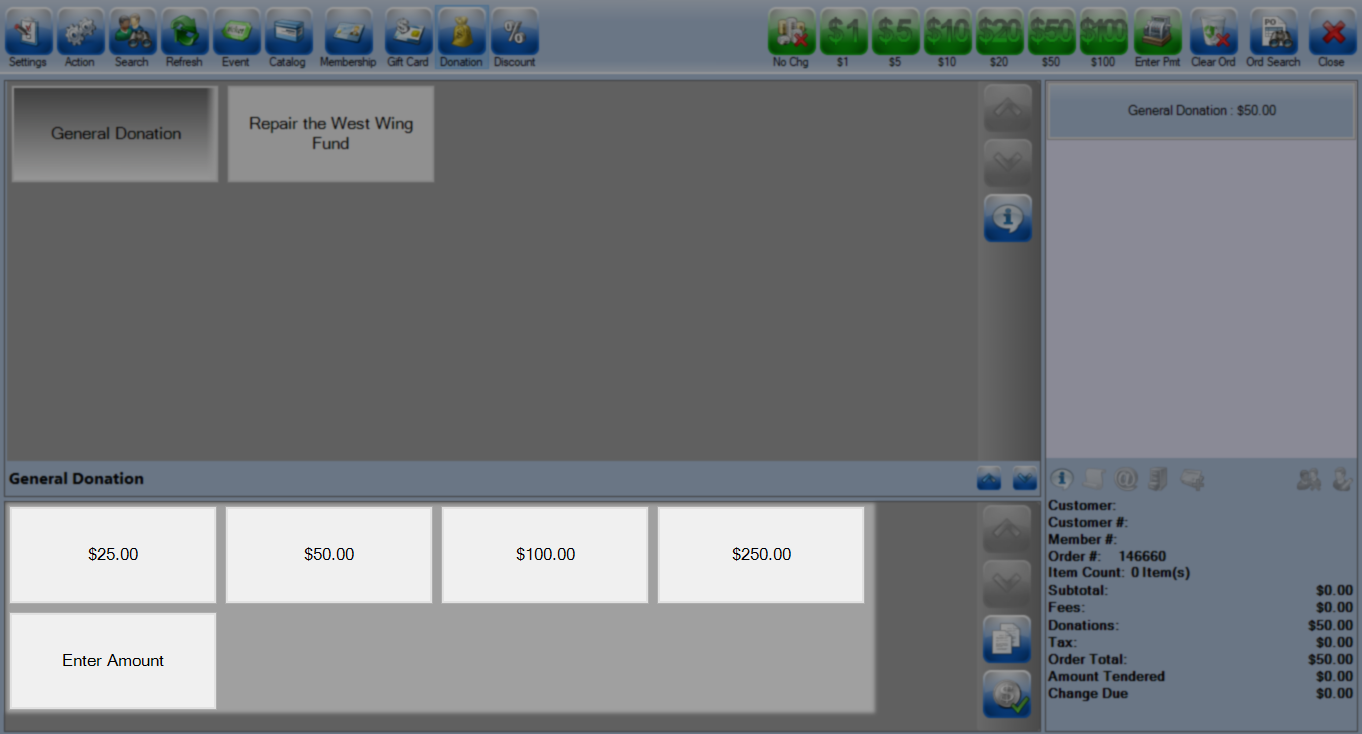

You will now have a donation in the cart.

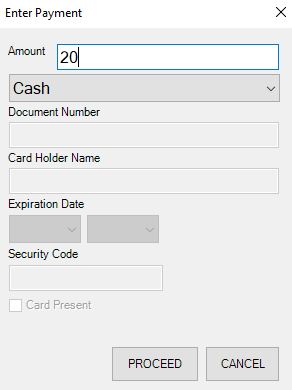
Once you are done adding items to the cart it is time to take payment using the green buttons on the menu bar. The EMV button will push this transaction to an attached credit card device if present while Enter Payment will let you manually enter a payment of any type. If you are using magnetic Credit Card swipes you can do so from this screen or the enter payment screen and the system will know what to do with it.

On the enter payment screen use the drop-down to select your payment type and then fill in all available fields. Click proceed to process the payment. Staff who have permission to do deferred balance or balance due orders may process the order as (Choose Method) to enter them in that state. See the selling to a tab section below for additional balance due options.

Performing a split payment.
To perform a split payment use the Enter Pmt button and modify the amount to what is being paid. Click Proceed to apply this payment amount.
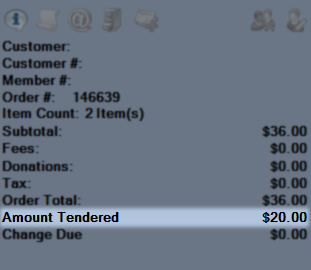
Once that window closes you will see the tendered amount in the order summary area. You may now take the remaining amount all at once or via another split payment.
Selling to a tab
In order to process orders as a tab you need to activate that setting which you will find in the Settings Menu under System Control. Scroll down in the Additional Settings area and check the Allow Tabbed Orders box to add this setting to sales terminals for your organization. This option will only be available to staff with the permissions to do deferred balance orders.


Moving forward in the item summary section of the PoS you will have a new quick launch button for Tabs as well as some new options under the search bar on the Order Search window.


Both of those options have slightly different methods for pulling up an in progress tab. The quick launch window will have a drop-down with all of your open tabs while the order search screen will display them in a column. Either use the Open button or click the order to work with it.


To add items to a tab without closing it click Enter Pmt in the top right then leave the payment method on (Choose Method) and click Finalize.

Once it's time to close a tab use any of the above methods to locate and select it then take payment as usual.
Once you have returned to the previous screen and given any needed change the order summary area will turn orange to let you know the sale was finalized. Pressing anything from here will reset that area and start a fresh order with no attached customers.

Attaching a customer after purchase
If an order is finalized with no customer attached it is still possible to reopen that order and attach one. You must make a money change such as adding a zero cost item to save the order with the new customer information.
First, find the order that should have had a customer using the Ord Search button. Next, enter the order number and click Search, when the order is found click anywhere on the order information.


Do a customer lookup and add them to the order.

Add your zero cost item or change something you will then have to change back on another order. Use Enter Pmt to finalize this order with the customer attached.

This order will be finalized and turn orange with the customer attached.
