Setup and Explanation of Features
Contains what every button and menu in PoS does.
Table of Contents
AMS-Sales is the side of the Agile Ticketing software responsible for taking money for all of your items on offer. Point of Sale or PoS is launched from the sales side of the Agile app.
Begin by logging into AMS-Sales using These Instructions if you need a hand with that process.

Once Sales loads click the PoS button on the Actions Bar to launch that mode.

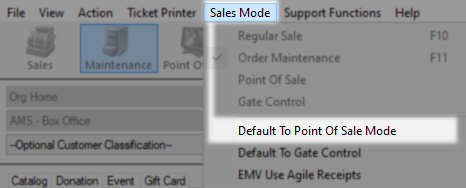
Terminals can be defaulted to PoS mode
For hardware setups that will always be a PoS terminal, you can launch the PoS each time using the button or set it to open in that state. To activate that option click Sales Mode on the menu bar and then Default to Point of Sale Mode.
Once PoS loads you will have access to a new screen full of settings and options, use the area map below to navigate and then select the area you would like to explore.
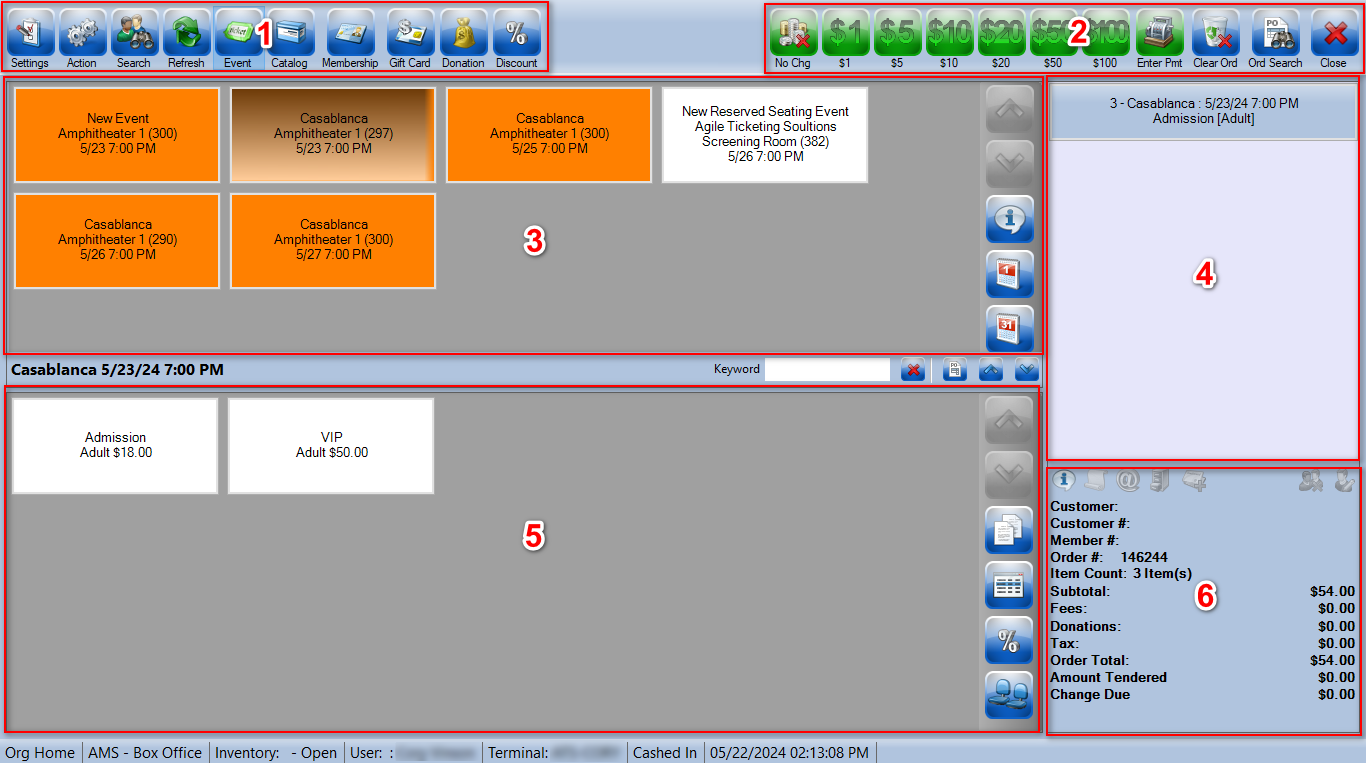
- Menu Bar
- Payment and Order
- Item Selection area
- Basket
- Item Pricing
- Order Summary
Below select the section you would like to dive into using the buttons that appear to get even more detail about individual items in the area.
On the Menu Bar, you will find all the options for getting the PoS set up just the way you want it as well as how you swap between selling different types of items.

The Settings menu controls the look and function of the entire PoS.
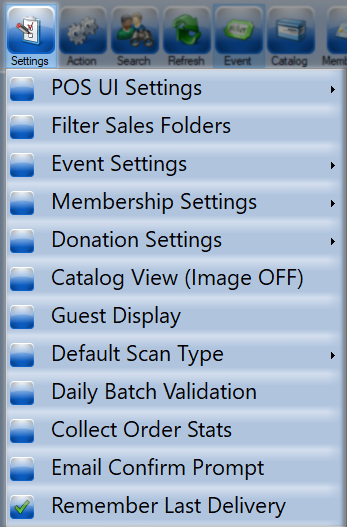
This menu lets you control the size and placement of your Menu Bar as well as the buttons in the item selection and pricing sections.
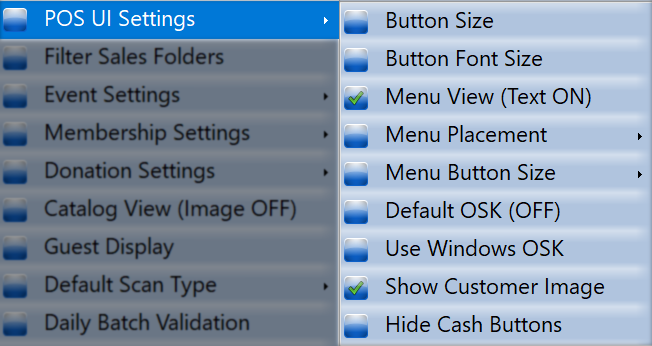
Button Size - This will let you adjust the size of your item selection and pricing buttons. You can choose from a list of presets or adjust the size up and down 5 pixels at a time to the desired size.
Button Font Size - This adjusts the font size and toggles bold for your item selection and pricing buttons.
Menu View - Checking this will name the top menu bar buttons instead of them just being a picture.
Menu Placement - this lets you move the top menu bar to the sides or bottom of the screen, moving it to the sides will cause some buttons to be hidden unless you adjust them down in size or hide the cash buttons.
Menu Button Size - This presents three options to change the size of button on the menu bar. When you make a change the PoS will close back to sale and require reopening to resize that menu.
Default OSK - This option when checked will use the ATS on-screen keyboard for systems without a physical keyboard.
Use Windows OSK - This option will use the Windows on-screen keyboard for systems without a physical keyboard
Show Customer Image - This option will display customer images onscreen in the order summary area if this was collected on the customer record
Hide Cash Buttons - This will hide all of the cash buttons on the menu bar leaving you only with no change and enter payment.
Selecting this option loads a list of all folders on the back end for this organization. Any folder listed in blue will have its contents added to your for sale items.

These settings are for dictating what will display on the sell buttons for your box office and how much information you are getting at once.
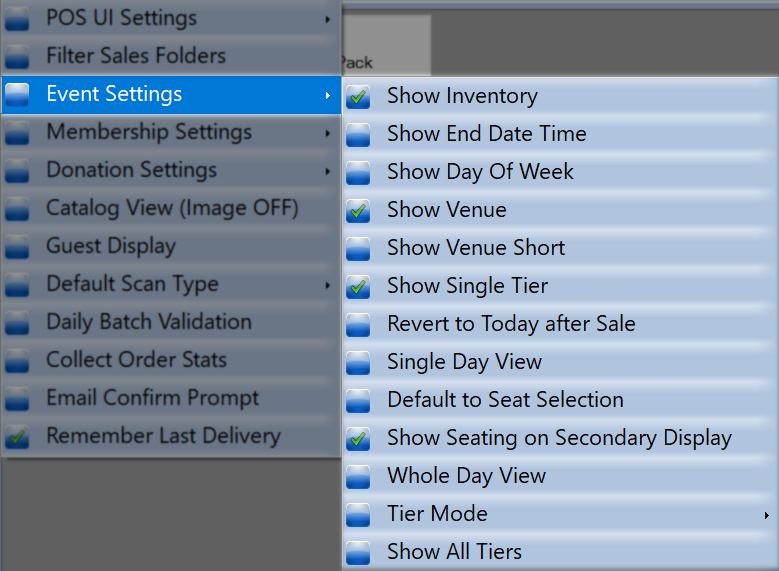
Show Inventory - This will display the inventory for a show on the button for that show.
Show End Date Time - This will display not just the event or show start time but also its end time.
Show Day of Week - This will put the day abbreviation before the date on each show button.
Show Venue - This will list the venue of each event on the button.
Show Venue Short - When combined with Show Venue will display the abbreviation instead of the full venue name.
Show Single Tier - Displays a single tier, if you have multiple tier inventories and pricing under an event.
Revert to today after Sale - When in single day view this will default you back to today after finalizing any sale
Single Day View - this reduces visual noise by only displaying shows and events taking place today that have not yet occurred. You can still use the search calendar to select future days and revert to today after sales will take you back to today after this transaction.
Default to Seat View - For reserved seating events where customers can pick their seats this will default to that screen to save a step.
Who Day View - Displays all the events or shows that occur within a single day, even after they have gone off sale.
Tier Mode - These settings determine how much consolidating and therefore how many clicks it takes to get to a price you will need for ticket sales.
- Tier and Price - This shows the Tier and Price on the same button leading to the least number of clicks from show to ticket but the most prices on screen at once.
- Tier Only - This replaces the price button with tier only and launches a window to select your price when a selection is made.
- Event then Tier - When selecting a show tier will replace that selection and prices will load below. To sell any other show you will have to press back to load the show and events list.
Show all Tiers - This is legacy code and is handled now in Tier Mode.
These settings give you control over whether your box office is notified about impending membership expirations as well as how memberships are displayed.
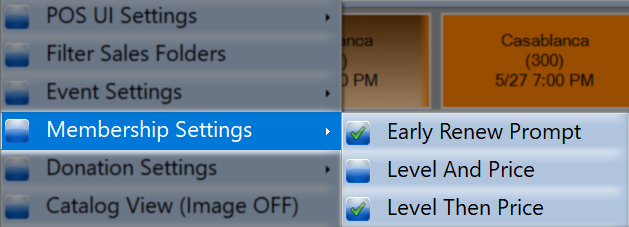
Early Renew Prompt - When checked this will prompt your box office when a customer has crossed into the renewal window and their record is pulled.
Level and Price - This will present your membership programs in the selection area and then all pricing at once in the pricing section.
Level then Price - This presents your membership levels in the selection area and then only the selected levels' pricing. This option presents a clearer view for organizations with many levels of membership.
These settings control how you collect donation information and when you want to prompt for that info or donation.
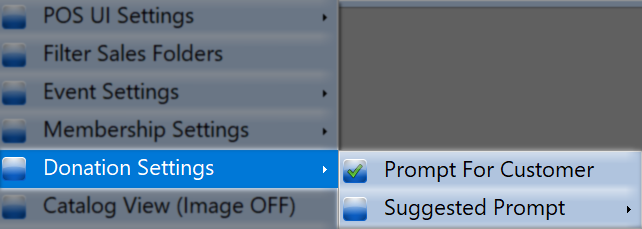
Prompt for Customer -When this is enabled and a donation is selected on an order without a customer the agent will be prompted to enter one.
Suggest Prompt - This controls when or if a prompt to donate appears on this PoS during a sale. In order for these to function you must also enable prompting on the sales channel of this donation.
- None - A prompt will not appear during sales
- At payment - This will prompt for a donation during payment
-
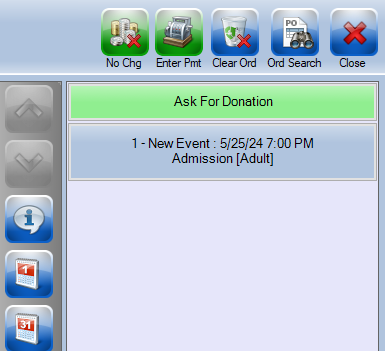
Inline - This option will add a new button at the top of the basket to remind the agent to ask but does not otherwise get in the way.
This setting is a simple on or off and determines if uploaded product images are displayed on the PoS or only used online.

Enable this only if you have the customer-facing displays attached to this PoS and not if you turn or tilt for customer interactions.

This menu houses the defaults for any installed QR and barcode scanning hardware you have connected.

Ticket - This is only for order lookups so any ticket scanned will open the order it's from in maintenance mode.
Membership - This will scan a membership card and make that person the active customer allowing you to skip a name look-up.
Catalog - This lets you scan QR or barcodes and pull in associated prices, you must enter these codes at the SKU level on each item you want to scan.
Order Search - This can scan the QR code on an order confirmation to find that order and pull it into maintenance mode.
Order Print - This scans an order QR code and prints that order.
Validate - This scans a ticket and validates it against a gate control batch which counts customers and prevents rescans from gaining entry.
Prompt - This will let you scan any QR or barcode and then ask what from the list above was just scanned so it knows what to do with it.
Enabling this will automatically validate any ticket sold from this PoS against an open daily batch. This setting saves the customer time in a line being scanned and the agent time having to scan it.
Enabling this will prompt the agent to collect information when a customer is not active on the order. The prompt will be for email, phone number, and zip code but all are optional and just for building demographic information.
When enabled this will prompt you to send an order confirmation via email after finalizing a transaction. This can be useful if you do not print tickets so that box office customers receive a copy of the order summary.
When enabled you will continue to use a selected delivery method for all orders until you change again. When disabled you will always default back to print immediately between orders.

The Action menu is where sales agents and box office personnel can perform basic sales operations like cashing in/out, changing the active printer, and performing an override.

This menu selects the organization you want to sell from. Having only one option here is very common but groups with more than one location or merchant account can use this to swap between them.

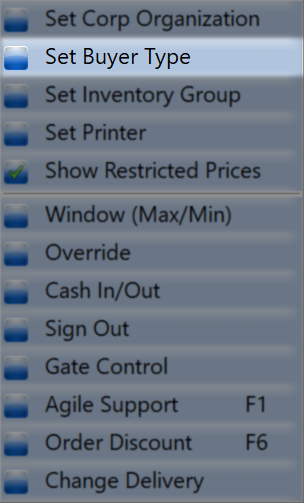
This menu lets you set the Buyer Type which by default for many organizations will be AMS - Box Office. If your organization has multiple buyer types such as AMS - Member and AMS - Gate Sales this is where you swap between them.
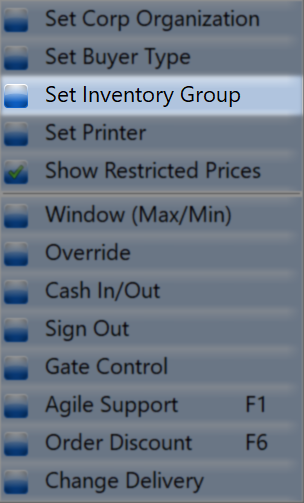
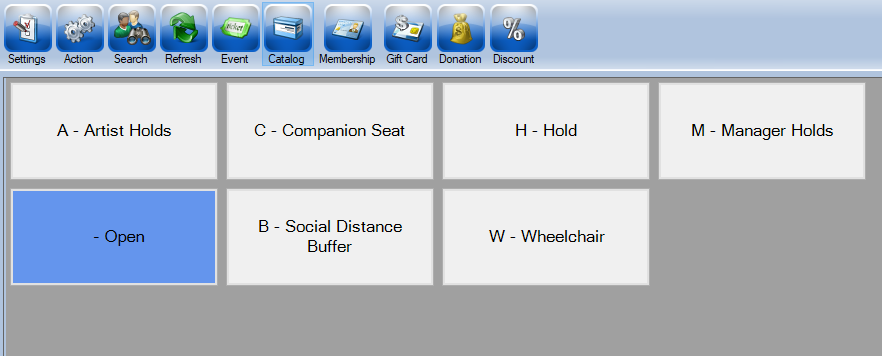
This menu selects the inventory group you want to sell from. By default you will sell from the Open inventory group but this setting will let you swap to Hold or any other to use that inventory pool.
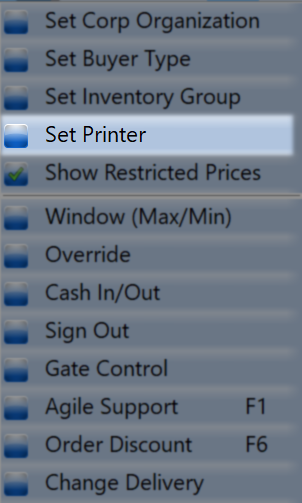
This menu is where you select which attached printer you will use for each printing format. Contact your CS rep for assistance with attaching new hardware.
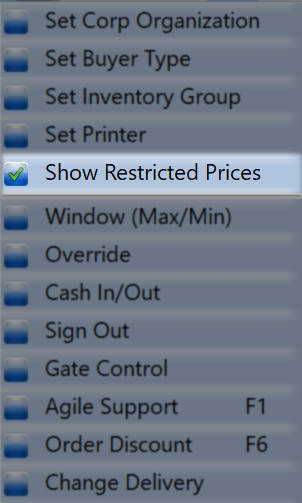
This option when enabled will cause prices designed as restricted to show up by default. This will unhide any member or promo prices instead of waiting for a membership or code to be added to the order.
This swaps PoS mode between being full-screen or windowed.

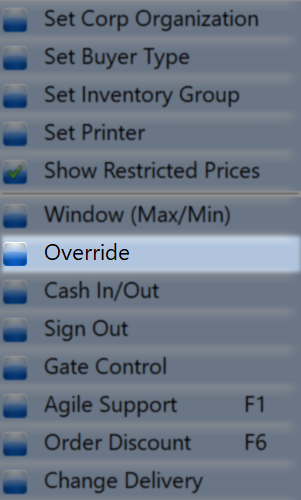
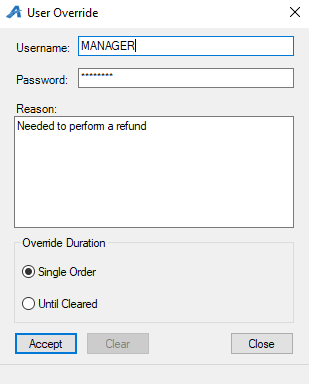
This option lets someone with more permissions grant them temporarily to someone who does not. After entering a username, password, and reason select if this is for one order or until turned off and accept.
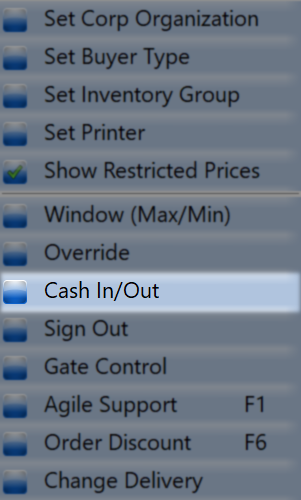
This is where you cash-in or cash-out from the PoS. You can learn more about that entire process and best practices Here.
This will sign you out to the login screen.
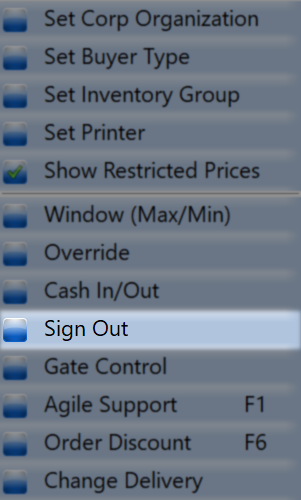
This will put the PoS into gate control mode for scanning and validating tickets.
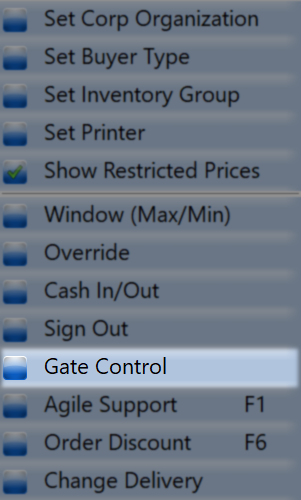
Open up our legacy knowledgebase.
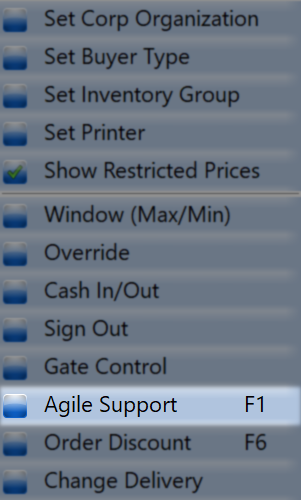
This will launch the discount order window which the Menu Bar section one level up from this one goes over in depth.
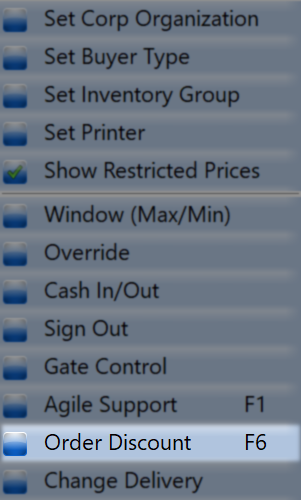
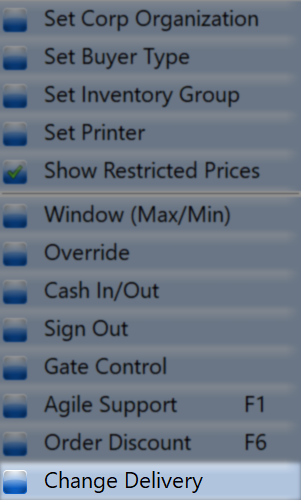
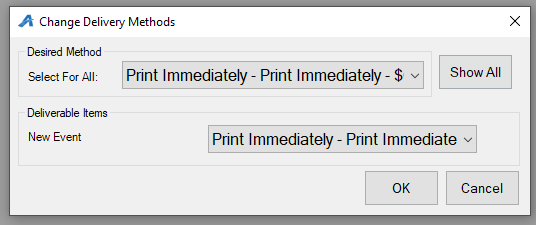
In PoS the default delivery method is Print Immediately, this launches a window that allows you to choose between other available methods for this order.
Search will launch a customer search window where anyone you select or add will be added as the customer for this order.

Once the search window opens you can search by name or membership number. All customers matching your criteria will be loaded into the preview area, clicking on one will select that account.
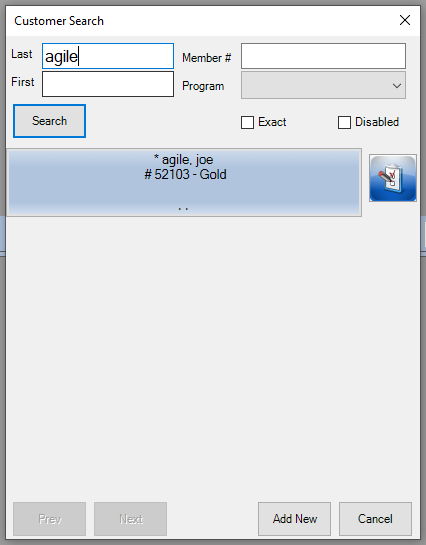
Use the Exact check box to limit your results to only customers who exactly match your search criteria. The disabled check box will show even customer accounts that have been turned off.
Customers shown with an asterisk (*) have sales on their record.
This button will refresh the system and grab new events and pricing from the back end.

This will load all shows or events that pass through any active filters such as day or folder.

This will load catalog items you have for sale such as concessions, merchandise, and ticket packs. After selecting Catalog you will choose the category you want to sell from and then be presented with your items on offer.

This will display your available membership programs and pricing.

This will display your available gift card or gift certificate programs.

This will show all active donation programs.

This is the order discount button and will allow you to discount all items in the cart by a chosen percentage. Once the order discount window opens keep a green check next to any item you want to discount and enter the percent off it should be in the top right. Click the green check to accept the new prices.


In the payment and order section, you will find all the money buttons as well as an order search for making changes to past orders.

This button tells the system you have taken exact payment for the items in the cart. This is great when you have been handed exactly enough cash or the order has only 0 cost items.

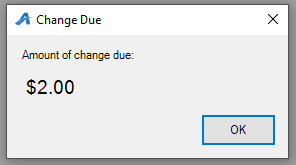
The cash denomination buttons allow you to count up the bills you are handed until the total is reached. Should you cross over the total a window telling you the change to give will pop up and display that amount. These buttons can be hidden in the PoS UI settings should you not find them useful.

Enter Payment is the manual processing option and will launch the make payment window. Once that opens use the drop-down to select the payment type and fill in any additional fields such as card or check number.


This button clears out your cart and resets the active customer back to no one allowing you to start a new order.

This button opens a search window where you can locate previously completed orders. Once open you can search via order or customer number as well as customer name or email address.

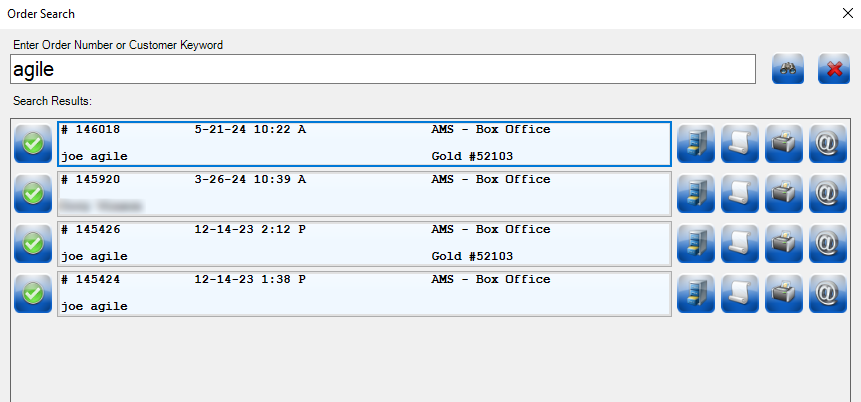
From here you can click on an order to pull it into maintenance mode where you can perform a refund or exchange. You can also work with these orders without pulling them up anywhere else by using the 4 order action buttons to the right of each order.
This button will pull the order into AMS Sales maintenance mode where you can investigate every level of this order.

This button will reprint the receipt from that order.

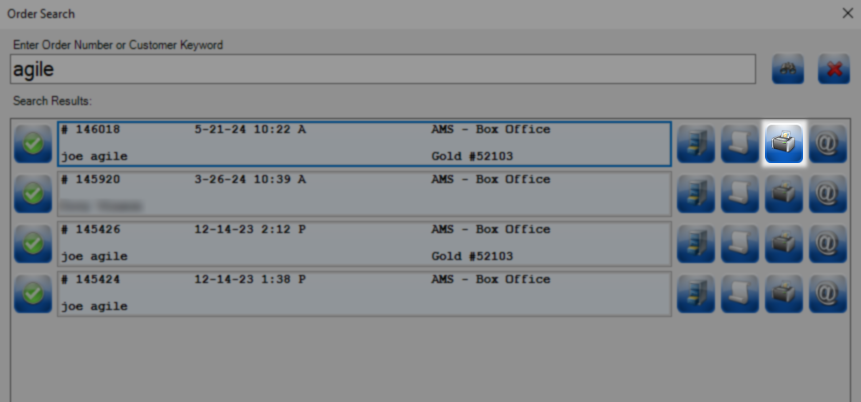
This button will reprint all of the tickets from that order.
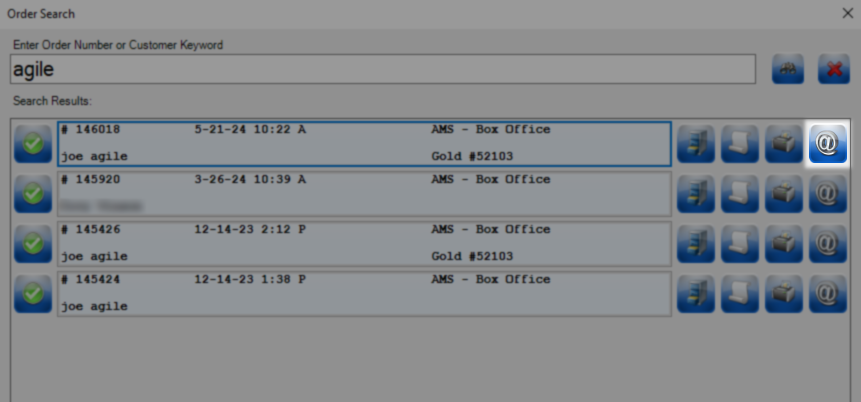
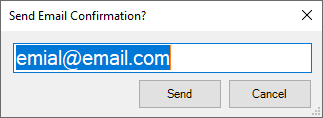
This button will launch the resend confirmation window where you can verify the email address and then send the order information to that address.
This button closes the PoS and drops you back on the sales backend.

In the item selection area, you will be presented with top-level choices from your events, catalog, memberships, gift cards, and donations. Once you pick a category the context buttons on the right of the selection area will change to selection-dependent options.

Events will load all of your events and shows starting with whatever is happening next

The Event Navigation arrows allow you to flip forward and backward through your events if they will not fit in this area all at once.

The Info button once pressed will display information about the next show or event you select.

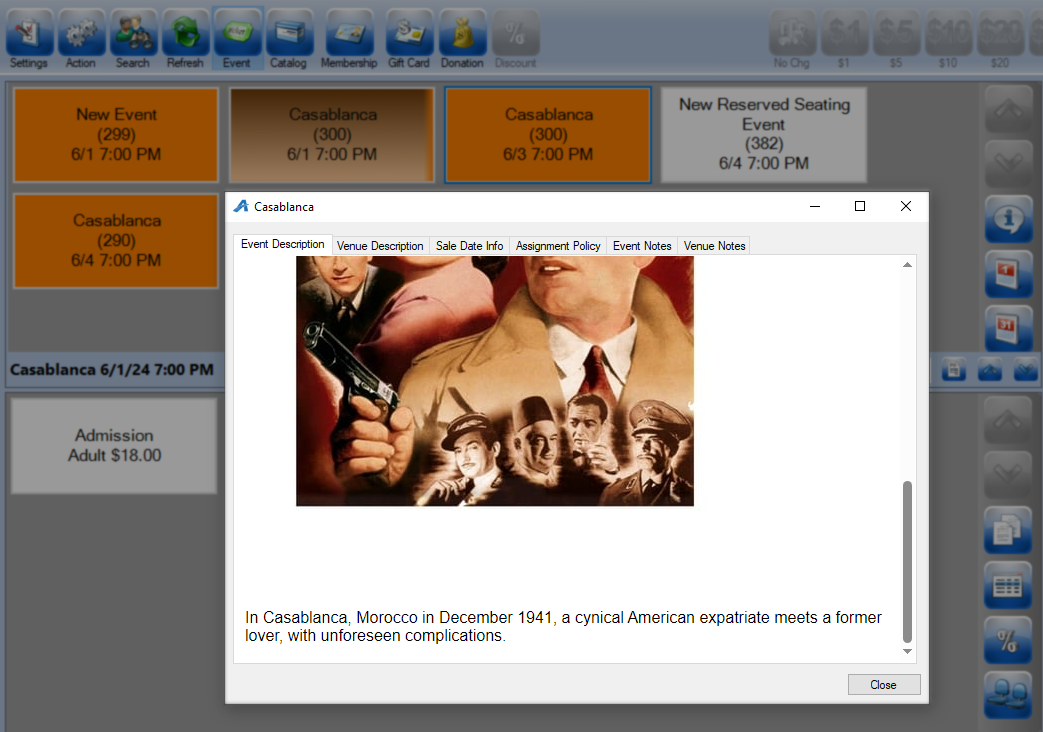
The Daily View buttons allow you to navigate backward and forward through your calendar of events. The top button will move you back to today from wherever you are and the bottom lets you select a date to see events for.

The Search box allows you to find specific shows by name instead of date. The red X will remove this search filter.

The resize arrows will let you adjust the amount of screen given to items in the selection area. The larger you make this area the fewer prices will be able to load down below.

Catalog will house all of your physical items and any ticket packs or other items being powered by account benefits. After selecting catalog you will have to pick a category of item to load.

The page up and down arrows can be used to cycle through your products if they do not all fit on the screen at once.

After selecting a category you will have to use the previous screen arrows to return to that selection.
Search can be used to narrow a large list of items to just a few and the red x will remove current filters.

Clicking the Info button and then clicking on an item price will load the description for that item and any notes placed on it.

Membership is where you will find any of your active memberships or pass programs. Anything sold from this category will require you pull in a customer so the membership has a record to attach to.
Memberships can be displays in two ways which you select from under the settings menu in the membership settings.

Level and Price - This will present your membership programs in the selection area and then all pricing at once in the pricing section.

Level then Price - This presents your membership levels in the selection area and then only the selected levels' pricing. This option presents a clearer view for organizations with many levels of membership.
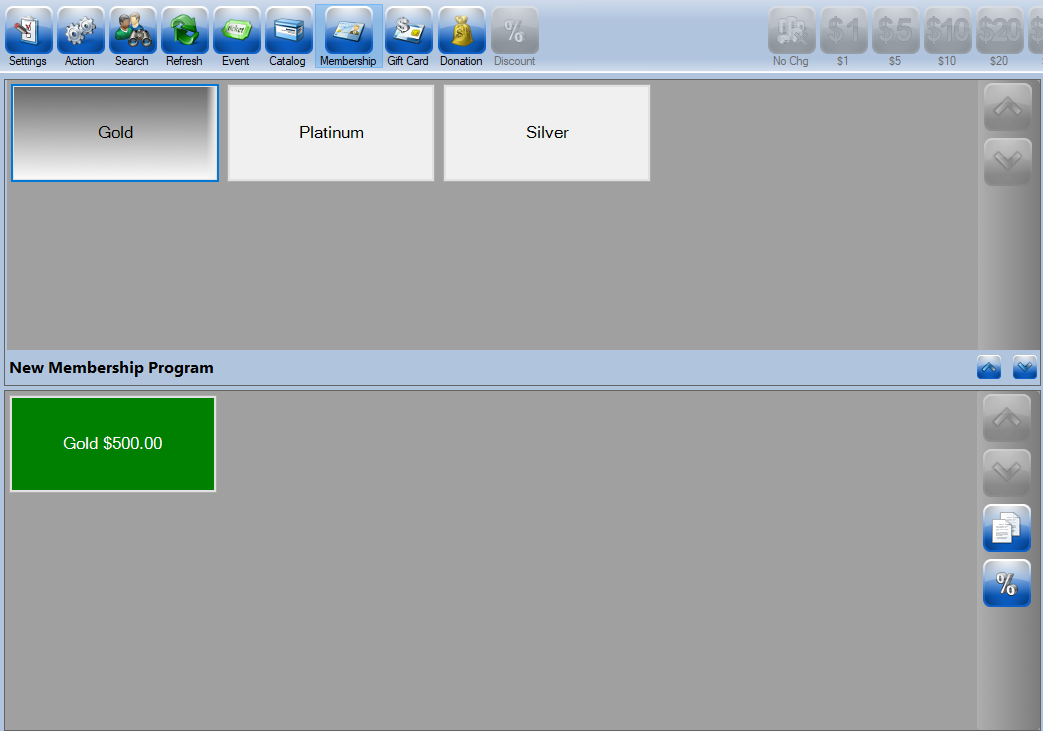
The information button will display anything on the description of this membership or pass to the box office agent.

Depending on the layout you pick you may need more room in the bottom window for pricing, use the window resize arrows to adjust this space.

Gift Card is where all of your gift cared programs can be found. From here you can sell new gift cards or gift certificates and load new money onto existing cards.

Clicking the info button and then a gift card program will display any information on that to the agent,

Donation holds all of the donation programs for your organization.
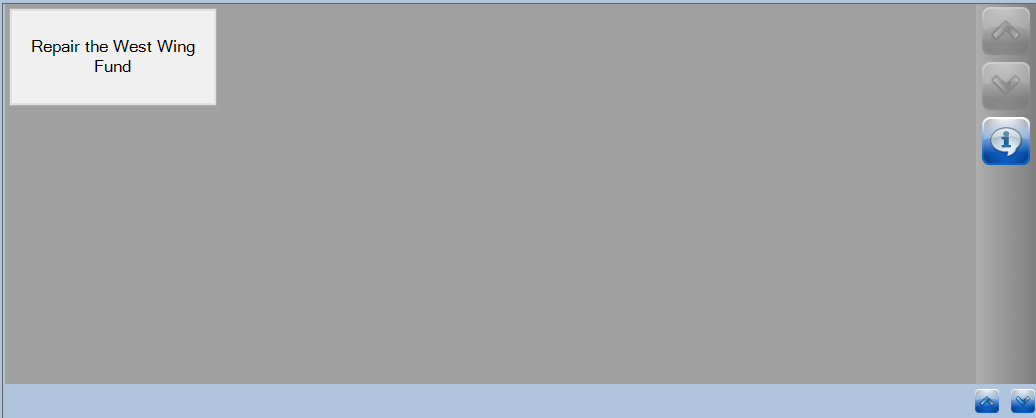
Clicking the info button and then a donation program will display the description of that donation to the agent.
The Basket is where all items you have selected will be collected until you the customer is ready to pay.
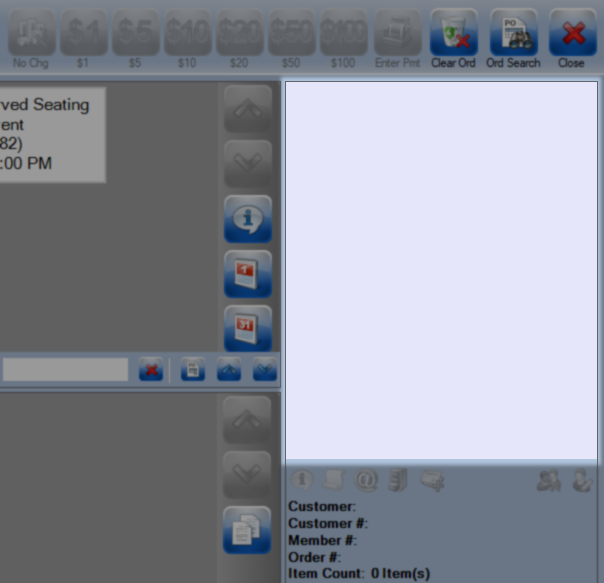
Like items such as tickets to the same show or multiple concession items will be grouped together to save screen space.
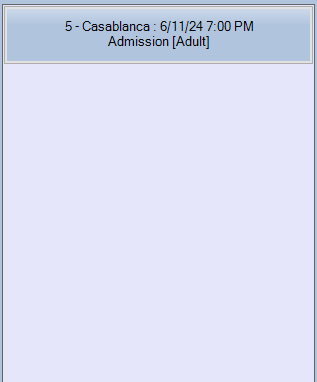
Clicking a group of items in the basket will ungroup them on a new window where you can see individual prices for each item.


Clicking items on this screen will strike them out and the bar along the bottom houses your other options.

remove All will remove all items on this screen from the order.

Select Seats will open the seating map for this show and let you remove, add, or exchange seats on this order.

Change Price will open the change price window where you can give a date in the past and load the price these tickets would have been on that day. This is helpful if your prices recently changed and you need to give someone the older price.

Change the date and click Get prices to load prices from a previous date in the ticket drop down menus.

This button will cancel all changes and close the window.

This button accept and save all changes made which will be reflected in the item basket.

Item pricing is where you will find the individual pricing for all of the items in the Item Selection Area.
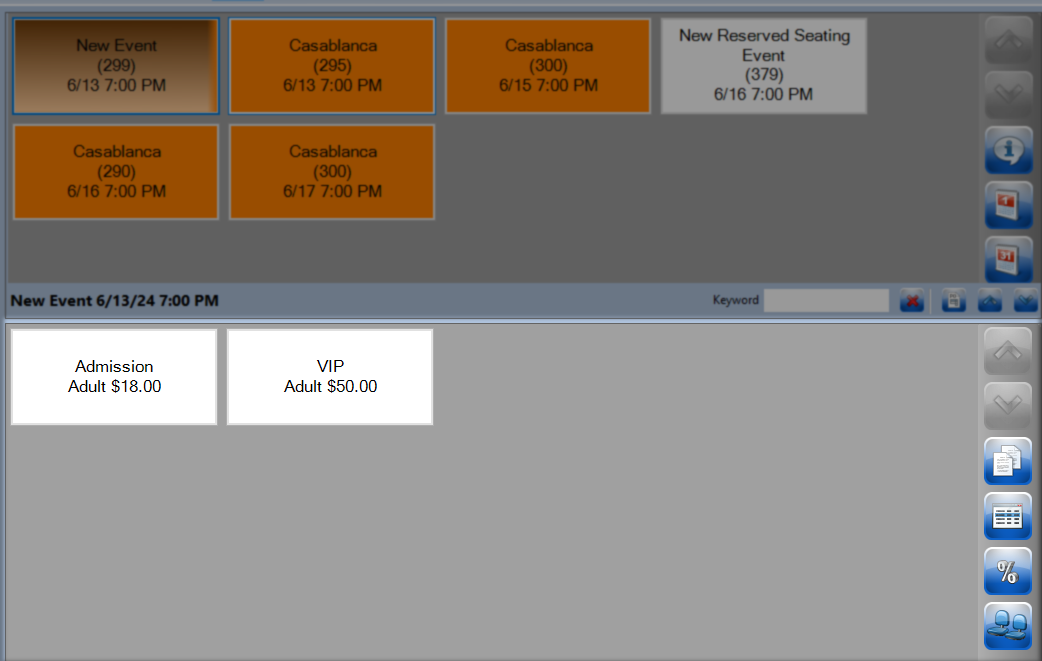
On the right are the pricing menus where you will find the options to multi buy, discount items, or select seats and just above that the arrows to resize this whole area.

These buttons will resize the show and price areas to fit more items in one or the other.
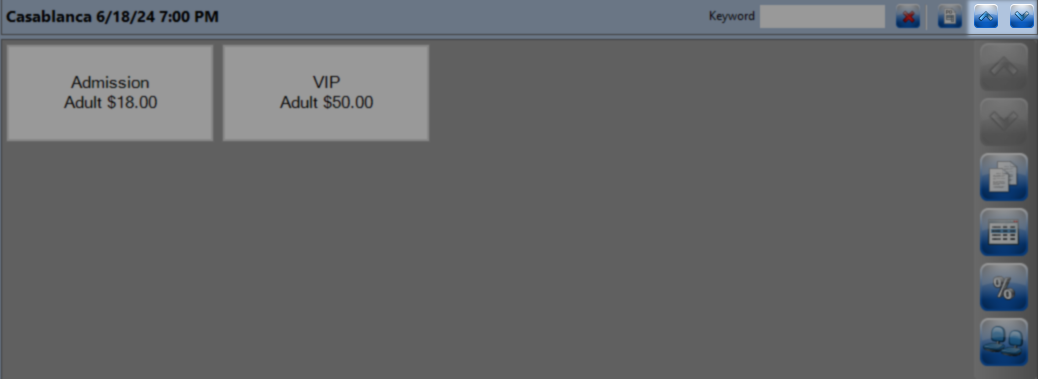
These buttons will display another page of prices when you have more than will fit in this section at once.
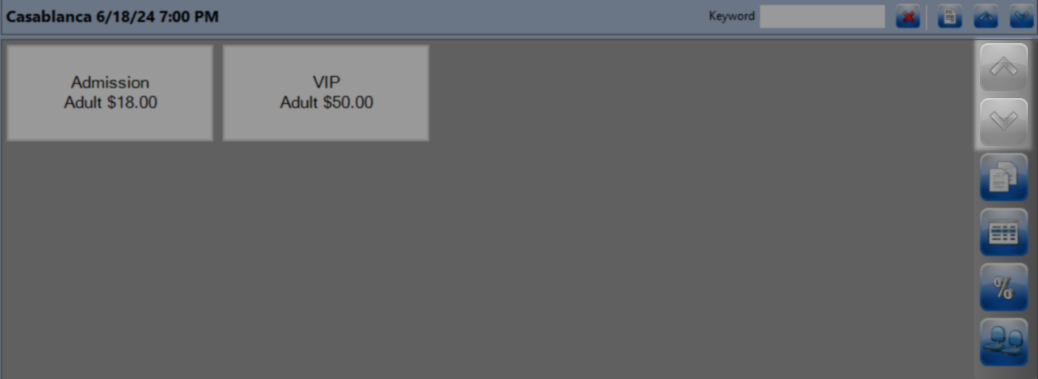
Once pressed this button will highlight so you know it has been enabled. While activated you will be asked to select a quantity for everything you to sell instead of pressing once per item.
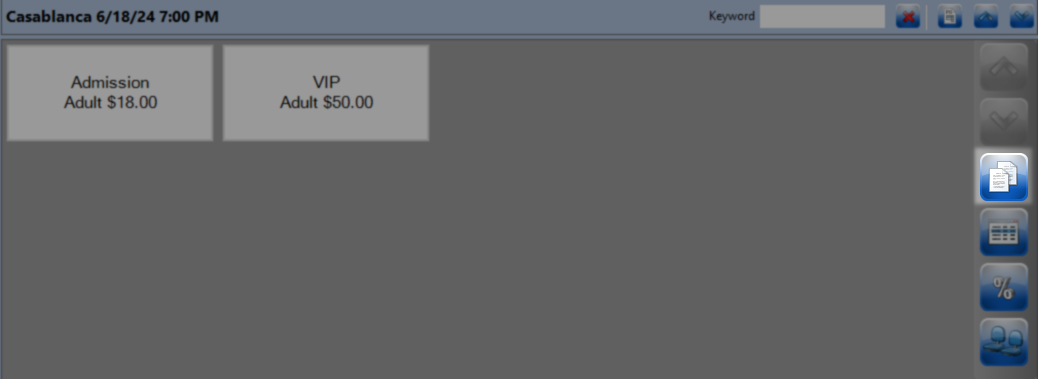
Enter the number you want to place in the basket and click OK.

Clicking this button will display the current inventory levels of the show you have selected.

Once pressed this button will highlight so you know it has been enabled. Once activated you will be presented with three discounting options for the next price you select.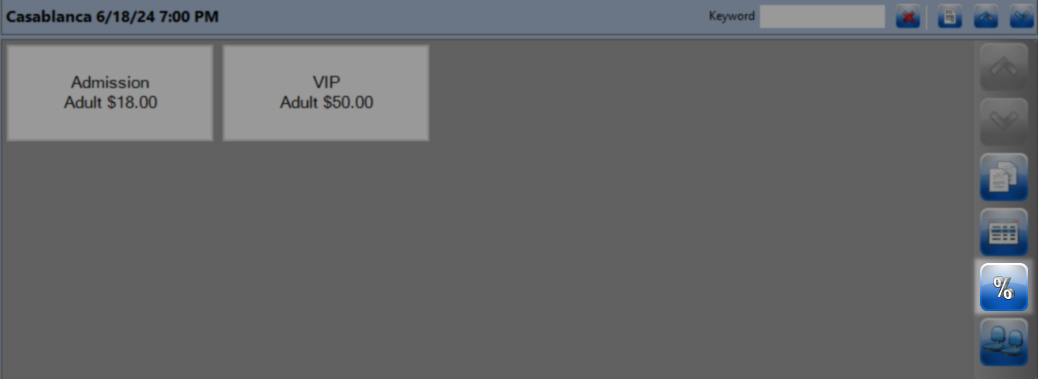
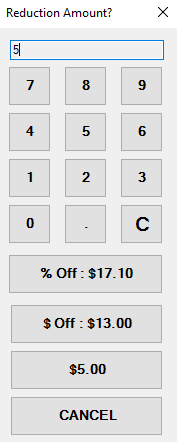
From the reduce amount window you will enter a value and then choose how to apply it.
% Off - Will reduce the selected price by the entered percentage.
$ Off - Will reduce the selected price by this dollar amount.
$ - Will charge this amount for this item
Discounted items will display their discounted price when you open their group in the basket.
This button opens the seating map for this show letting you select specific seats and prices.
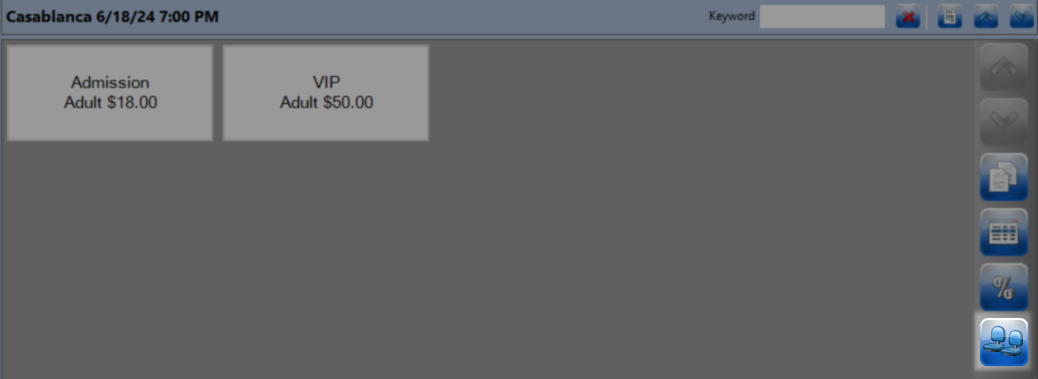

This button can only be found when looking at gift cards and allows you to look up a previously sold card and see its remaining balance.
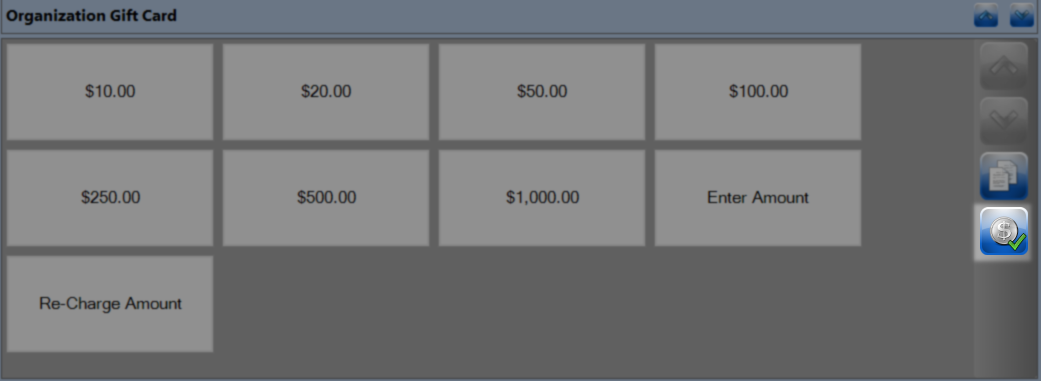
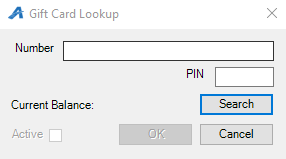
On the Gift Card Lookup screen manually enter or swipe the card and click Search. The balance will appear in the Current Balance area.
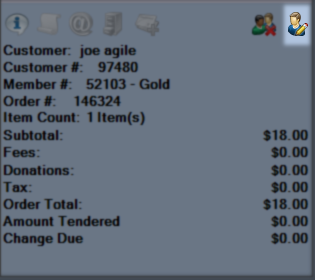
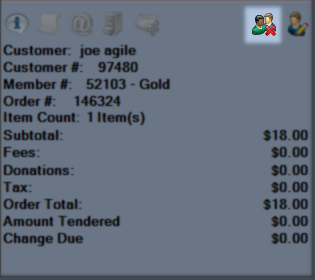
The order summary area is where you will see totals for pricing, taxes, fees, donations and when applicable refunds due. You can also see the active customer, any memberships they have, and the order number.
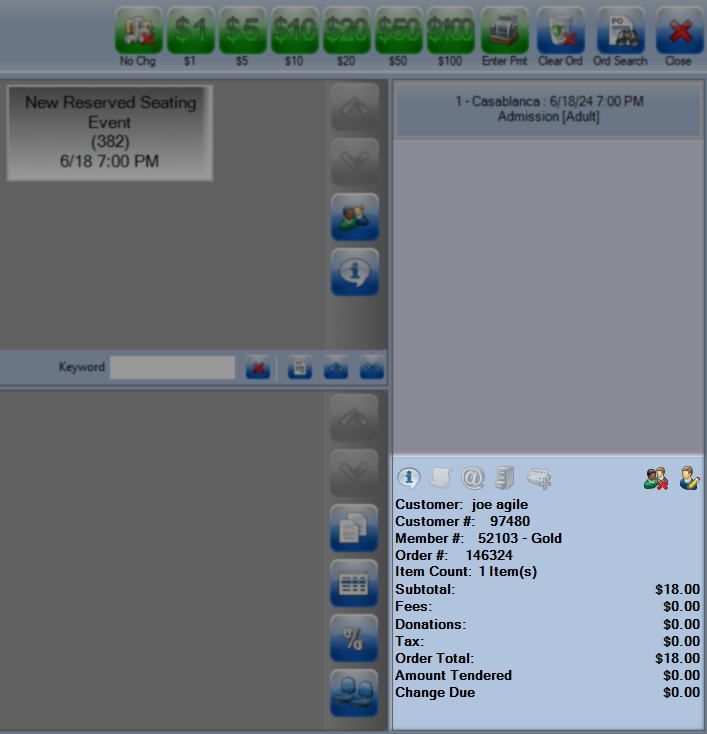
Along the top of this area are buttons that allow you to work with your customers or past orders when you have one pulled in.
The Notes button allows you to place a comment on this order that will be visible going forward when someone opens this order number.
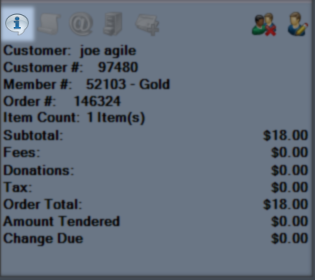
This button will reprint the receipt of an order you have just finished.

This button will open a window to resend the order confirmation of an order you have just finished.
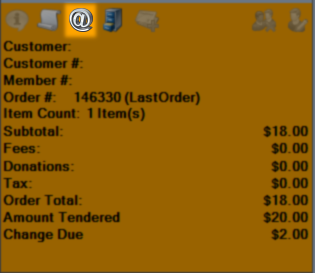

This button will open your last order so that you can change the items on that order such as a refund or exchange.
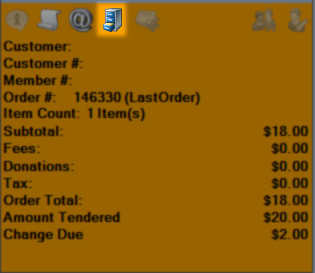
This button allows you to add a credit card tip to an order just after the order is finalized. If the customer decides to leave a gratuity, select this icon to open a Tip Adjust window where you can type in and set the tip amount. Tip processing like this is not available on all merchant types. Check with your Agile Ticketing Support Representative if you are interested.
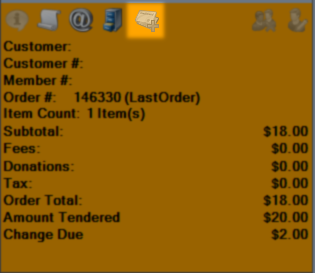
This button will remove the customer from the current order without clearing the order.PoSp
This button opens the active customer account so that you can make changes or additions.
