Setup and Explanation of Features
Contains what every button and menu in AMS Sales does.
AMS-Sales is the side of the Agile Ticketing software responsible for taking money for all of your items on offer. Even when you are using the PoS system AMS-Sales is what is behind the curtain processing the transaction. This system is ideal when your input tools are a mouse and keyboard.
Begin by logging into AMS-Sales using These Instructions if you need a hand with that process.

Once the App opens you will be on the sales side of the system and will have access to all of the menus and settings. Use the area map below to navigate then pick the section you would like to learn about further.
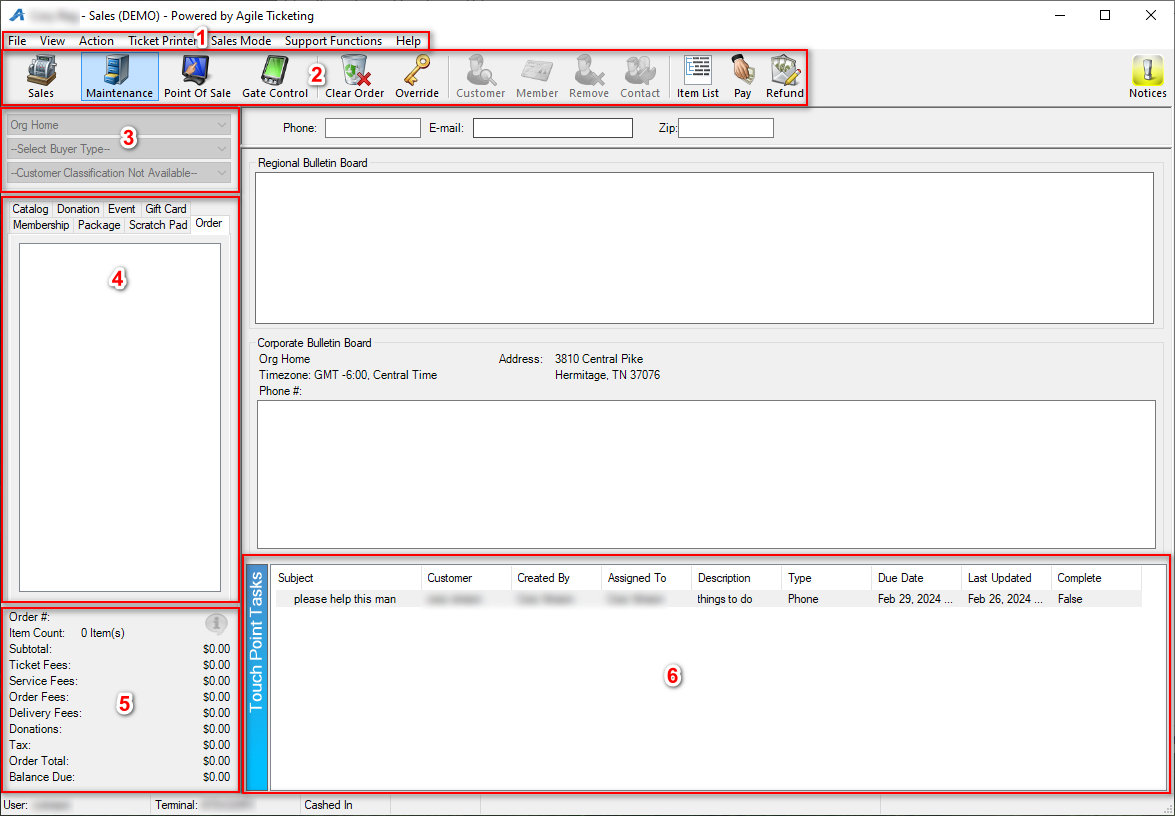
- Main Menu Bar
- Actions Bar
- Organization and Buyer Type selection
- Category Selection
- Cart Summary
- Touch Point Tasks
Select the section you would like to dive into using the buttons that appear to get even more detail about individual items in the area.
The Main Menu Bar contains mostly settings you will only have to set once but also has cashing in under Action and ticket fulfillment under Support Functions.

File contains options allowing for logging in and out.

Switch to Administration - will use your current user name and swap you over to the admin side of Agile where your shows are built.
Sign out - Drops you back to the login screen
Exit - Closes Agile
View allows for navigation around the sales system.
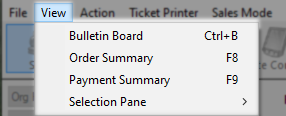
Bulletin Board - This returns you to the view you get when you first enter the sales system.
Order Summary - This moves you to the Order Summary Screen where you will see all of the items in your cart and their costs.
Payment Summary - This jumps straight to the payment screen where you finalize an order.
Selection Pane - Using this navigates you around the same way as clicking in the ticket/item section.
Action is where you will find user settings and some order functions
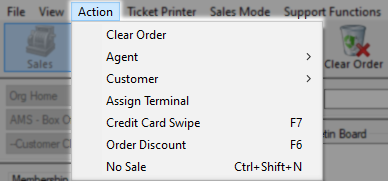
Clear Order - This clears the order and customer so a fresh order can be started.
Agent - This houses the cash in/out process as well as the agent override process and the ability to change your password.
Customer - This will let you search for or add a customer record to your database.
Assign Terminal - This lets the system know where this hardware is located and what its configuration is. This will only need to be set once.
Credit Card Swipe - This will put the system into a wait status as it waits for a card to be swiped.
Order Discount - Launches the window that allows you to discount any or all items on this order by any percentage.
No Sale - This will open the cash drawer without needing to make a sale.
Ticket Printer holds the settings for this terminals printer setup.
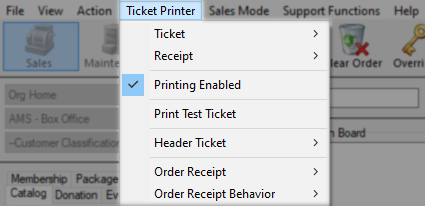
Ticket, Receipt, Card, Etc - All items listed at the top of this list are hardware items this terminal is aware of that may be enabled by placing a blue check next to that printer.
Printing Enabled - This setting turns all printing on or off.
Print Test Ticket - This lets you select a ticket format and a printer to print out a physical test ticket from that hardware.
Header Ticket - This is off by default but when on will print a ticket with a summary of the order items.
Order Receipt - This is the on/off switch for printing a receipt after each order.
Order Receipt Behavior - With receipt printing on you may choose if that printing will happen by default or if you would prefer to have more control and print by prompt or only when requested.
Sales Mode is mostly navigation options that also exist in area 2 on the action bar aside from a few default settings.
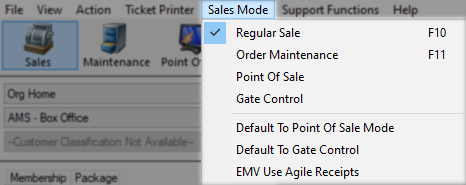
Regular Sale - This puts you in sales mode which is also the mode you default to.
Order Maintenance - This is the same as hitting the Maintenance button and loads working with finalized orders.
Point of Sale - This loads this terminal into Point of Sale mode.
Gate Control - This puts the system into a scan state for validating tickets
Default to Point of Sale Mode - This setting will set PoS as your default eliminating that step to box office sign-ins.
Default to Gate Control - Selecting this will default the workstation into ticket scan mode.
EMV Use Agile Receipts - This swaps the system over to using Agile receipts instead of the EMV receipt.
Support Function houses a number of important options that you will only find here.

Web Portal - This will launch the web portal and use your current username and password to land you on the start page instead of the login page.
Fulfillment - This is where you get into the fulfillment system to batch print items you have in waiting.
Free Form Tickets - This lets you create tickets on the fly that use the ticket format of your other tickets but does not pass through the sales process.
Balance Due Orders - This will display your orders with an outstanding or deferred balance.
Help can be used to contact support and contains settings support may need to enable.

Agile Support - This will start a support email to request assistance.
Share Screen - This launches the Ring Central App to share your screen with a support rep.
Send Log Files - This collects recent system data such as crashes and sends it to the Agile office for investigation.
Enable Terminal Logging - This will enable active logging to capture even more in-depth system information live.
Check for Updates - This will prompt the system to check for updates.
About - This will display the address and phone number for the Agile offices as well as
The Action Bar holds many of the most commonly used features for this side of the system such as customer and order lookups.

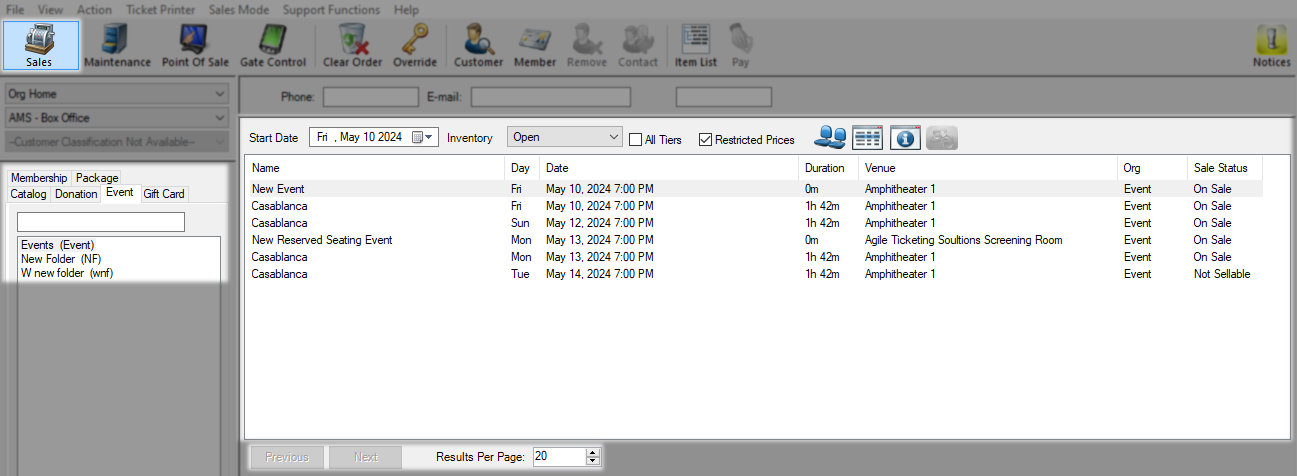
Sales is the mode that will load the secondary menu area when you click on one of your item categories in section 4. This area will default to showing 20 items but you may up that or flip pages using the navigation options below this area
In Maintenance mode, you are looking for existing orders to view or edit and are given a variety of fields to search with for an order or customer. To perform a search enter something into a field and then click the green check next to that field or hit enter.
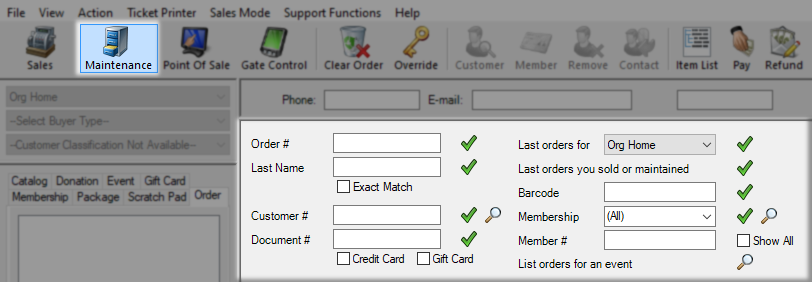
Order # - Allows you to enter and find a specific order number which it will pull into edit mode.
Last Name - Will locate all customers who share a last name, click the Exact Match check box to exclude names with a partial match such as Al finding Alvin.
Customer # - Will load all orders for this customer and allow you to pick the one you wish to work with. The order will be loaded directly if the customer has only one.
Document # - Using either the Credit Card or Gift Card check boxes pick what you are searching with then enter the number or last 4 into the entry field.
Last order for - This option doesn't take any input and instead will show you the most recent order process by anyone at your organization.
Last orders you sold or maintained - This option loads only your recent order.
Barcode - lets you search based on the barcode from a ticket or order.
Membership and Member # - These work together to let you search for memberships. In Membership select the program you want to search or leave it on all and enter the membership number below.
List orders for event - This will list all orders for the selected showing or event.
Point of Sale will launch the touch-optimized PoS system.

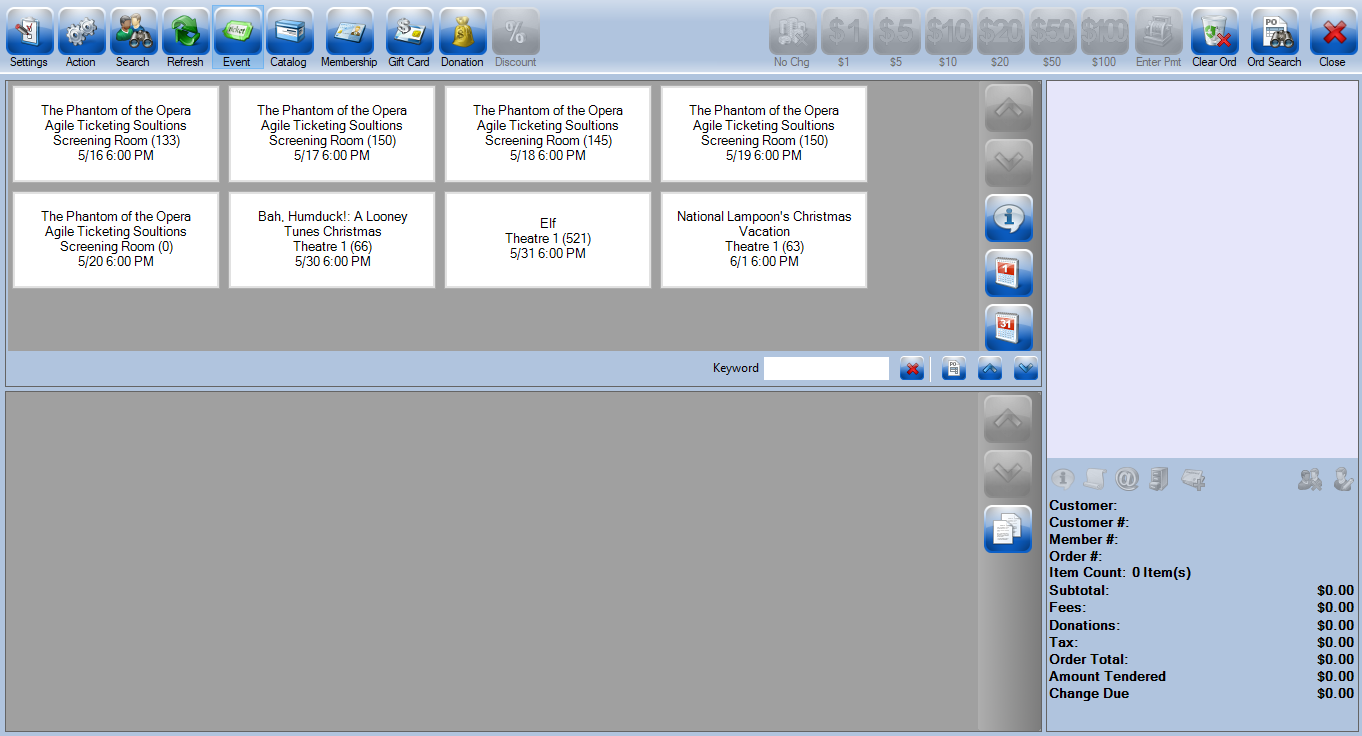
Gate Control will turn this terminal into a scanning-only work-station.

Clear Order will remove the current customer and all items in your cart to start a fresh order.

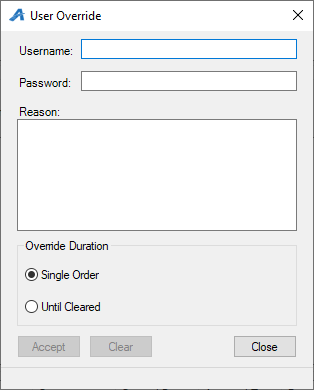
Override will open a screen so that someone with more permissions may grant temporary authority to the current user.

Customer will launch a customer search window and add the chosen customer to the current order.


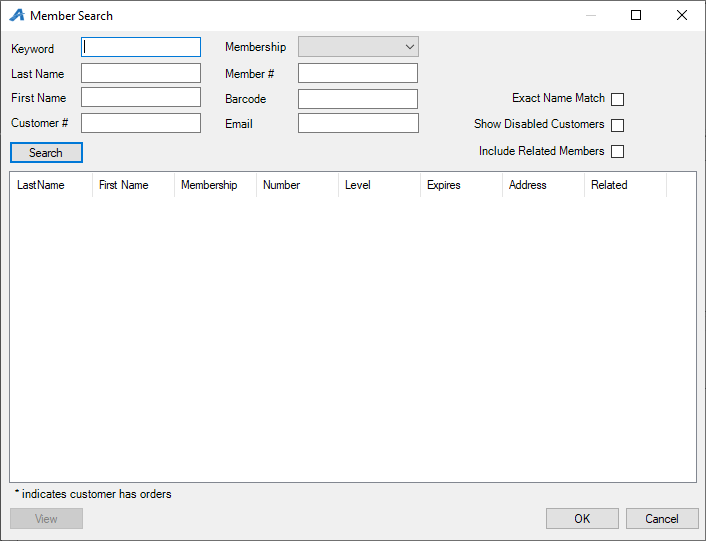
Member will launch a member search window and the chosen customer will be added to the order. This search will only find members and not all customers who match the search.

Remove removes the customer you are currently working with but does not clear your cart.

Contact will let you change the contact person for an order which is sometimes needed with business orders.

Item List will pop you to the itemized cart view of your current order.

Pay moves your current order onto the pay screen where you can choose your method and amount of payment to finalize the order.

This area displays the organization you are selling and exactly which sales channel you are accessing the prices for. AMS - Box Office will be the default here and rarely requires changing outside certain membership use cases.

This area is where you will pick the general category you would like to sell from such as events or memberships which will then load the folders these items can be found in below.
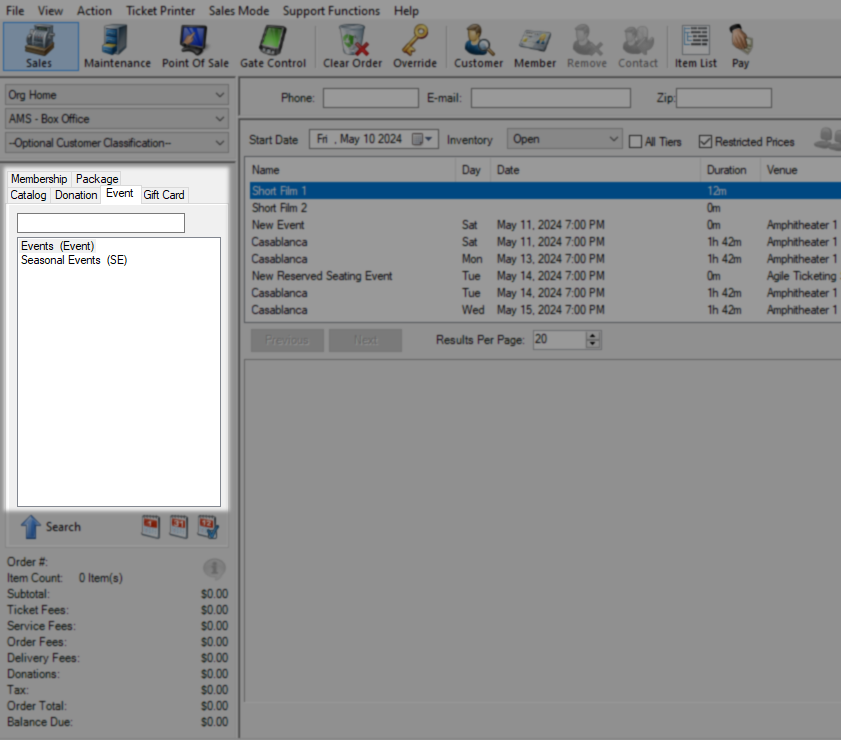
This area keeps a running total as you add items to the order and displays the break down by line item and the total after fees and taxes. Clicking this area will move you to the item list screen.
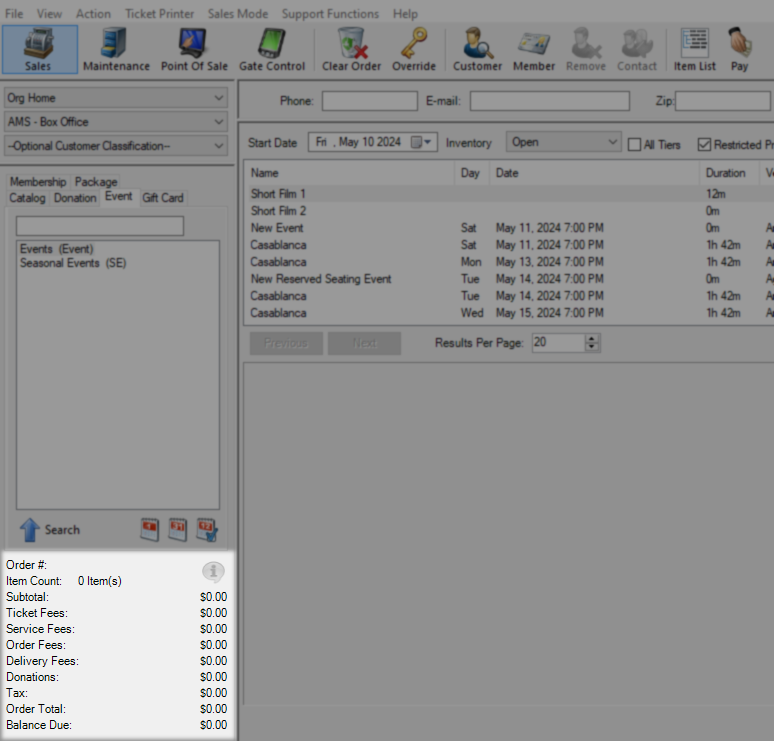
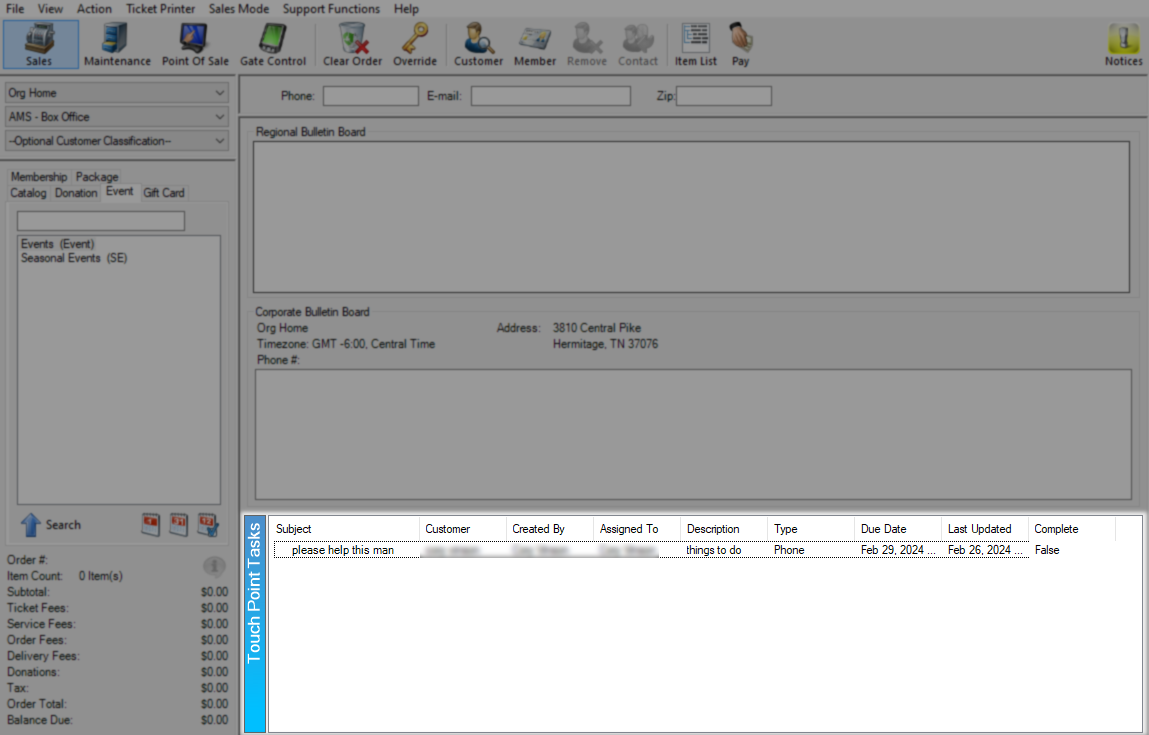
Touch Point Tasks are notes and can be set on the Touch Points tab of any customer record then assigned a date and agent who will oversee their completion.
When working with an order some new menus appear along the bottom and top of the screen. Located at the bottom is the Order Actions Bar where holding your mouse over any of these will tell you what it's called and at the top, you have the Order Items menu.
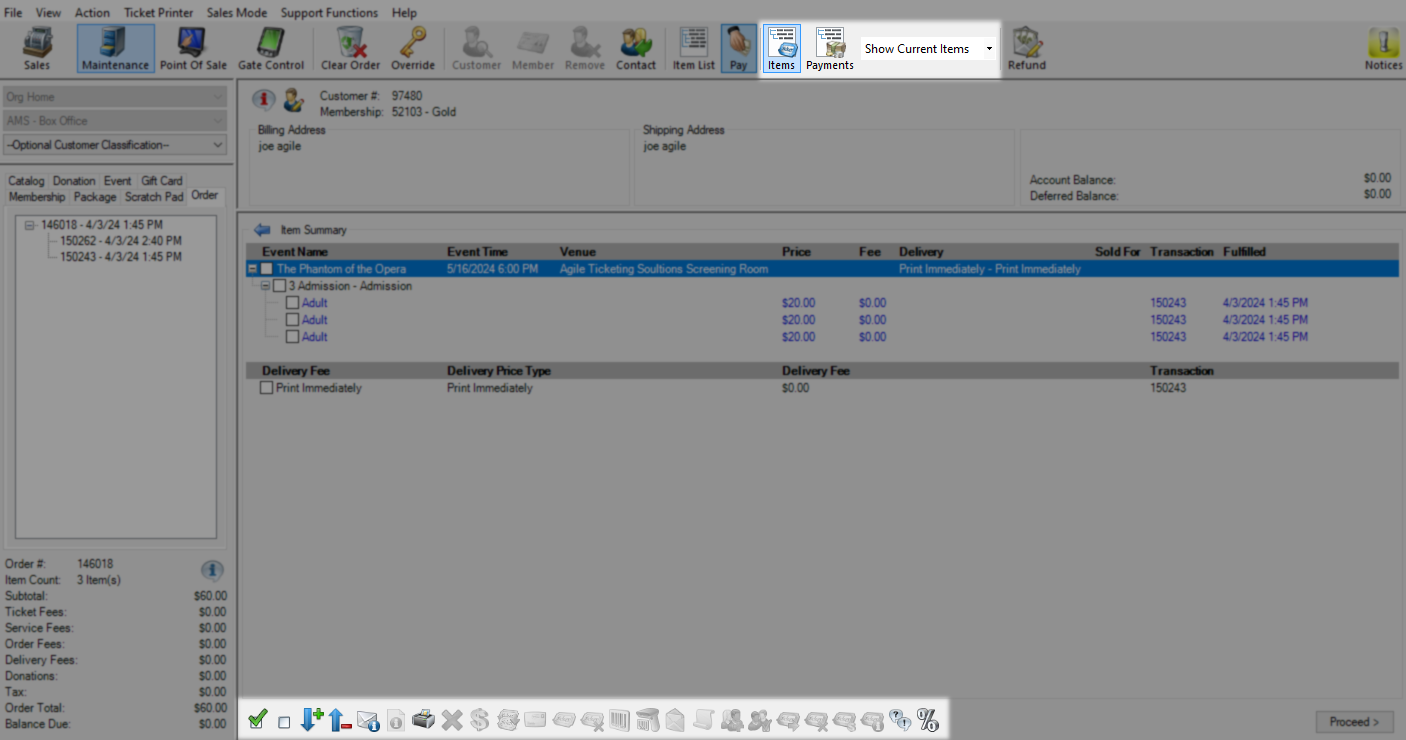
Select the area you would like to explore further.
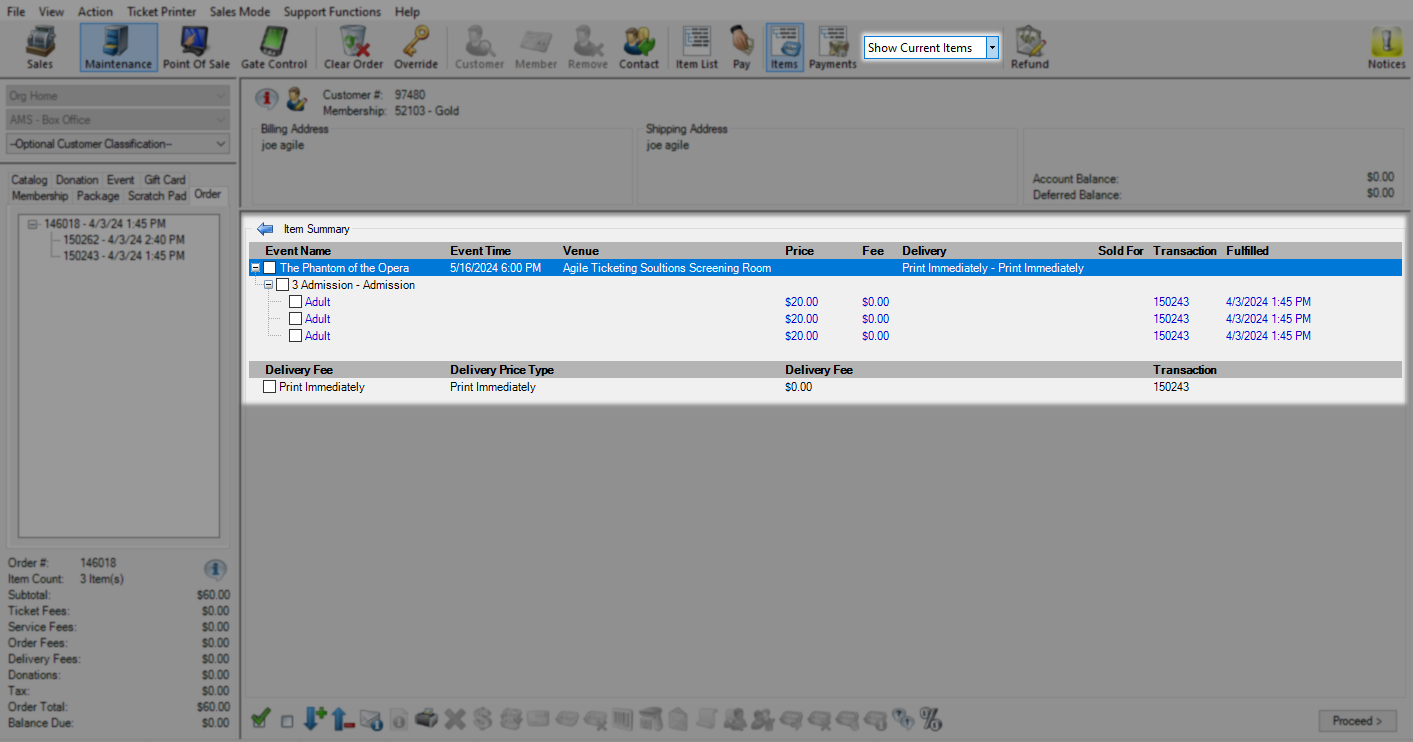
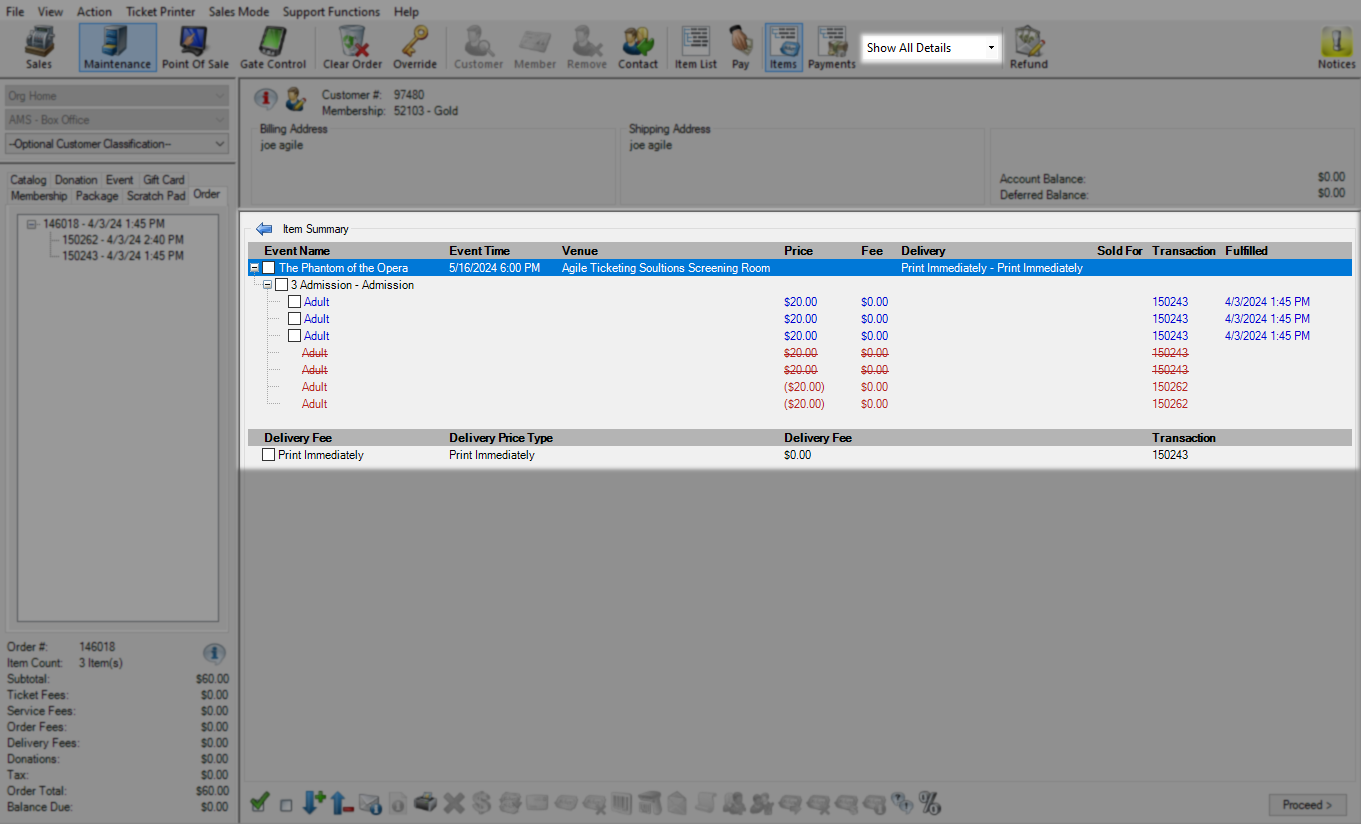
In this section, you have the controls for what part of the order you are viewing and how much of that order you are seeing. With view set to Items, you can use the drop-down to select how much information is being displayed.

Show current Items will display only active items on this order.
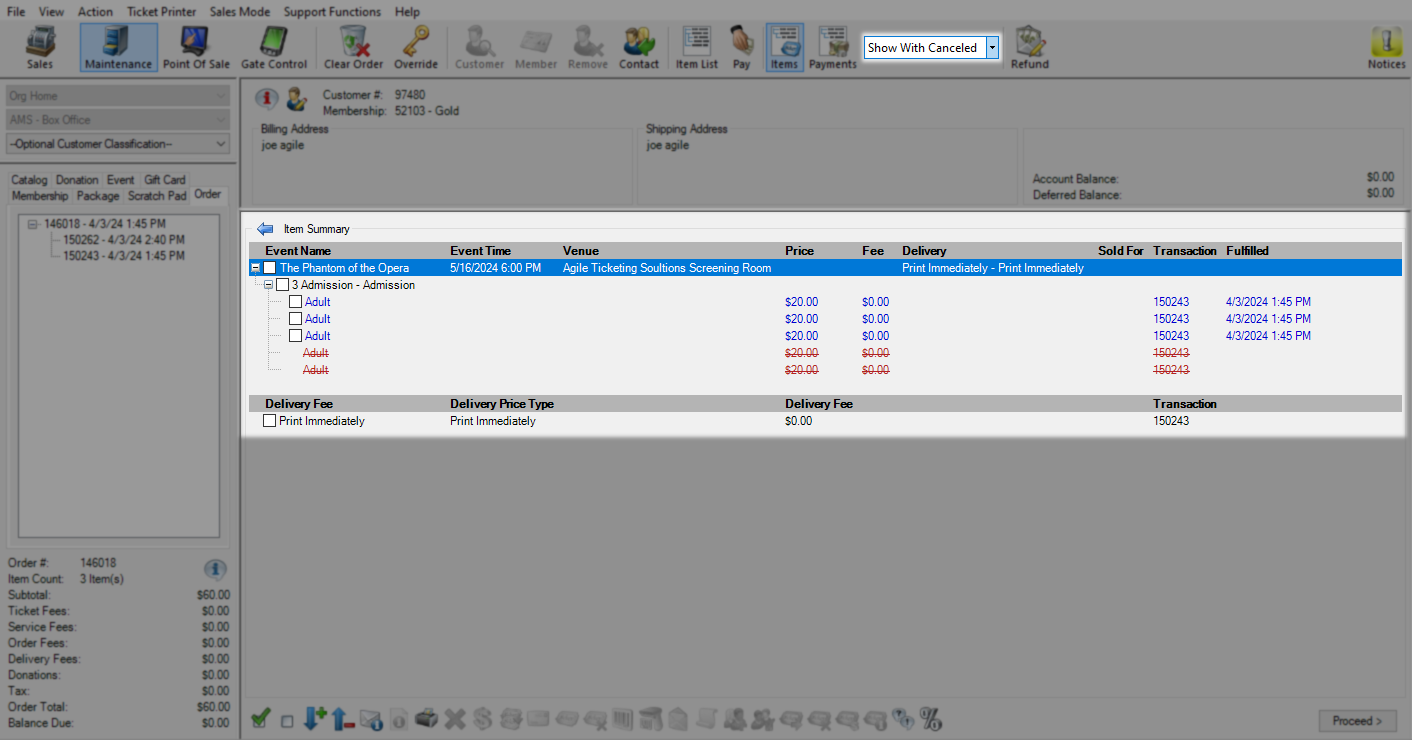
Show with Canceled shows current items as well as items that have been removed.
Show All Details will display not only active and removed items but also the refunds as their own line item.
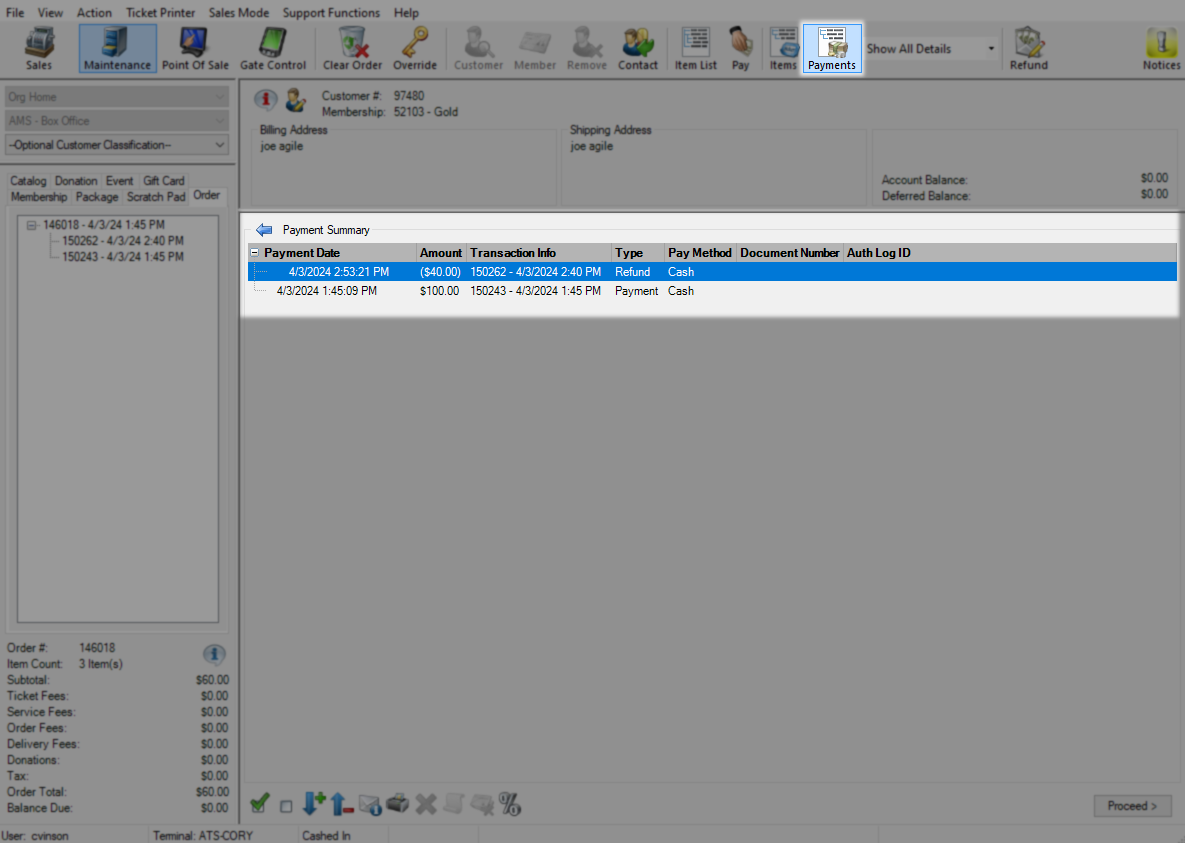
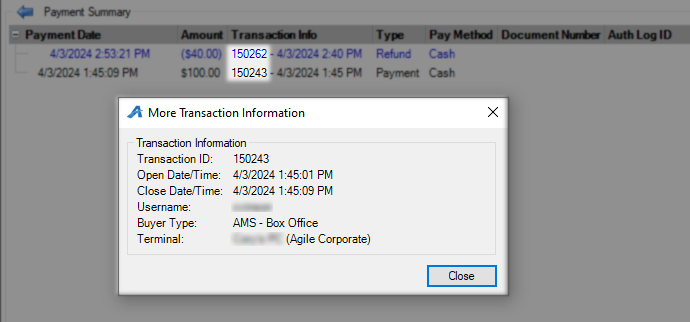
With Payments selected, you will be swapped to the itemized payment screen where you can see all money moving on or off of the order. Click on the Transaction number under the Transaction Info column to see the specifics of when and who processed that part of this order.
The Order Action bar contains options that affect the order or items on that order such as reprinting tickets, resending a confirmation email, or refunding only part of an order. Hold your mouse over any button to see what it is called and use the menu below to learn more about what it does.
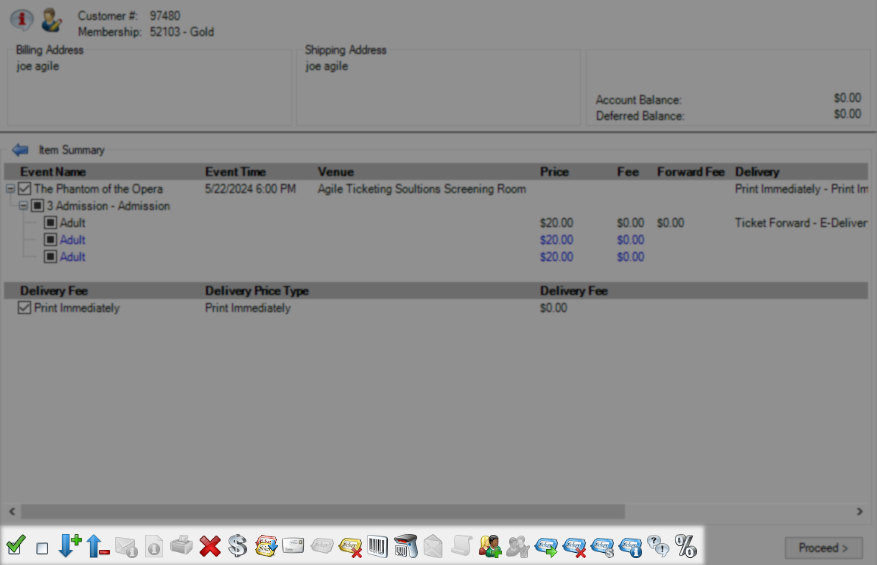
These buttons will select or unselect all items on this order by placing a check next to all boxes.
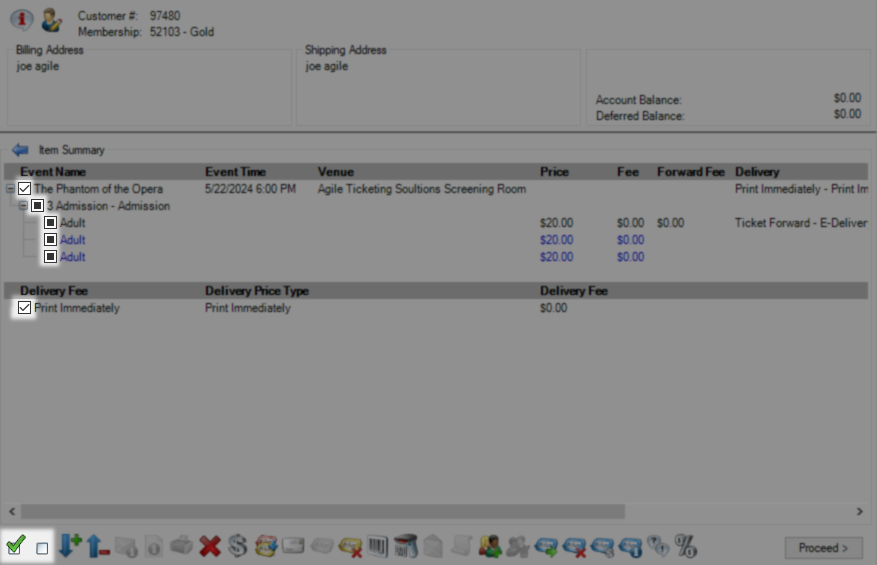
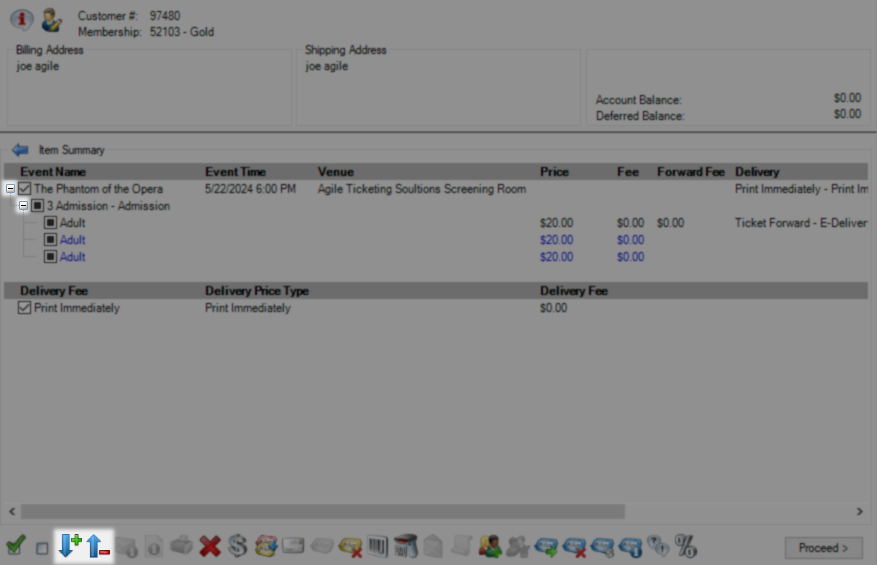
These buttons will toggle the expand point for all groups of items on this order.
This button will open a window that allows you to resend an order confirmation. This will include the PDF tickets and link to add to a wallet if that option is enabled.

This button opens a window to resend the print-at-home tickets from this order to the email address you specify. This option will only be available on orders with e-delivery.

This button reprints all or only the new tickets from an order. When reprinting all tickets on an order you will invalidate any previously printed tickets by printing new ones.

This button will remove all items you have placed a checkmark next to and free up the money paid for those items for either a refund or exchange.
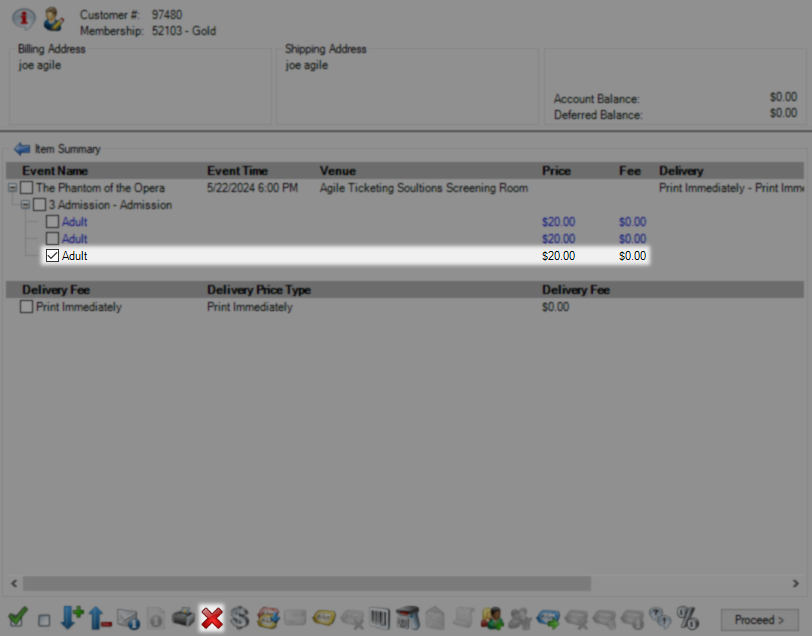
This button lets you change the ticket type or roll back the date to a previous price for the selected items.
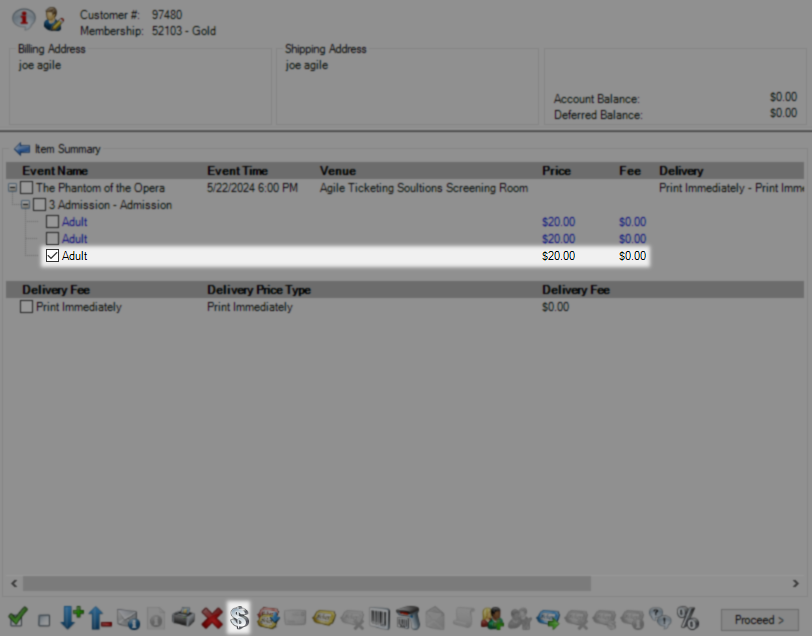

This button lets you swap the selected items to the same item at a different tier.
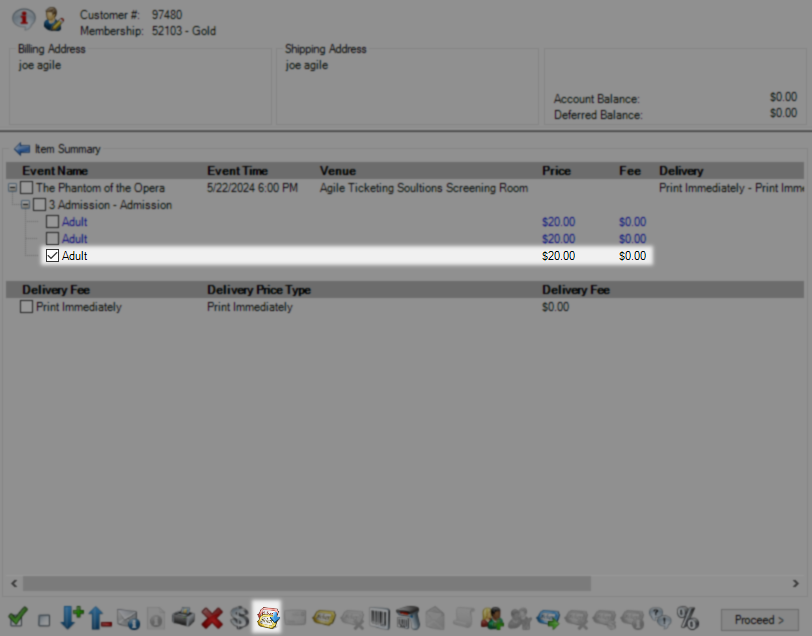
This button will let you swap the delivery method and will change any needed fees at that time. To change the delivery method you must select your item at the topmost level and change all items at once. When doing this with fulfilled item you will issue new QR codes and void the previous tickets.
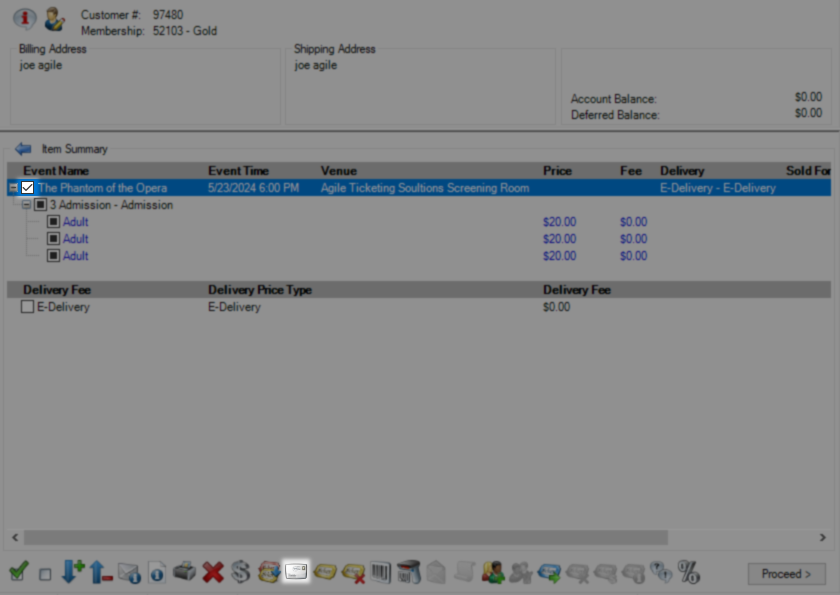
This button will reprint any tickets you have marked with a check on this order and issue new QR codes while voiding the old ones for any fulfilled tickets.
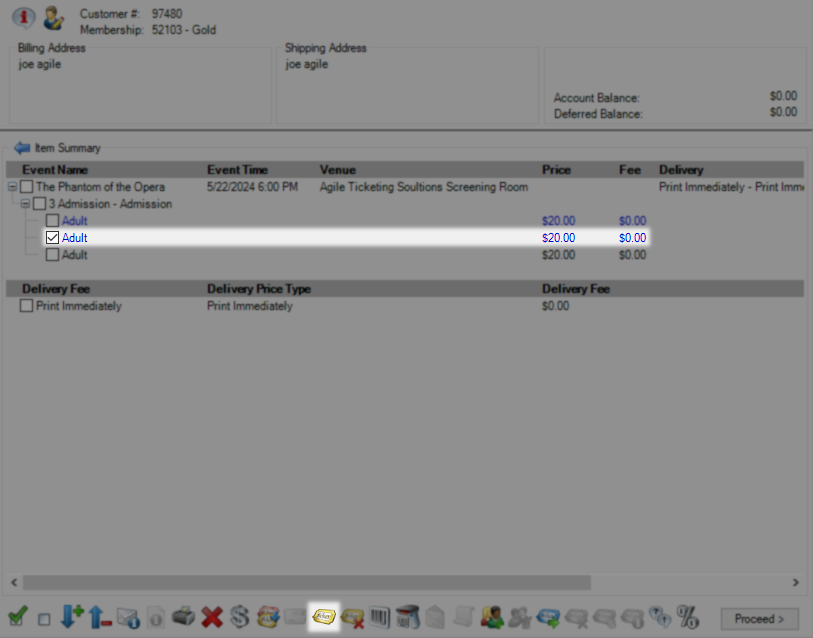
This button will void any fulfilled ticket. Once used proceed and finalize the order for this change to be saved.
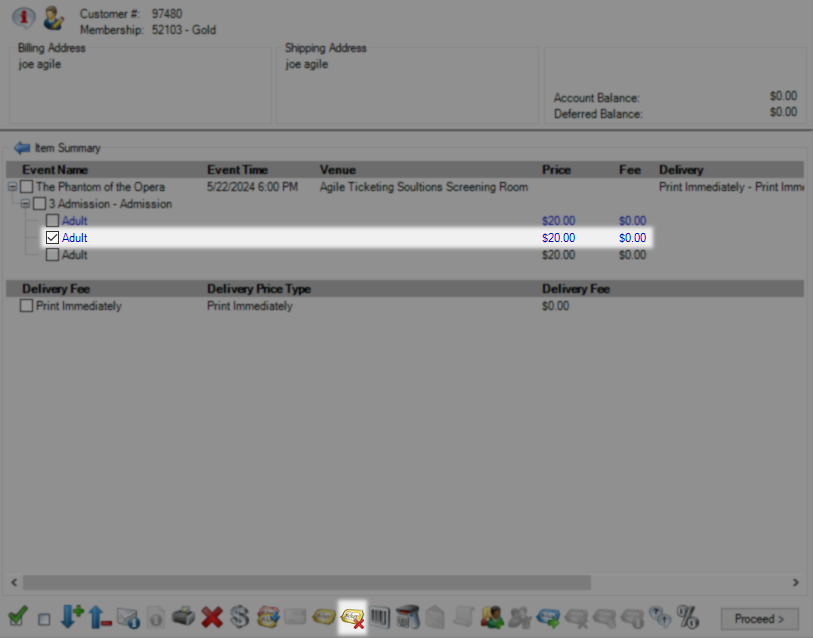
This button lets you generate barcodes for unfulfilled tickets or change the barcode on fulfilled tickets.
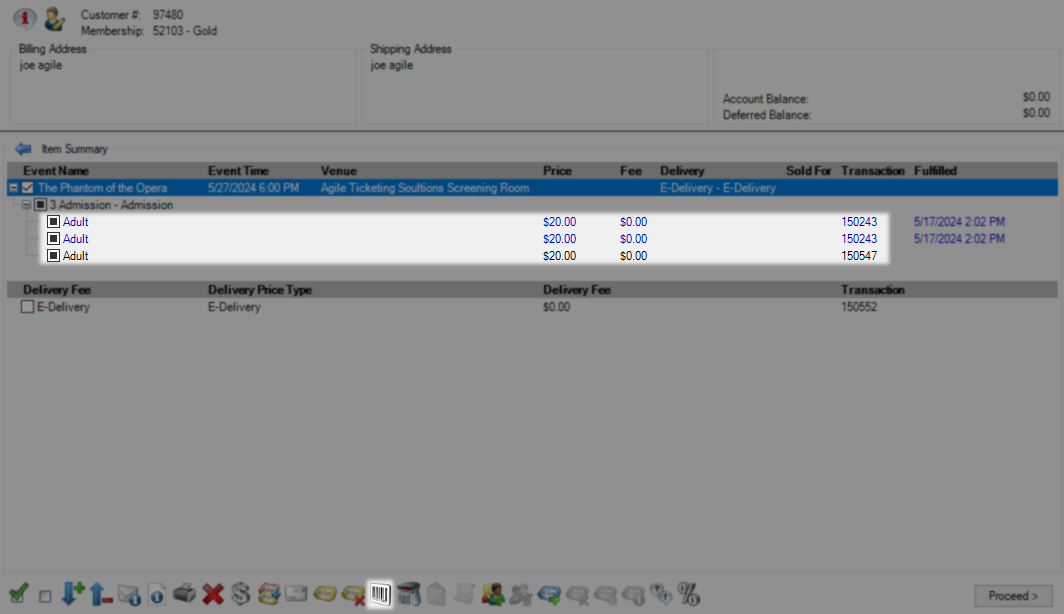

This button will swap the redemption status of tickets from fulfilled to unfulfilled or visa versa. This option does nothing on unfulfilled tickets.

This button will print the header ticket if that format is assigned to this ticket type.
This button reprints the order receipt for this transaction.

This button lets you assign a new customer to a specific ticket on this order without changing the owner of the ticket.
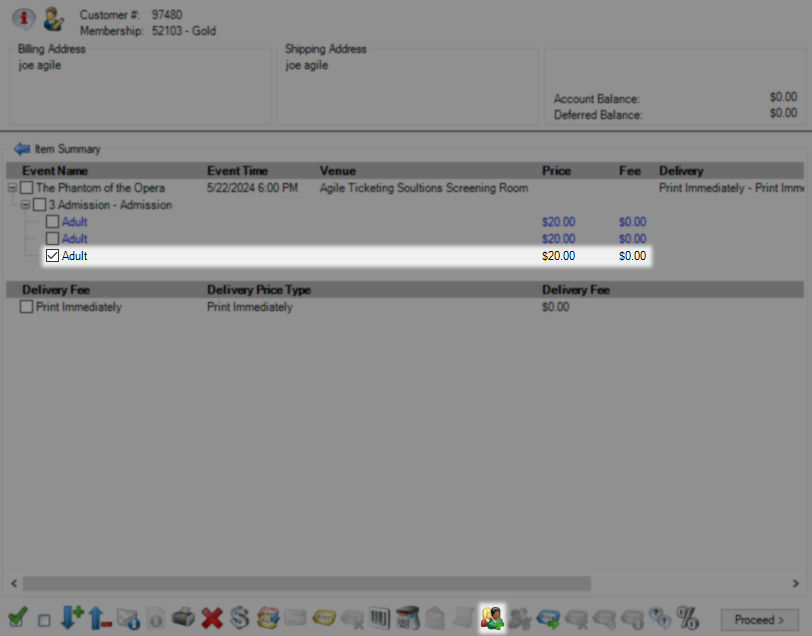
This button lets you change the owner of a package which must always have an owner in the system.

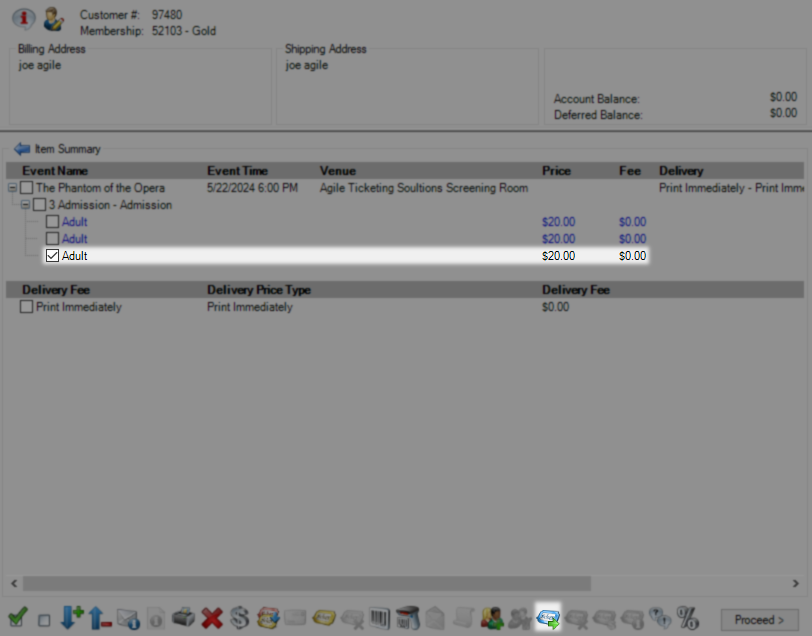
This button lets you select tickets and someone related to this customer and forward those tickets to them. The customer may also do this from their account.
This button will cancel and recall a ticket that has been forwarded through the system.
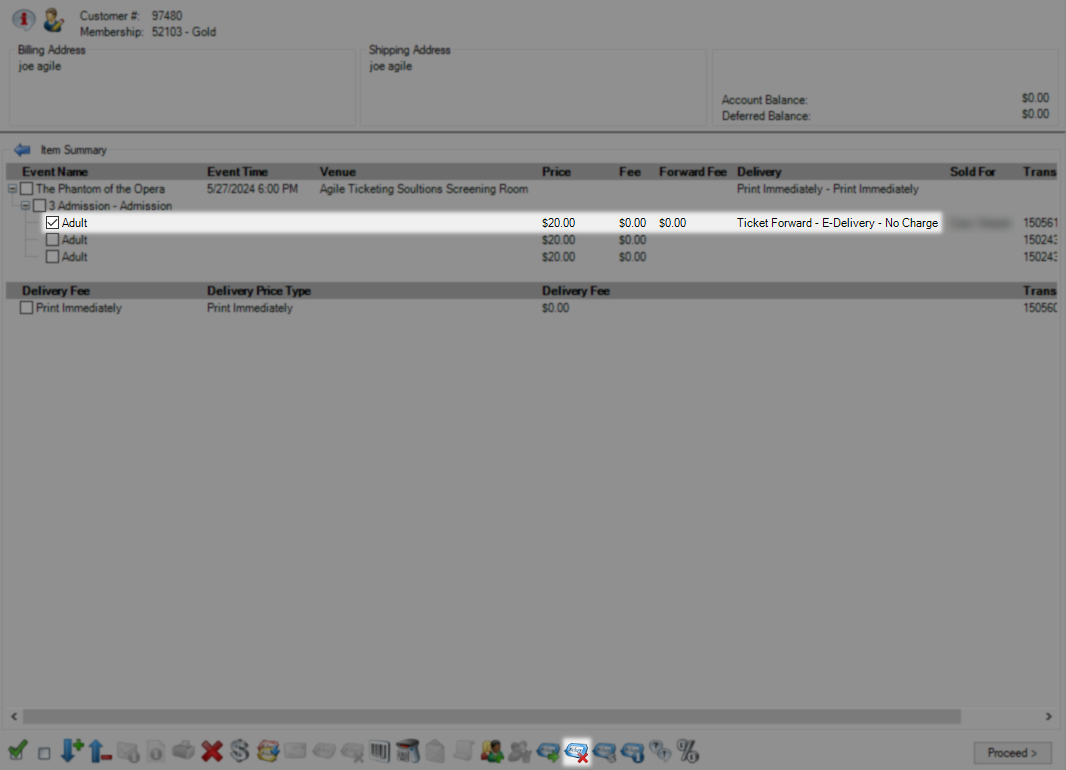
This button will let you change the price you change for forwarding a ticket on this order.
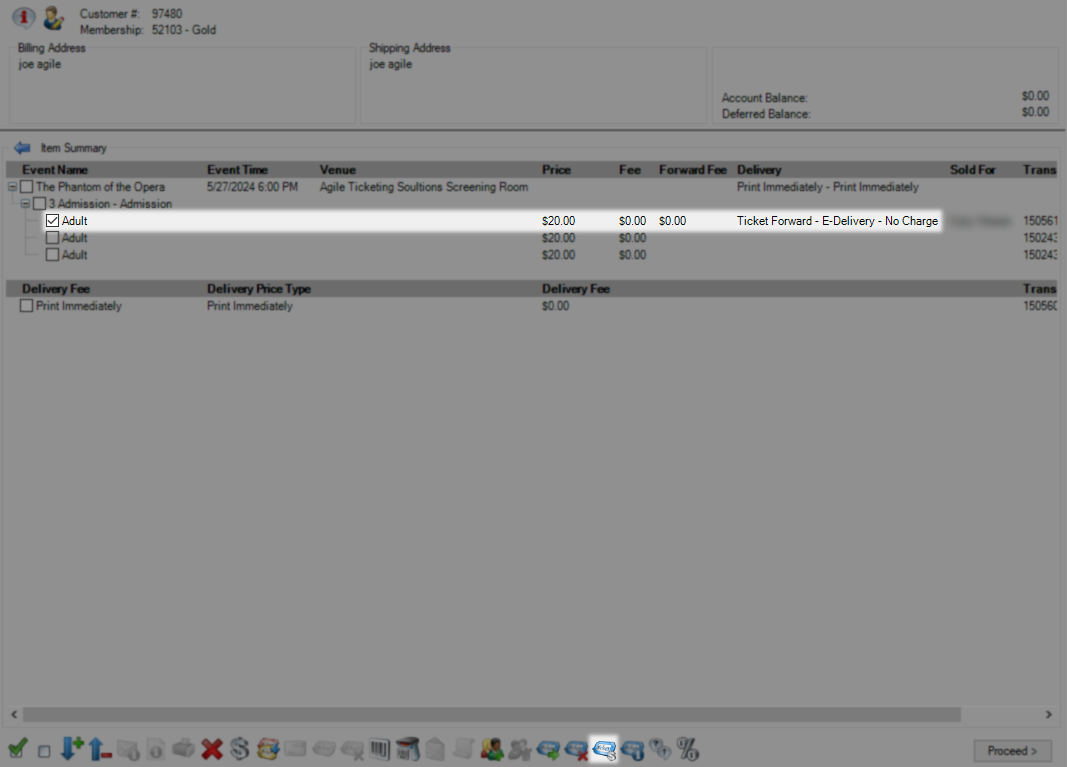
This button will open a window to resend the email containing a forwarded ticket.
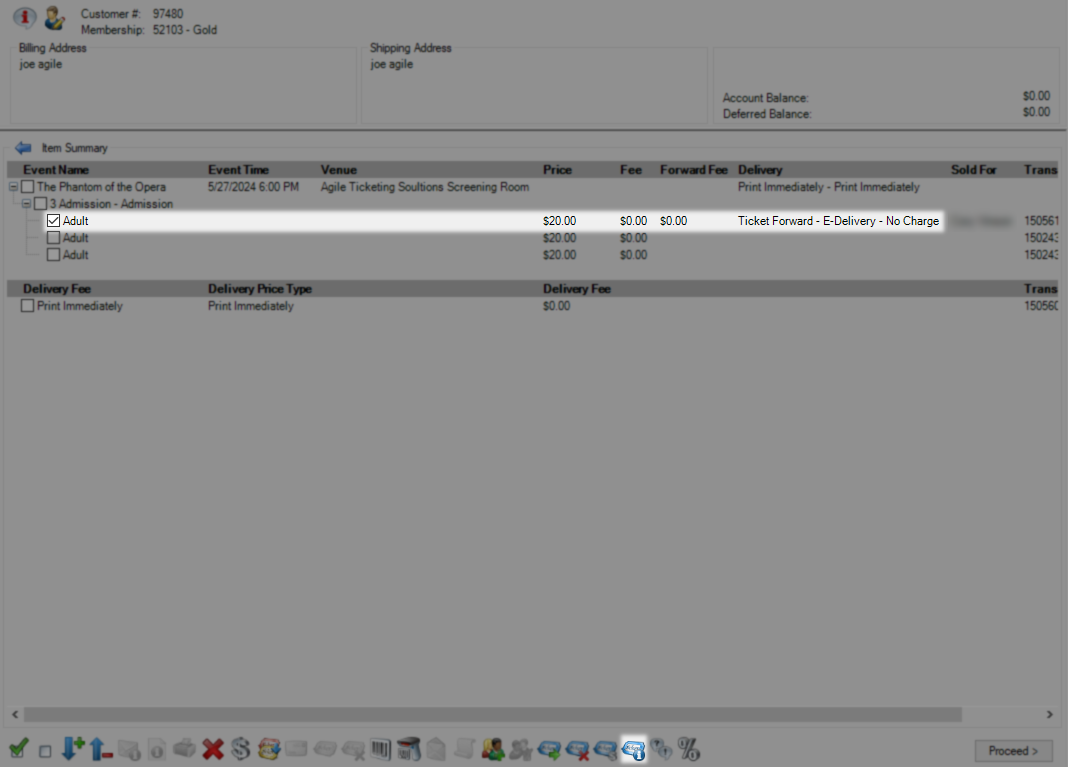
This button will display any questions asked on this order and the current answer. If you make changes to these answers you will need to finalize the order to save them.

This button lets you discount the entire order or only specific items by a percentage.

