Zapier Integration
Setup instructions for linking Agile and Zapier.

Table of Contents
Zapier integration allows clients to connect Agile Ticketing with other Apps to allow for automated workflow. Follow these steps to create your Zapier integration with Agile.
Go to https://zapier.com/ and create an account.
Contact your Agile Support Rep at support@agiletix.com to get the following information then continue with the setup instructions below.
- Agile User Key
- Corp ID
- APP Key
- Domain
- Invitation Link
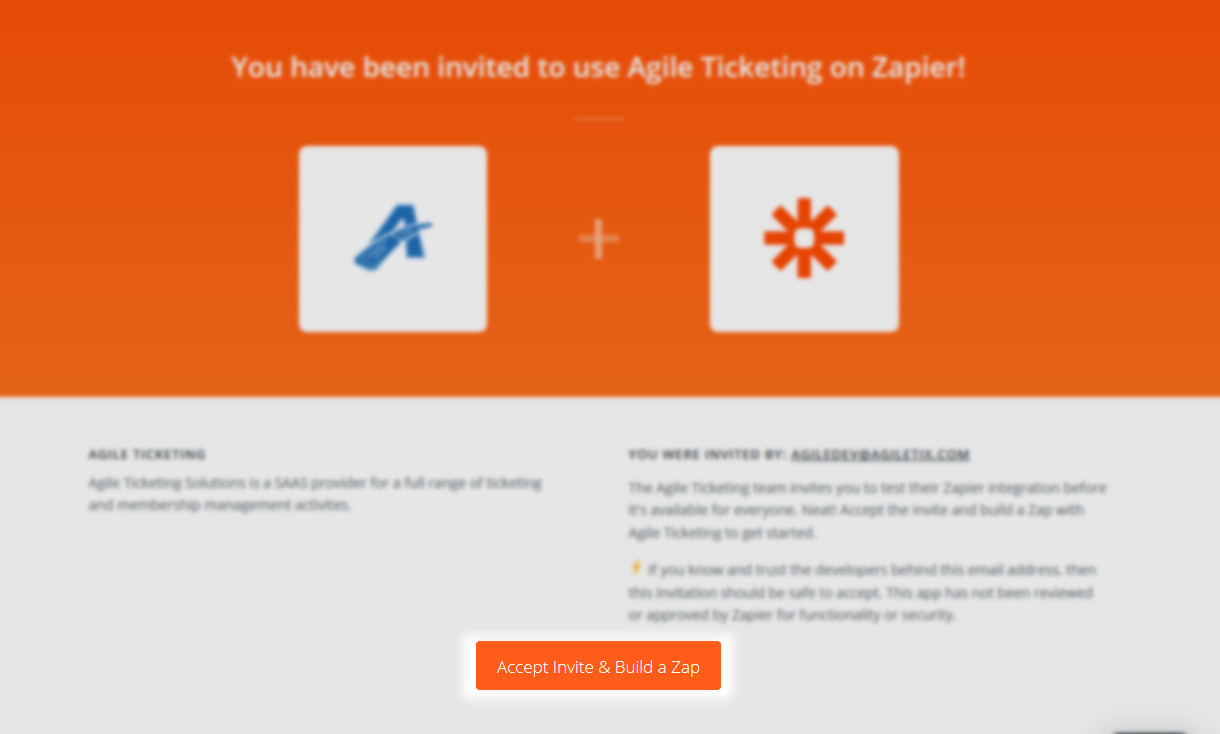
Follow the invitation link and login to your Zapier account.

Click on Accept Invite & Build a Zap button at the bottom of the invitation page.
Click on Create this Zap.

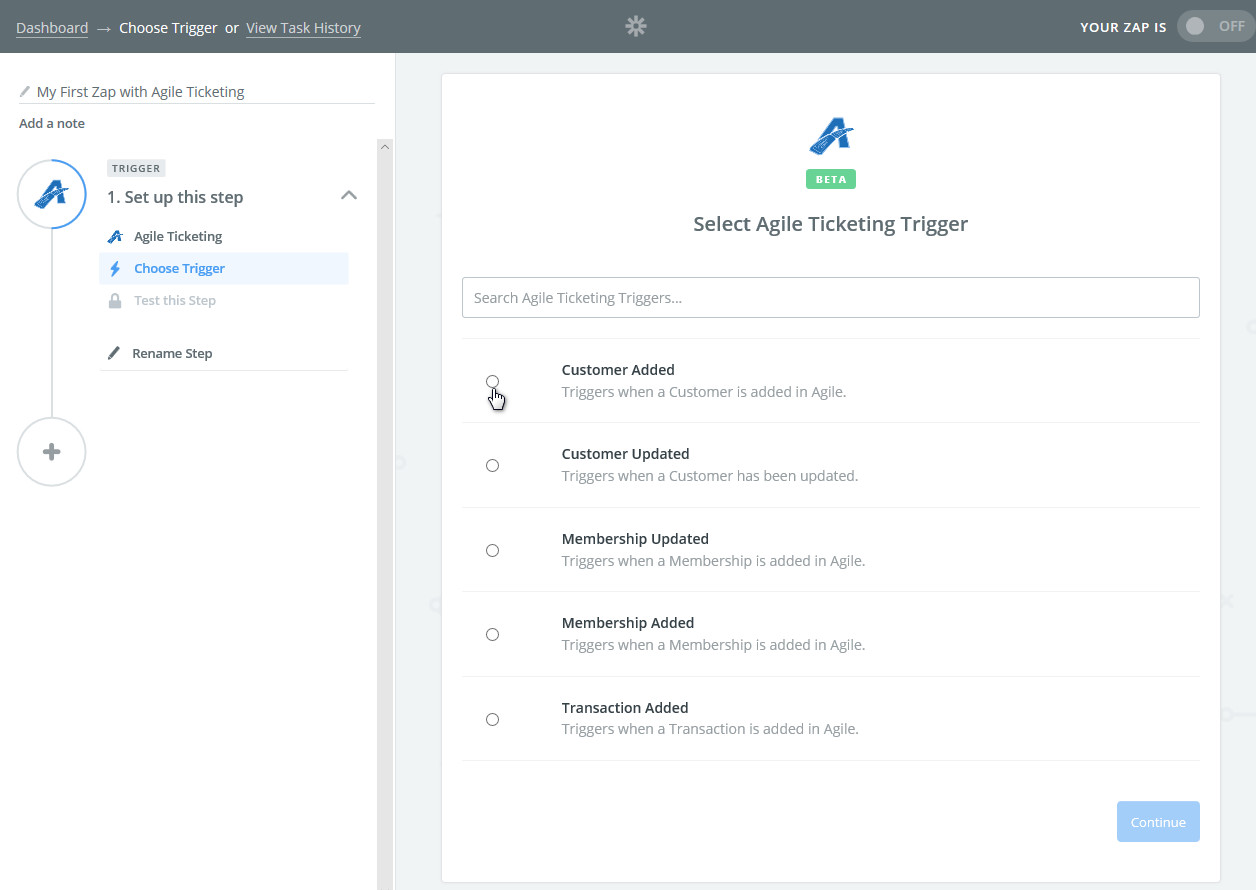
There are five Triggers to choose from (Triggers send data to Zapier when something happens in the Agile system). Choose one of the five Triggers. NOTE: You can only create one zap at a time. The five Triggers are:
Customer Added - Sends:
- Customer's Name
- Email address
- Marketing opt-in values
- Mailing Address values
- Customer Website
- Customer Number & ID.
Customer Updated - Send the updated customer information that has been changed in Agile.
Membership Added - Sends:
- Membership ID
- Primary member Customer Name and ID
- Membership Price Type
- Membership Join and Expiration
- Membership External Name
- Member Number
- Member customer emails and marketing opt-in statuses
Membership Updated - Sends the updated membership information that has been changed in Agile.
Transaction Added - Sends:
- Customer Name
- Customer Number
- Customer Email
- Customer External ID
- Total Transaction item count
- Transaction Items
- Close Date and Time
- Order Number
- Payment Type
- Total Transaction Amount
- Transaction ID
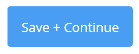
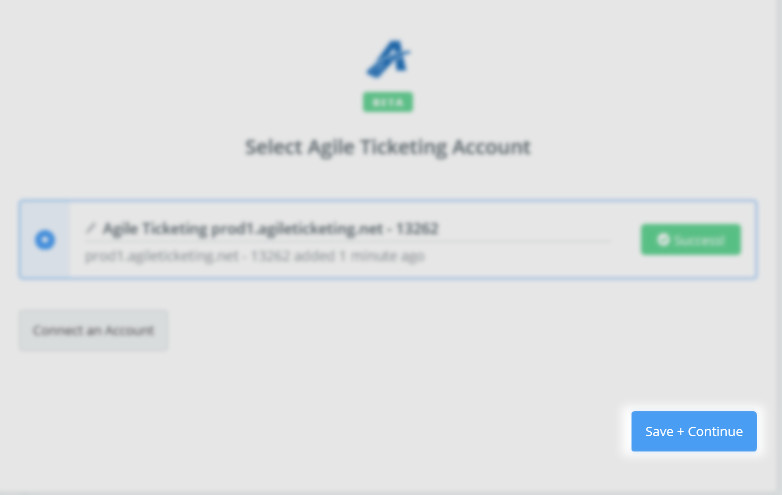
Click the Save + Continue button.
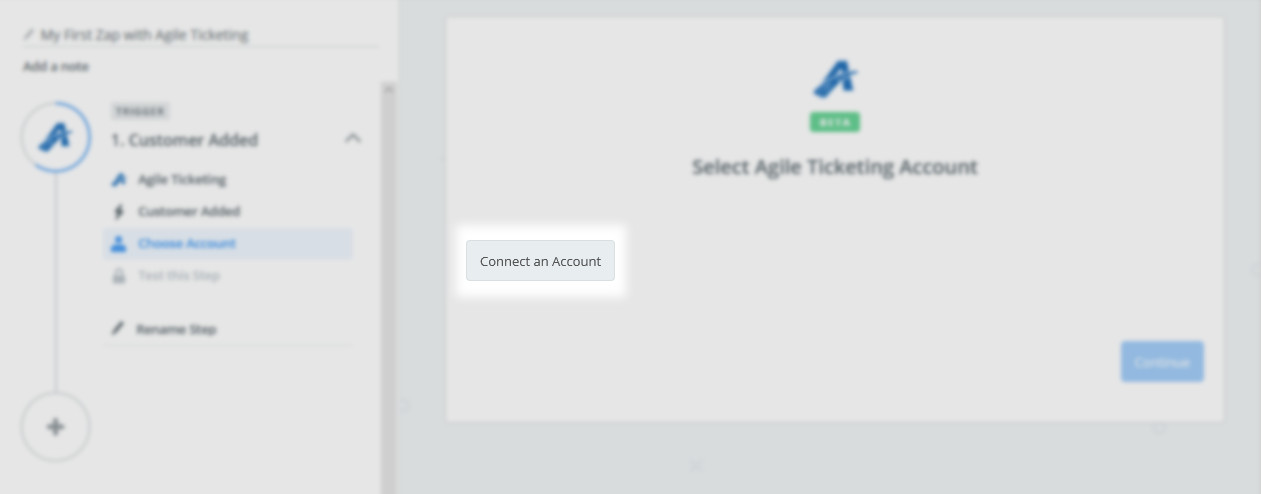
Click on the Connect An Account Button.
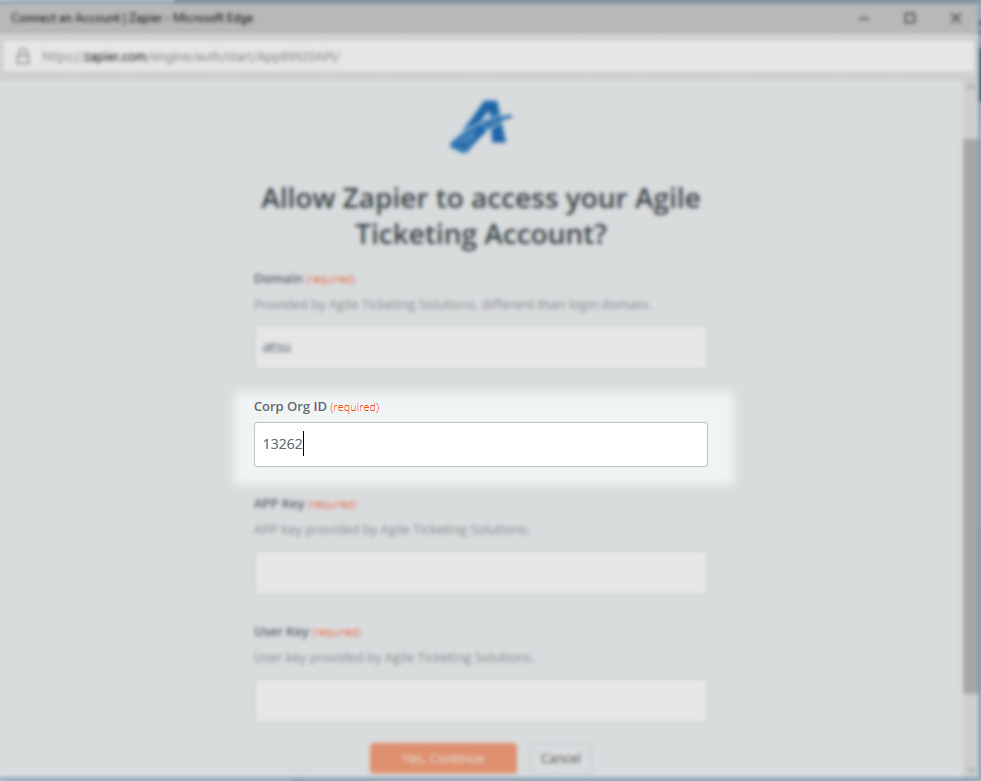
Enter the Domain, Corp Org ID, APP Key, and User Key when prompted.
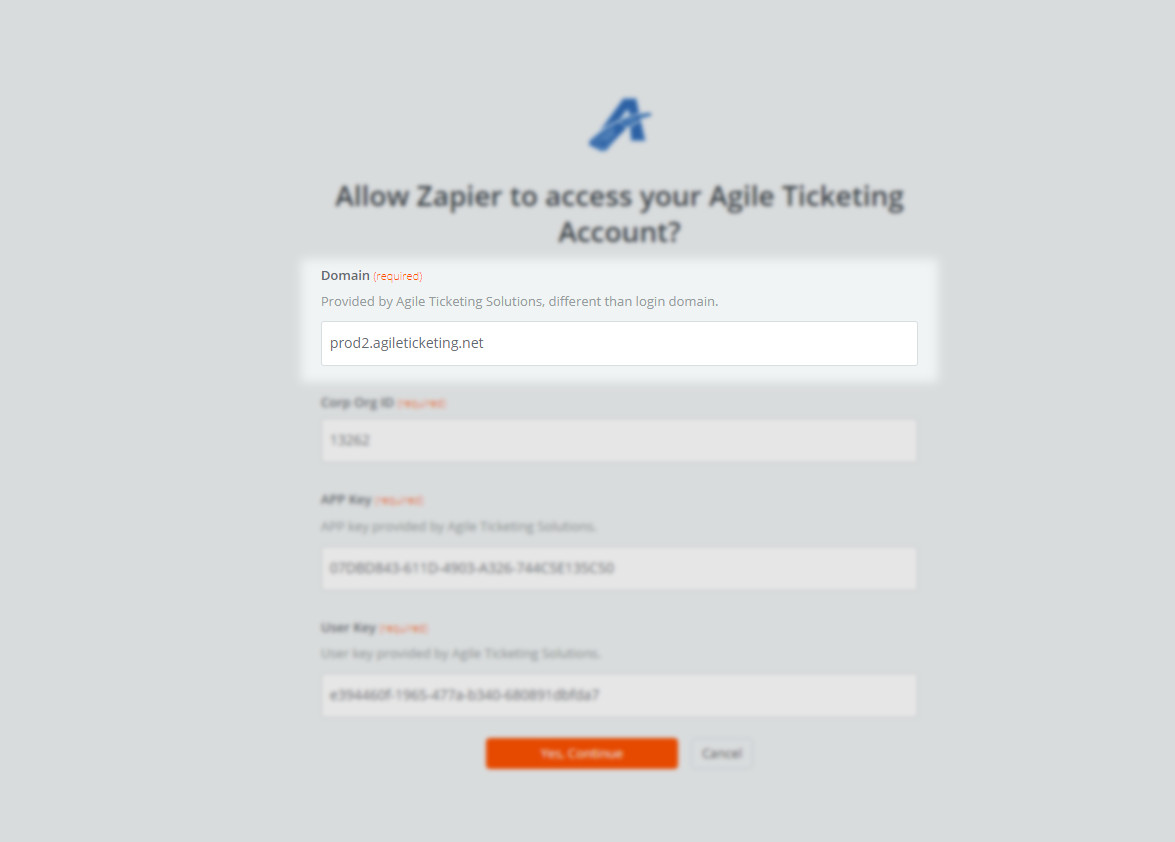

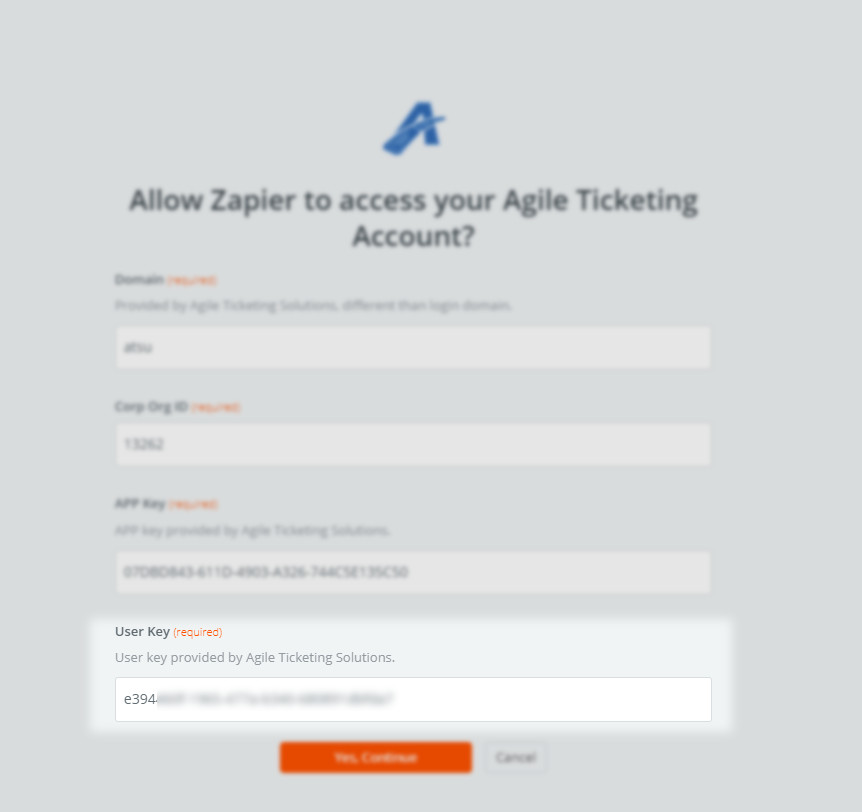
Once all information has been added, click on the Yes, Continue button.

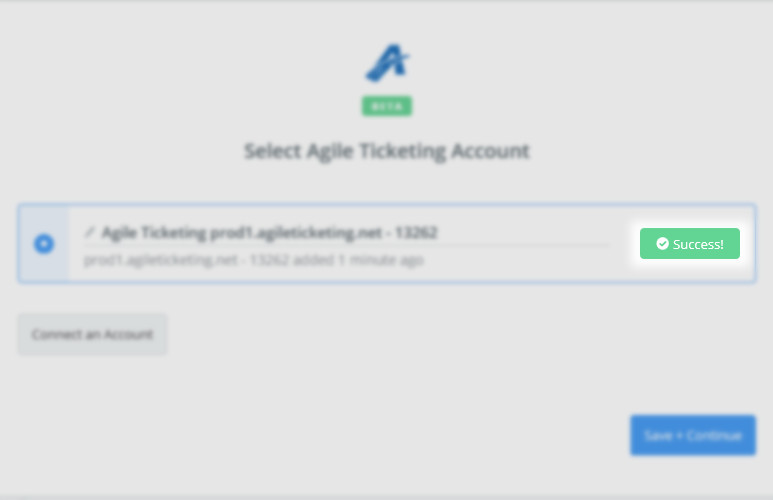
Click on the Test button to make sure that the Trigger has been set up correctly. You will get a Success notification once the Test has completed.

Once the Test has been completed, click on Save + Continue button.
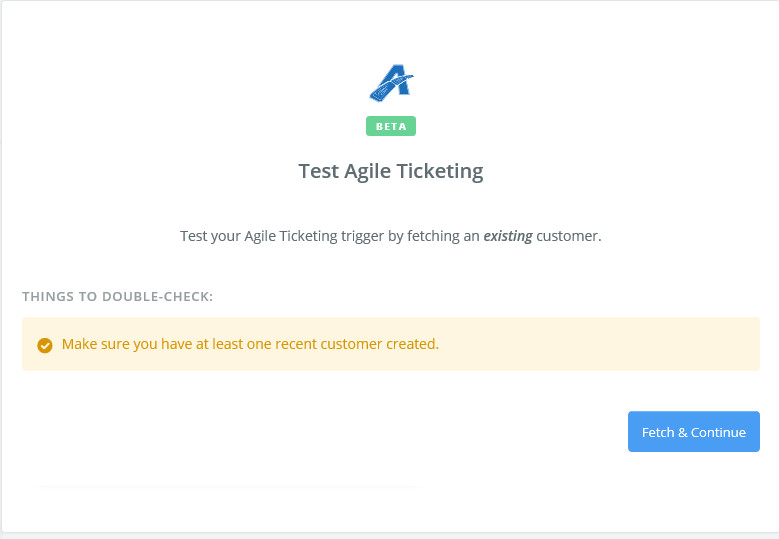
At this point, click on Fetch & Continue to pull sample data from Agile.
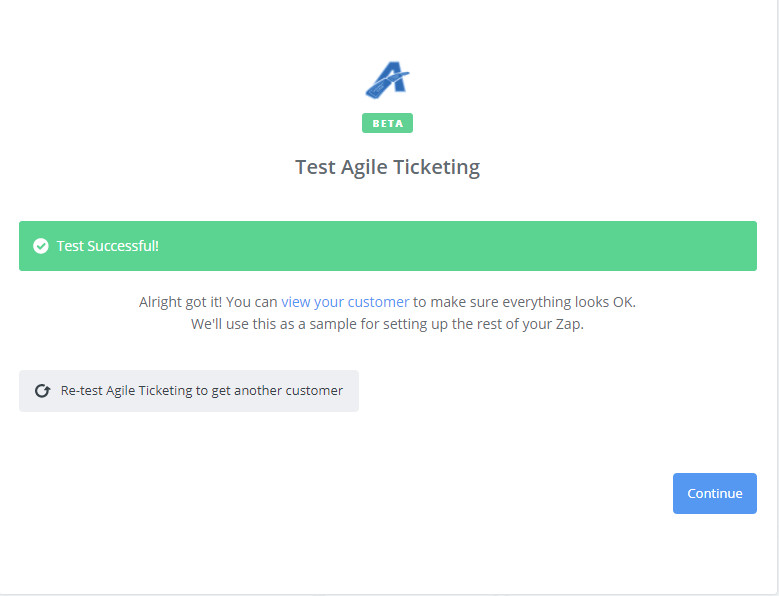
Zapier will send another test and let you know if the information is updating correctly. Once successful, click on the Continue button.
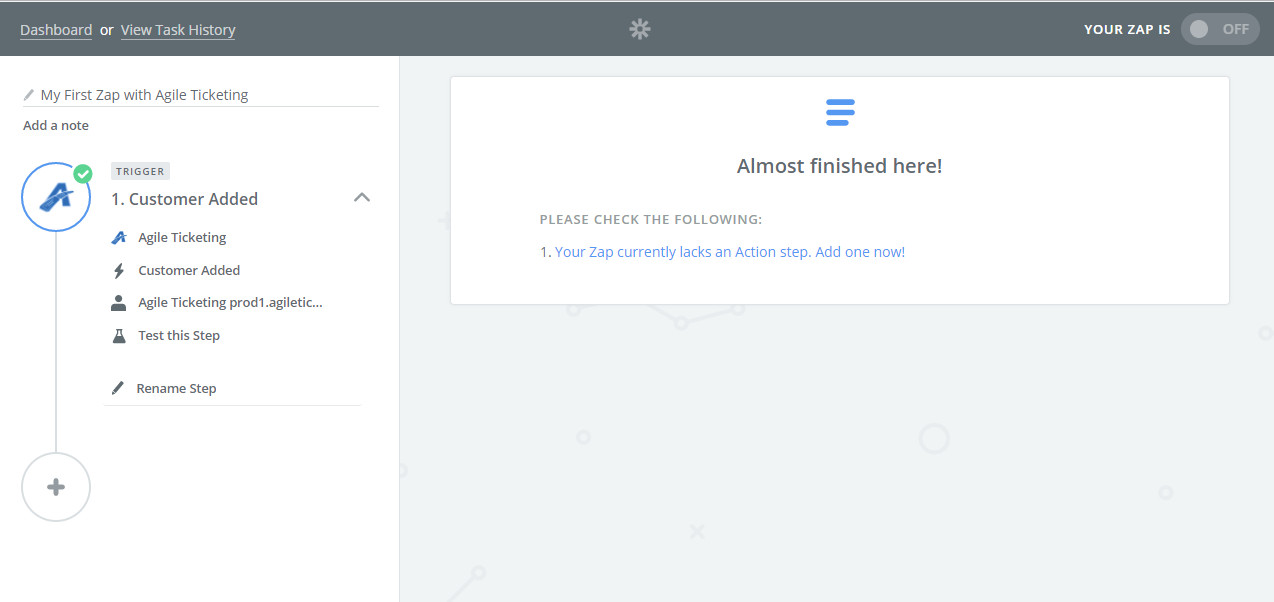
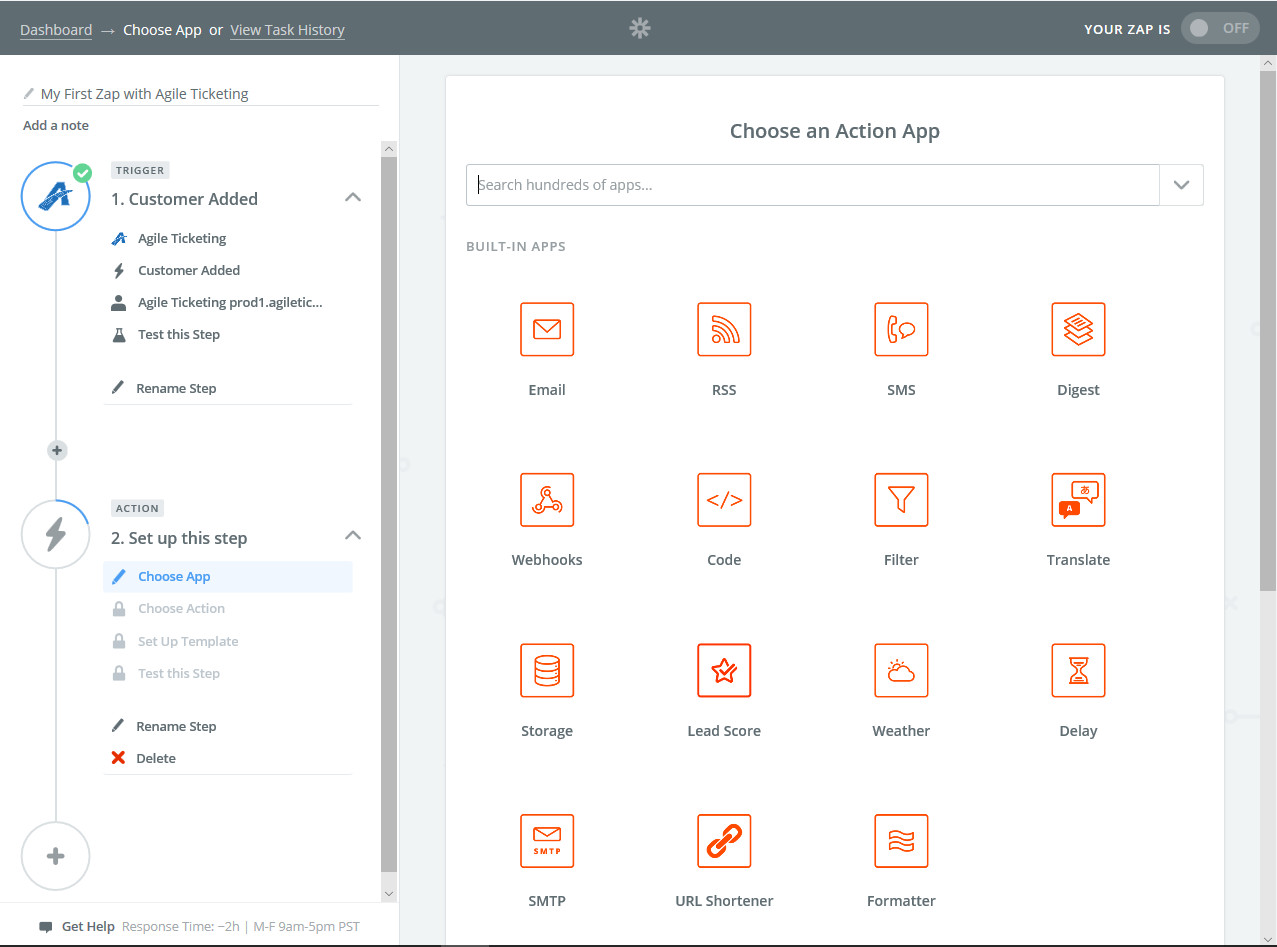
You will now be prompted to add an Action Step. This is where you will connect your Zap to the Application that you wish this information to flow to. Click on Your Zap currently lacks an Action Step, Add one Now!
Choose an action App (for this example, we are using MailChimp, but there are thousands of Apps that you can choose from).
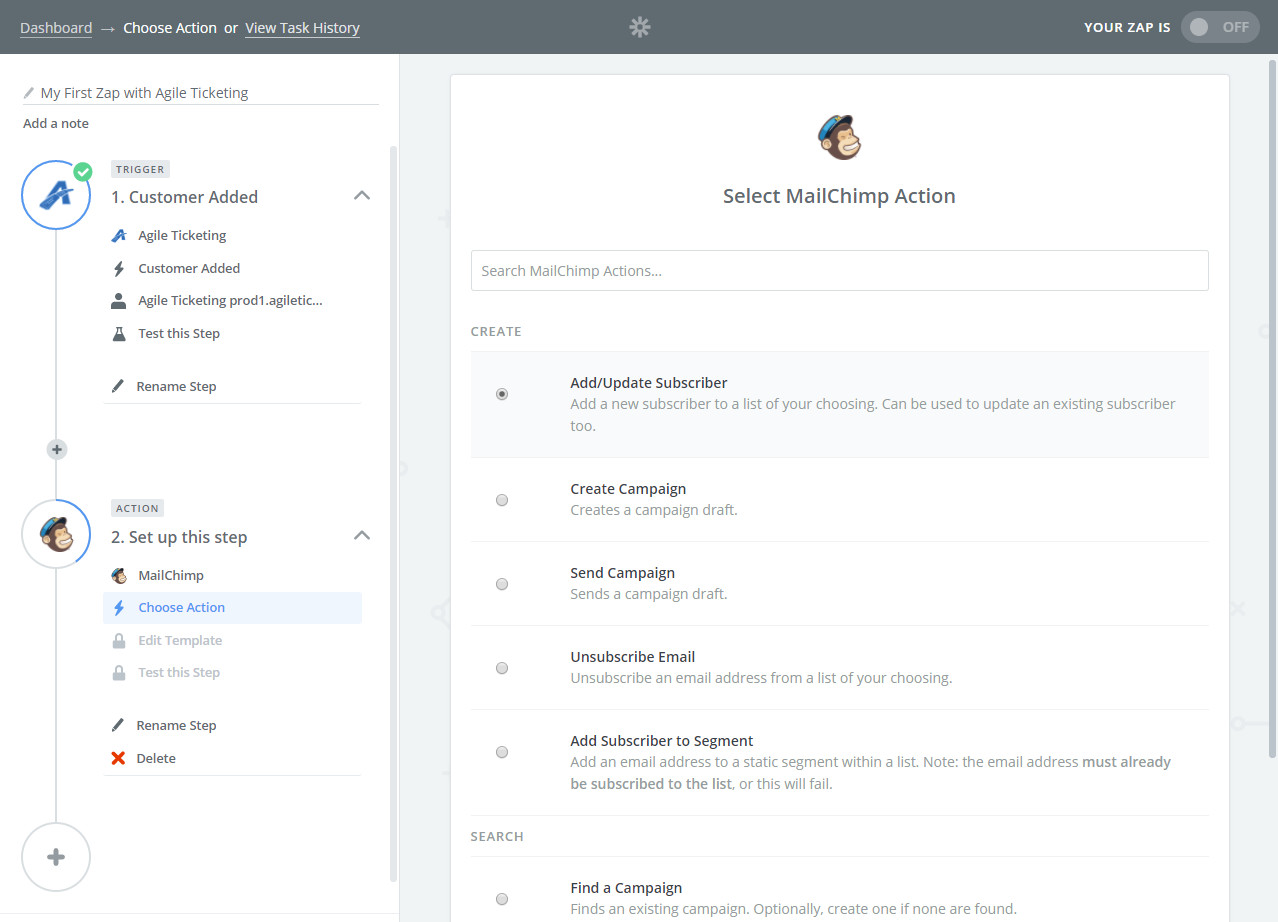
Select the Action that you wish to send to your App.
Click Save + Continue.
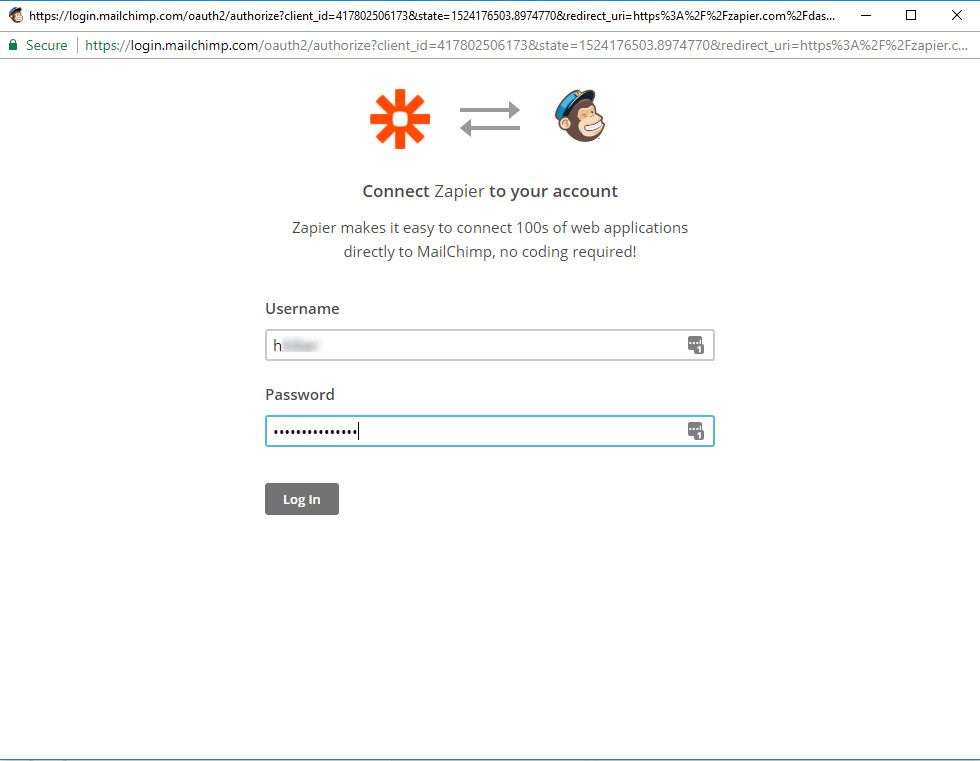
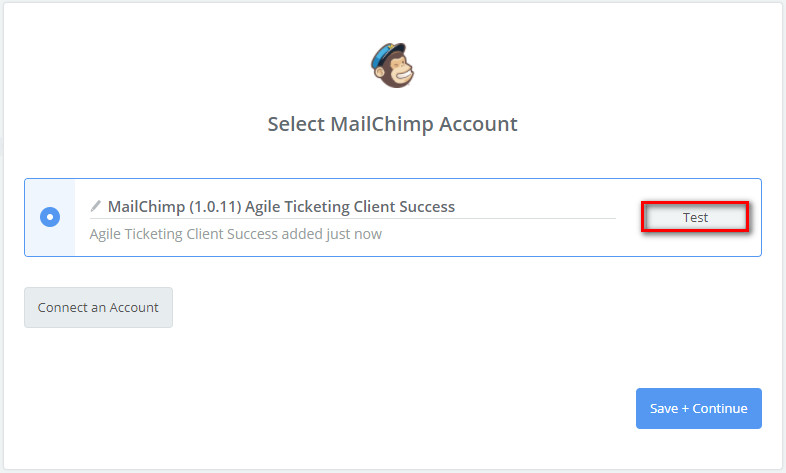
Click on Connect an Account.

Login to your App Account.
Click on the Test button to make sure that the Action has been set up correctly. You will get a Success notification once the Test has completed.
Click on Continue button.
You will see the prompt that your Zap is turned on and working properly.

Adding a Zapier Filter.
After setting up a Zap like the one described above, add a Filter step by clicking the Plus sign between the first and second steps of the Zap on the left-hand side, and click the “Filter” option that appears:
Select Only continue if..., and then click continue.
Select the appropriate Marketing opt-in value in the left drop-down (either “Receive Regional Marketing Emails” or “Receive Corp Marketing Emails” ), and “(Boolean) Is true” in the right drop-down.
If you wish to check against their opt-in values at both the Regional and corp level, click the “+ AND” button and repeat step 3 with the new drop-downs, this time using the other Marketing opt-in value.