Adding A Venue
Step by step how to add a venue in ATS App and Web Portal
Table of Contents
Venues are physical locations and represent anywhere with an address. Follow the applicable instructions below to add a new Venue in either the ATS App or Web Portal.
Adding a Venue in ATS App
Begin by Logging in to Agile Ticketing Solutions and Locate the Settings Folder under your Corporate Organization House and locate Venue.

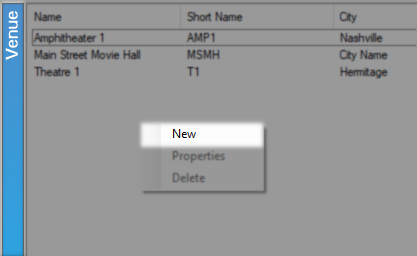
Right click in the Venue area and select New to begin.
You will begin on the General tab and be presented with three name fields. Internal Name and External Name should be the name for this Venue, the External Name is customer facing and will print on tickets. Short Name is an Abbreviation of the External and Internal Name.

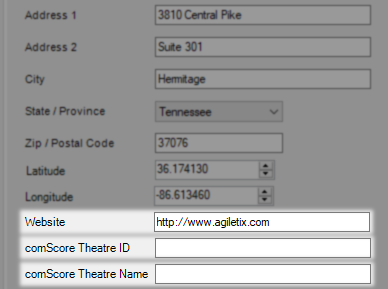
Next is the physical address section which will hold your Address, City, State or Province, and Zip Code. If you want to include it there is also a place for the Longitude and Latitude.

The next field holds your Website and if you are a Comscore theatre the following two are for your Comscore Theatre ID and ComScore Theatre Name for automatic reporting of films with a distributor.
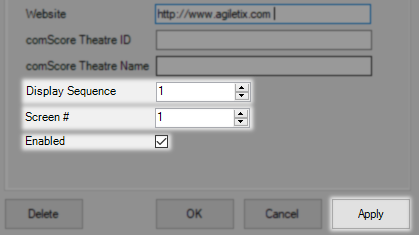
The Display Sequence will determine where on a list this Venue will appear with larger numbers being further down the list. Screen # is used if this physical address has more than one screen that needs to be accounted for. Leave Enable checked unless you no longer need this Venue and click Apply to save your work.
The Description Tab holds a Description for this Venue.

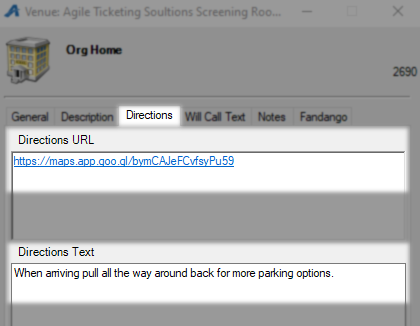
The Directions Tab has a Directions URL field for you to post an embed URL to this Venue and also a field labeled Directions Text for you to pass along anything your customers may need to know about this location.
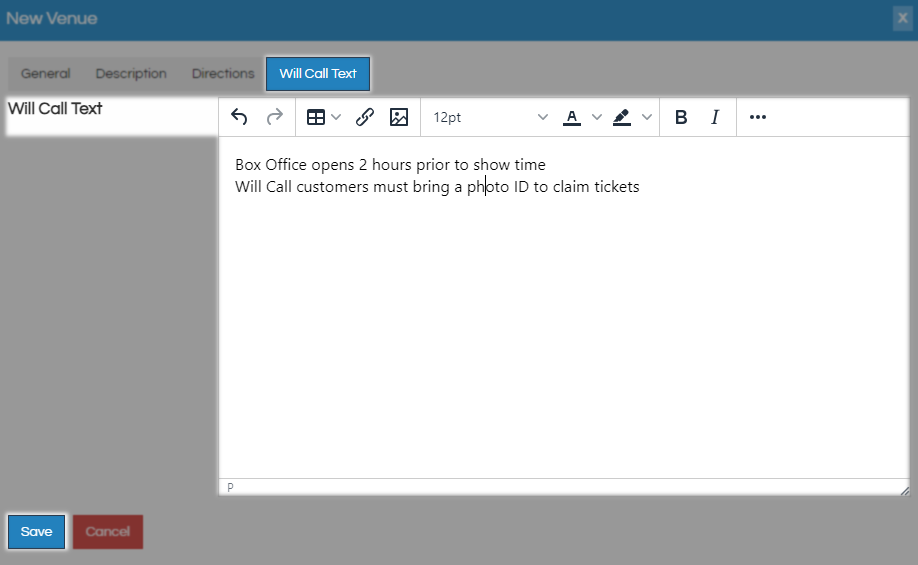
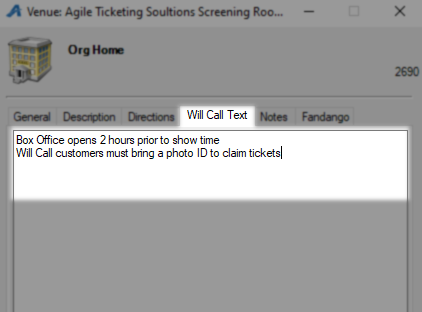
The Will Call Text tab contains information that will be passed along to any customers who choose the Will Call delivery method and attached to their confirmation email.
The Notes Tab is for internal use only and can be used for things you don't need a customer to see.

the Fandango Tab holds information needed to integrate your website with Fandango and at this time is handled by ATS personal only. If you are interested in Fandango integration submit a support ticket to support@agiletix.com and someone will get back with you about the process.
Click OK to save and close the venue creation window. Your venue is now ready to use and will appear on relevant menus.
Adding a New Venue in Web Portal
Begin by Logging in to the web portal and clicking Settings along the left menu then find the General Settings section and click on Venues.
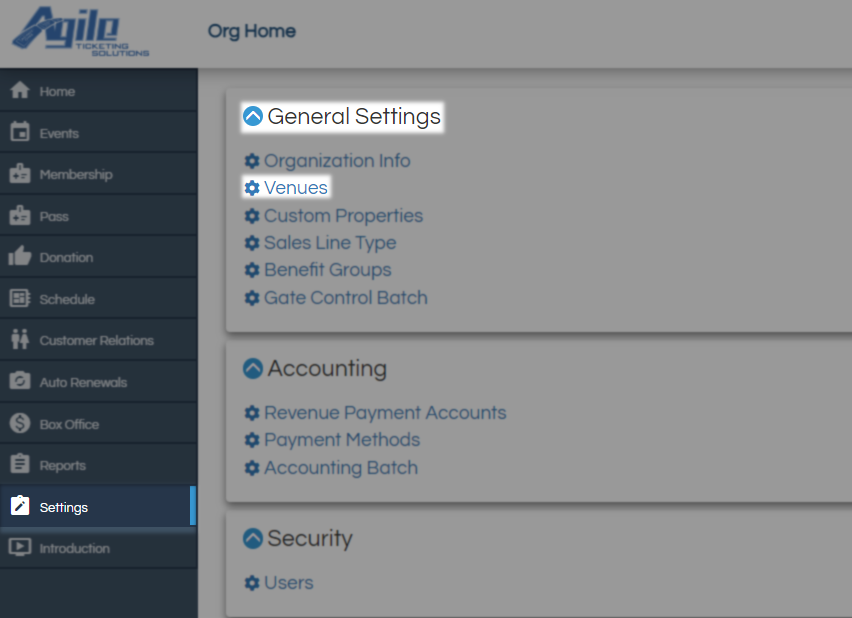
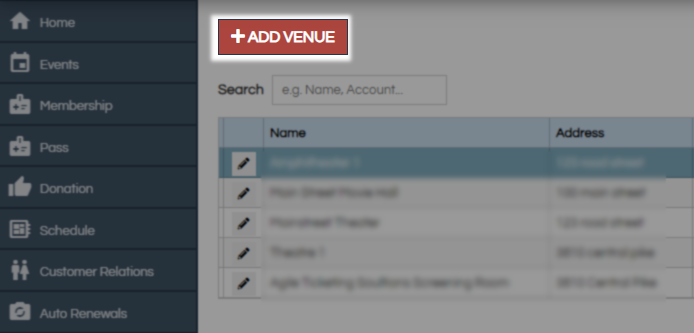
On the Venues screen click the red Add Venue button at the top.
You will begin on the General tab and be presented with three name fields. Name and Internal Name should be the name for this Venue, Name is customer facing and will print on tickets. Short Name is an Abbreviation of the External and Internal Name.

Next is the physical address section which will hold your Address, City, State or Province, and Zip Code. If you want to include it there is also a place for the Longitude and Latitude.

if you are a Comscore theatre the following two fields are for your Comscore Theatre ID and ComScore Theatre Name for automatic reporting of films with a distributor. The Display Sequence will determine where on a list this Venue will appear with larger numbers being further down the list. Screen # is used if this physical address has more than one screen that needs to be accounted for.

The Description Tab holds a Description for this Venue.
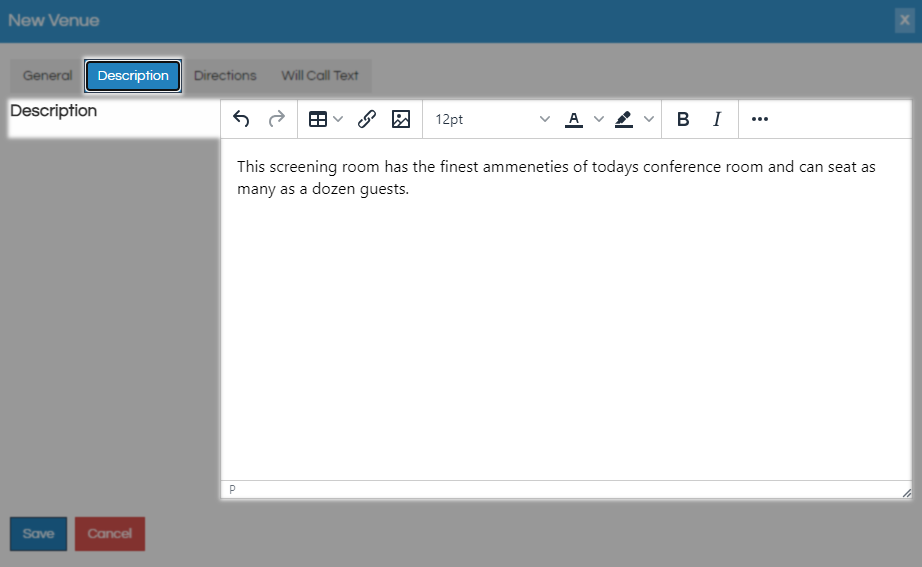
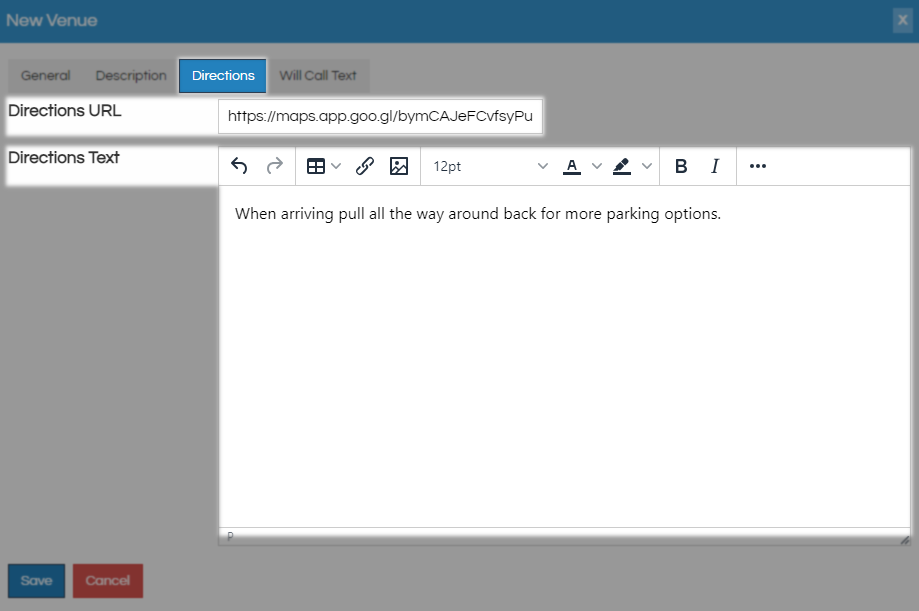
The Directions Tab has a Directions URL field for you to post an embed URL to this Venue and also a field labeled Directions Text for you to pass along anything your customers may need to know about this location.
The Will Call Text tab contains information that will be passed along to any customers who choose the Will Call delivery method and attached to their confirmation email. Click Save to finalize this new Venue.
